openSUSE:WSL
openSUSE for WSL
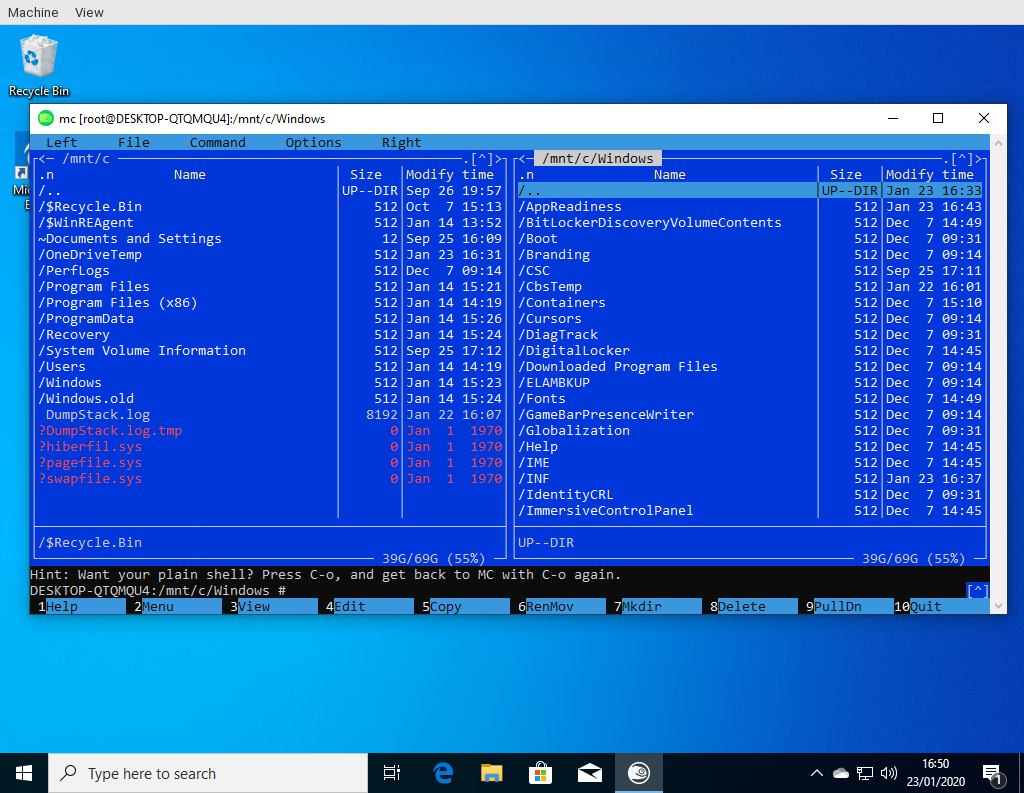
The Windows Subsystem for Linux or WSL is a special interface on Microsoft Windows that allows to run Linux user space programs on top of the Windows kernel. In a sense it is similar to how a chroot or containers work on Linux. WSL is available on Windows 10 and 11, and on Windows Server 2019 (version 1709 onwards [1]) and later. There is no feature parity between Windows 10 and 11, and Microsoft is focused more on recent versions.
There are openSUSE Tumbleweed and Leap WSL images available for installation in the Microsoft store.
Enabling WSL on Windows 10
WSL is not enabled by default on Windows 10. It needs to be installed explicitly for WSL apps to work. NOTE: wsl v1 is NOT required to use wsl v2. v2 makes use of Hyper-V and has more features, but v1 plays a bit nicer in a disk-intensive scenario. Personally (Scott B.), I use v2 exclusively (installed from https://github.com/microsoft/wsl/releases) without v1 installed.
There are two ways to enable WSL:
Command Line
Open a command prompt (cmd.exe) as administrator and run the following command:
dism.exe /online /enable-feature /featurename:Microsoft-Windows-Subsystem-Linux /all /norestart
Control Panel
- Open Control Panel (Start > Windows System > Control Panel).
- If you see eight to ten items: Click the "View by:" drop-down box and select, "Small icons."
- Open "Programs and Features."
- Click the "Turn Windows features on or off" hyperlink.
- In the Windows Features window, check "Windows Subsystem for Linux." The list is alphabetized, so it should appear near the bottom.
- Click the OK button to close the Windows Features Window.
- Close the Control Panel.
- Restart your computer (Required).
Enabling WSL2
To enable WSL2 you need to be on Windows 10 version 2004, Build 19041 or higher.
Open a Power Shell as administrator and run the following command:
wsl --set-default-version 2
You may see the following warning:
WSL 2 requires an update to its kernel component. For information please visit https://aka.ms/wsl2kernel
If so follow the link to download and install the WSL2 Kernel package Once installed run the above command again
Existing instances can be upgraded to WSL 2 by running the following command, e.g. for openSUSE-Tumbleweed:
wsl --set-version openSUSE-Tumbleweed 2
Enabling systemd
Systemd support is provided via the wsl_systemd pattern and not installed by default on openSUSE WSL images.
To install systemd, you need to install the wsl_systemd pattern via zypper. And alternative way via wsl.conf is documented below.
# zypper in -t pattern wsl_systemd
Restarting the instance can happen via the wsl.exe utility in PowerShell
PS C:\Windows\System32\WindowsPowerShell\v1.0> wsl -l -v
  NAME                   STATE           VERSION
* openSUSE-Tumbleweed    Running         2
PS C:\Windows\System32\WindowsPowerShell\v1.0> wsl -t openSUSE-Tumbleweed
PS C:\Windows\System32\WindowsPowerShell\v1.0> wsl -d openSUSE-Tumbleweed
Step-by-step guide
The following guide will install systemd on a openSUSE Tumbleweed WSL instance. The commands should work on any other SUSE/openSUSE WSL instance as well.
First, check if systemd is already enabled. If so, you should see running instead of offline in the following command
tumbleweed:/home/geeko # systemctl is-system-running
offline
Then install the provided systemd pattern via zypper
tumbleweed:/home/geeko # zypper in -t pattern wsl_systemd
Loading repository data...
Reading installed packages...
Resolving package dependencies...

The following NEW package is going to be installed:
  patterns-wsl-systemd

The following NEW pattern is going to be installed:
  wsl_systemd

1 new package to install.
Overall download size: 13.1 KiB. Already cached: 0 B. After the operation, additional 57.0 B will be used.
Continue? [y/n/v/...? shows all options] (y):
Then reboot the WSL instance. You can do this e.g. in a separate PowerShell by using the wsl.exe utility. We first list all instances, then terminate the openSUSE-Tumbleweed instance and then restart it.
PS C:\Windows\System32\WindowsPowerShell\v1.0> wsl -l -v
  NAME                   STATE           VERSION
* openSUSE-Tumbleweed    Running         2
PS C:\Windows\System32\WindowsPowerShell\v1.0> wsl -t openSUSE-Tumbleweed
The operation completed successfully.
PS C:\Windows\System32\WindowsPowerShell\v1.0> wsl -l -v
  NAME                   STATE           VERSION
* openSUSE-Tumbleweed    Stopped         2
PS C:\Windows\System32\WindowsPowerShell\v1.0> wsl -d openSUSE-Tumbleweed
The last command will immediately spawn a shell in the WSL instance. We can use this shell to check, if systemd is now running properly:
geeko@tumbleweed:/mnt/c/Windows/System32/WindowsPowerShell/v1.0> sudo systemctl is-system-running
[sudo] password for root:
running
Here you can see, that systemd is now running in your openSUSE Tumbleweed WSL instance.
wsl.conf
Another way is to configure the /etc/wsl.conf file of the WSL instance accordingly:
[boot]
systemd=true
After a reboot, the instance should have systemd.
.wslconfig
In Windows, a user can add a file located at `%UserProfile%\.wslconfig` to do a 'variety of things'[1], one of which is related to cgroups:
[wsl2]
kernelCommandLine=cgroup_no_v1=all
This is especially helpful regarding systemd (v256) behavior as well as docker/podman functionality.
[1]: More details at: https://learn.microsoft.com/en-us/windows/wsl/wsl-config
Enabling GUI support (WSLg)
GUI support is provided by the WSLg project (short for Windows Subsystem for Linux GUI). WSLg provides support for running X11 and Wayland applications directly on Windows.
Please check the WSLg instructions prior to making changes in your WSL instance.
Once Windows is configured properly, WSLg can be installed within a SUSE/openSUSE WSL instance via the wsl_gui pattern:
# zypper in -t pattern wsl_gui
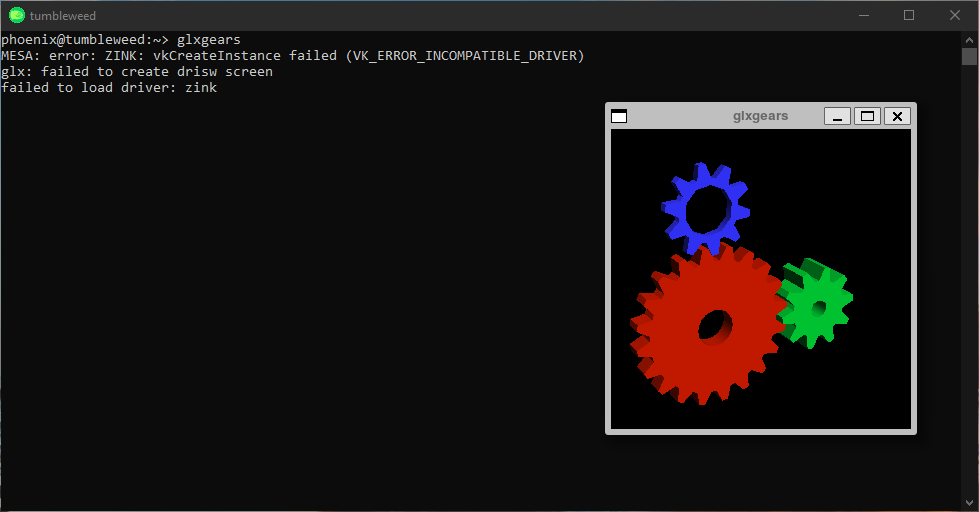
After installing this pattern, you should be able to run any GUI application directly from the WSL instance, e.g. glxgears from the Mesa-demo package:
A system without WSLg enabled would mostly complain about the "DISPLAY" variable not being set.
Installing openSUSE on WSL
From App Store
The easiest way to get openSUSE for WSL is to install the apps from the app store:
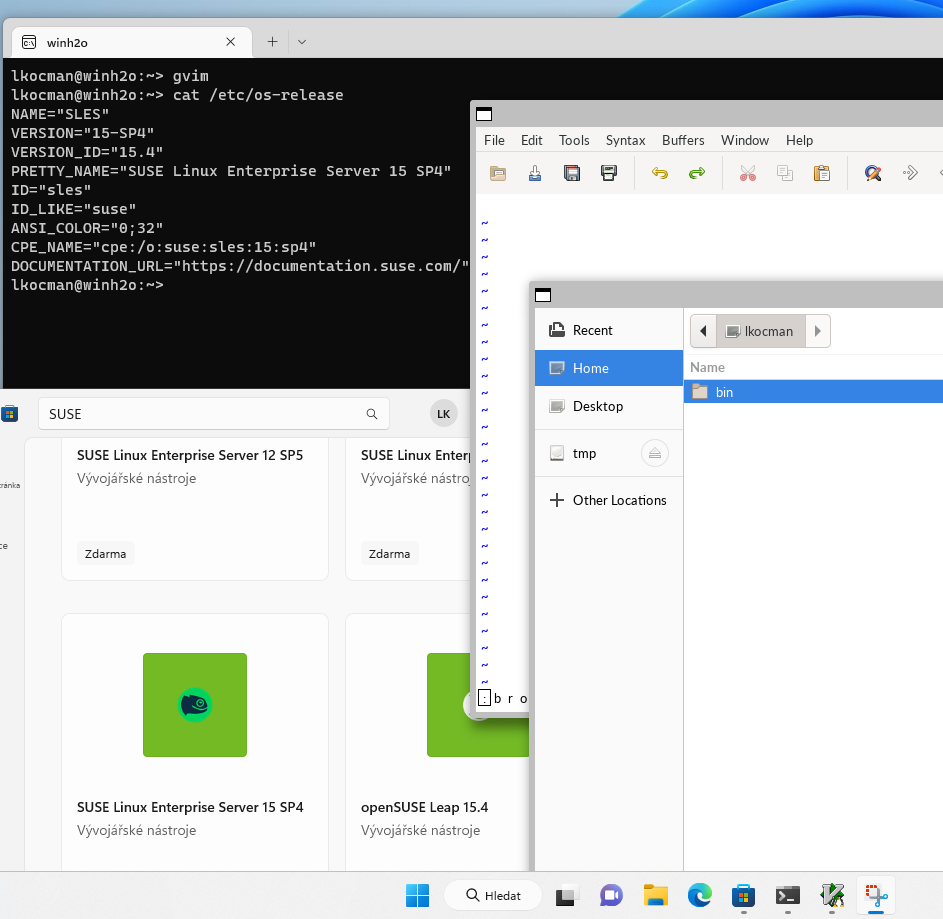
The app store also offers SUSE Linux Enterprise versions:
- SUSE Linux Enterprise 15 SP5 (provides SLES and/or SLED)
- SUSE Linux Enterprise 15 SP6 (provides SLES and/or SLED)
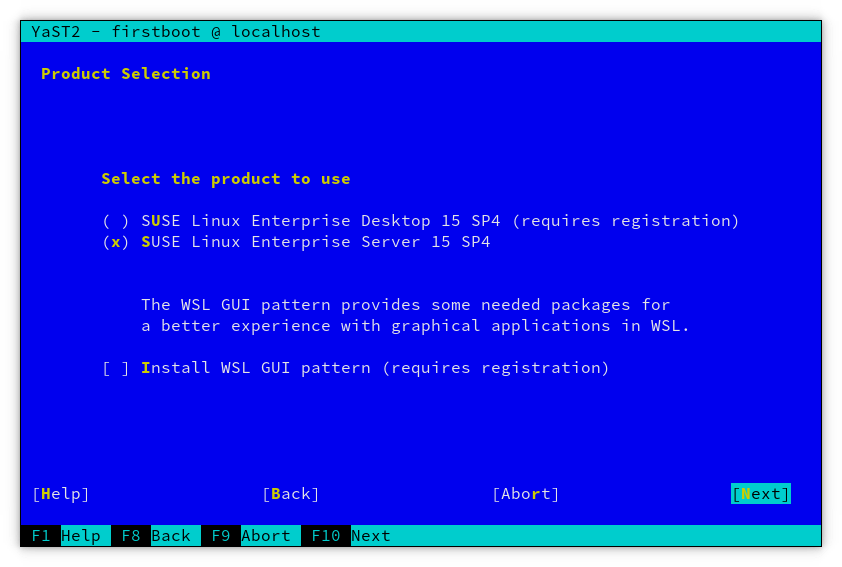
At firstboot, users can choose between registering their SLE install as SLES (Enterprise Server) or SLED (Enterprise Desktop) to suit their licensing needs.
With Appx from openSUSE download server
You can get the appx file from the openSUSE download server:
- openSUSE Tumbleweed aarch64 : Go to https://download.opensuse.org/ports/aarch64/tumbleweed/appliances/ filter with appx and download the appx file
- openSUSE Tumbleweed x86_64 : Go to https://download.opensuse.org/tumbleweed/appliances/ filter with appx and download the appx file
Now, you need to install the openSUSE certificate, if not already installed:
- Right-click on the appx file and chose Properties, digital signatures, select the signature, click Details, Show certificate and Install certificate. This displays the Certificate Import Wizard.
- Click the radio button to chose Local Machine and click Next
- Chose Place all certificates in the following store and click Next
- Click Browse and select Trusted People and click Ok, Next and finally Finish
- A confirmation dialog should appear, click Ok
Manually from tar archive
Alternatively it's also possible to install development versions manually
- NOTE: Starting with wsl v2.4.4, a `.tar.xz` file (which can be renamed to `.wsl` and double-clicked for install) is the Tier 1 method for installation.
These versions are available at the following locations:
Via: wsl.exe --install ...
Defaults to "ModernDistributions" - link - include --legacy if you want to use .appx from the Store
wsl --install --distribution openSUSE-Tumbleweed [--legacy]
Via: wsl.exe --install ... --web-download
Defaults to "ModernDistributions" - link - include --legacy if you want to use .appx from "Distributions".
wsl --install --distribution openSUSE-Tumbleweed --web-download [--legacy]
WSL on Windows for Arm
Only openSUSE-Tumblweed image is currently published for Arm. Unfortunatelly installation from Windows Store will default to the WSL image for x86_64.
Users can still use the --web-download option which will get them the Arm image.
wsl --install openSUSE-Tumbleweed --web-download --legacy
Windows 11 and WSL
- Installation on Windows 11 is similar to Windows 10, but the experience should be "better" overall. Visit https://github.com/Microsoft/WSL for updated versions of WSL which include features like systemd support.
- NOTE: Microsoft has moved to providing separate arm64 / x64 .msi files for install/update
Installed via an elevated PowerShell prompt with:
Add-AppxPackage C:\path\to\Microsoft.WSL_<version>.msixbundle
- For example, adding/editing /etc/wsl.conf on a WSL distro will enable systemd to function:
 [boot]
 systemd=true
Known Issues and limitations
- WSL image fetched from Windows store on Windows for Arm is the x86_64 image. See the workaround.
- The apps unpack a root file system tarball in a WSL specific location in the Windows C: drive. Make sure to have sufficient space there. Other drives will not work due to limitations of WSL!
- Since the root filesystem is disconnected from the app after installation, any potential update of the app won't actually update the root file system content. The installed openSUSE system on WSL has to be updated from within as usual using zypper patch for maintenance updates, resp zypper up or zypper dup for updates and upgrades.
- A system in WSL does not actually boot and does not use systemd. A proprietary Microsoft /init binary initializes the system. Therefore service management does not work like in a VM. It rather behaves like an interactive container.
- If the following error message is displayed when you try to start WSL
Error: WSL 2 requires an update to its kernel component. For information please visit https://aka.ms/wsl2kernel
Please install the wsl2 kernel update:
- For aarch64 (arm64): https://wslstorestorage.blob.core.windows.net/wslblob/wsl_update_arm64.msi
- For x86_64 (x64): https://wslstorestorage.blob.core.windows.net/wslblob/wsl_update_x64.msi
Reporting Bugs
Bugs about openSUSE on WSL can be reported in Bugzilla
WSL specific bugs unrelated to openSUSE have to be reported to Microsoft via GitHub
External Links
- Common Error Codes
- About Windows Subsystem for Linux (WSL)»
- Windows 10 Installation Guide»
- Windows Server Installation Guide»
- Windows Subsystem for Linux (WSL) for Enterprise»
- Frequently Asked Questions about Windows Subsystem for Linux (WSL)»
- Troubleshooting Windows Subsystem for Linux (WSL)»
- About WSL2
- Run Linux tools from a Windows command line»
- Run Windows tools from WSL»
- Share environment variables between Windows and WSL»


