Archive:Live CD installation for 11.0
| This article is being considered for deletion! Reason: openSUSE 11.0 is EOL --Zbuhman 01:12, 25 March 2011 (MDT). Please do not blank, merge, or move this article, or remove this notice. Refer to this article's discussion page and our deletion policy for more information. |
Installation in Live Desktop
Place your openSUSE disc in the drive, and reboot your computer. Upon rebooting, you should encounter the boot screen.
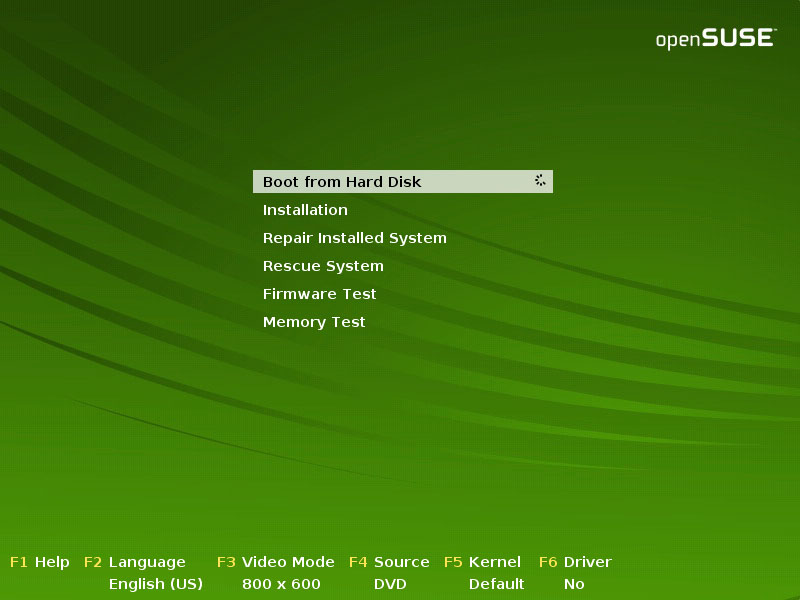
Choose openSUSE 11.0 and wait for the openSUSE 11.0 desktop to load.
<Desktop>
This is a fully-functional openSUSE desktop. Feel free to explore the desktop, and when you're ready to install, double-click the Live Install icon. This will start YaST, the openSUSE installation and configuration program.
Step 1: Welcome screen
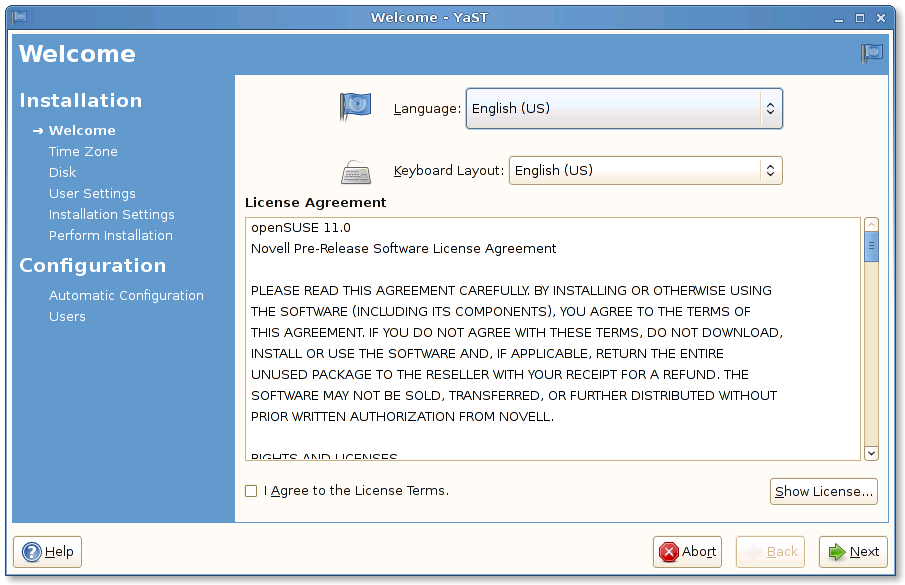
You are now given the option of choosing your language and keyboard layout, as well as shown the license agreement.
Choose your language in this screen. The keyboard layout is set automatically depending upon the language. If your keyboard layout is different from the one chosen by YaST, go ahead and correct it.
Also, you'll need to accept the license agreement. To expand the license agreement, click Show License. Once you accept the license, click Next.
Step 2: Set the time
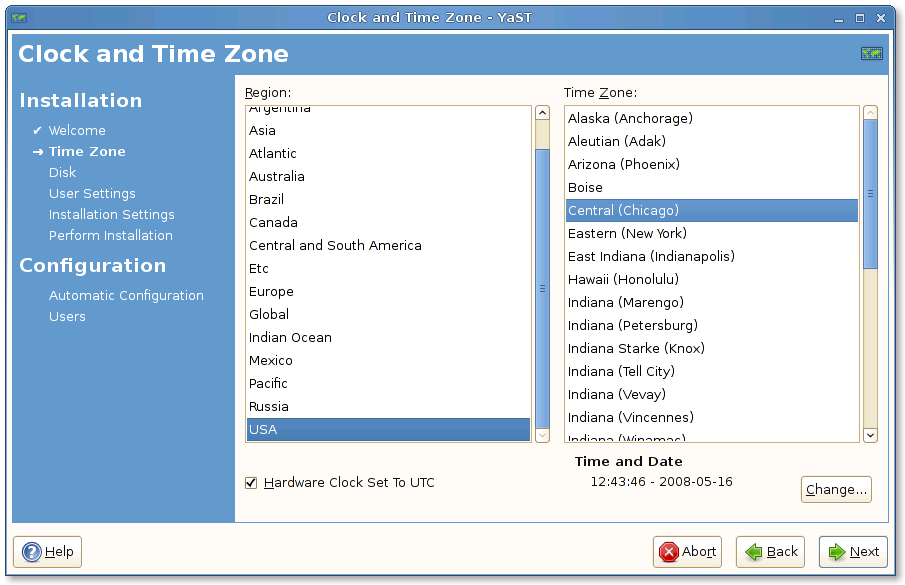
Here, you'll need to set your time zone.
Select your region of the world in the left, and then your time zone in the right. Below the time zones, ensure that YaST is displaying the correct time and date. If not, click Change and adjust the time.
Step 3: Setting up your disk
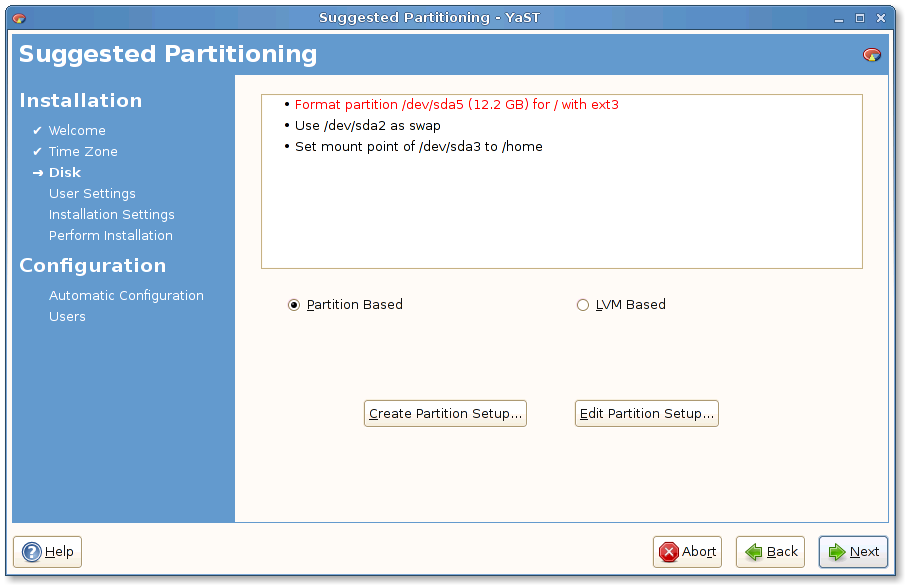
Now YaST will set up your hard drive settings. If you have another operating system installed on the computer (for example, Microsoft Windows or another Linux), YaST will resize that operating system so that it still on your computer, but has enough room to install openSUSE 11.0.
If you want to edit the proposed settings, click Edit Partition Setup.... If you'd like to redo the entire setup for your own settings, click Create Partition Setup.... If you want to keep the proposed settings, click Next.
Step 4: Create your user
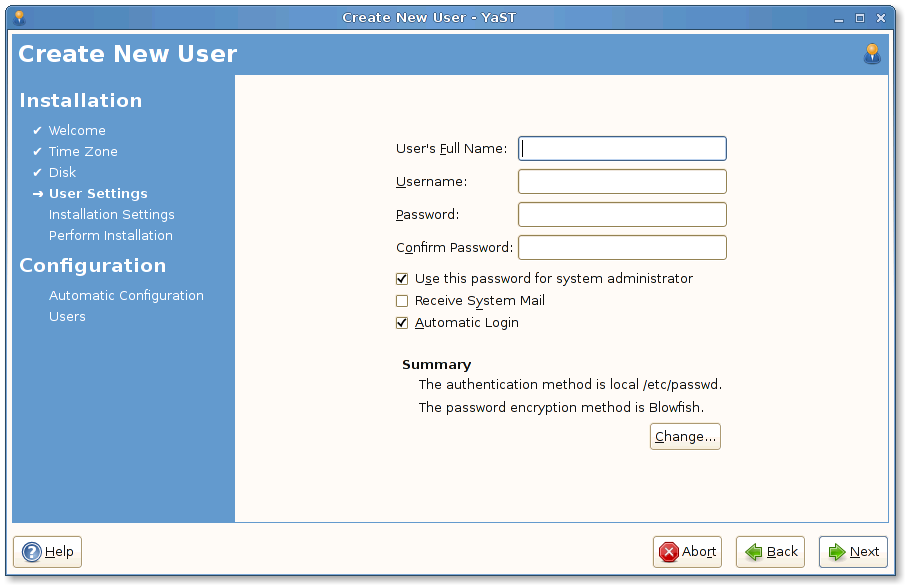
Now you'll need to set up a user account for the primary user of the computer.
Enter your full name, a username (which is automattically chosen: you can change the name if you wish), and a password.
By default, the system is set so your password is the password of the system administrator (also known as root). Also, automatic login is turned on as well. You can uncheck these options for more security if you wish.
Step 5: Installation overview
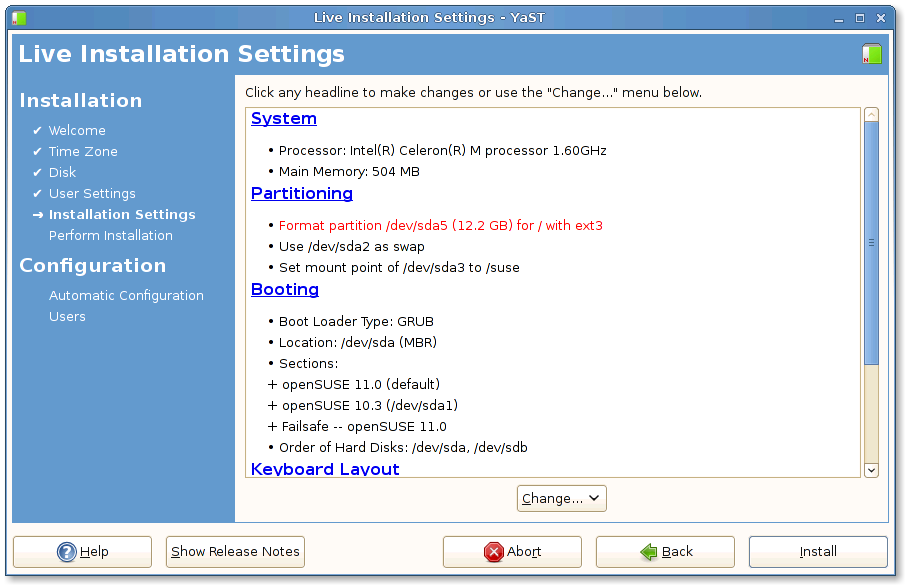
This is a summary of what YaST is planning on doing to your system.
Read over the list and if you would like to change an option, click the title of the section. Consult the help text in YaST and in the documentation for what to do in these screens.
If you're ready, click Install.
Step 6: Installation
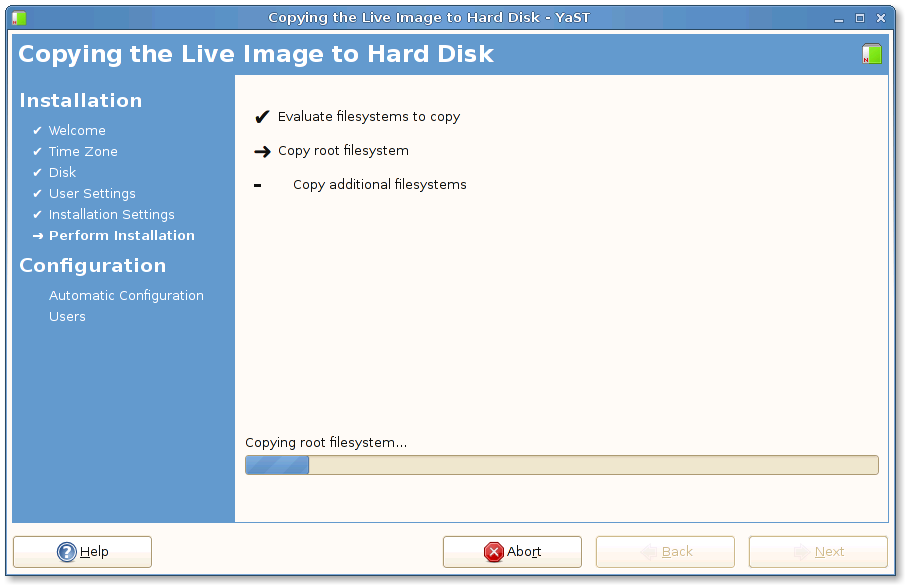
YaST is now installing your new openSUSE system.
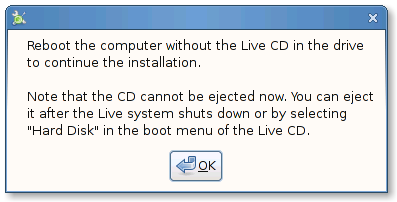
Once finished, you'll be directed to restart the computer:
Restart the computer, and remove the openSUSE Live CD.
Step 7: Finishing the Installation
openSUSE, upon the first boot, will automatically configure the system hardware and networking.
<add screenshot>
Simply wait for the configuration to finish.
Finished!
When you reach the login screen or desktop, you are done with basic installation!
<todo: Add online configuration screenshots>
What next?
There is plenty of documentation available in this wiki. For first steps on the desktop please take a look at:
