HCL:Ultra96
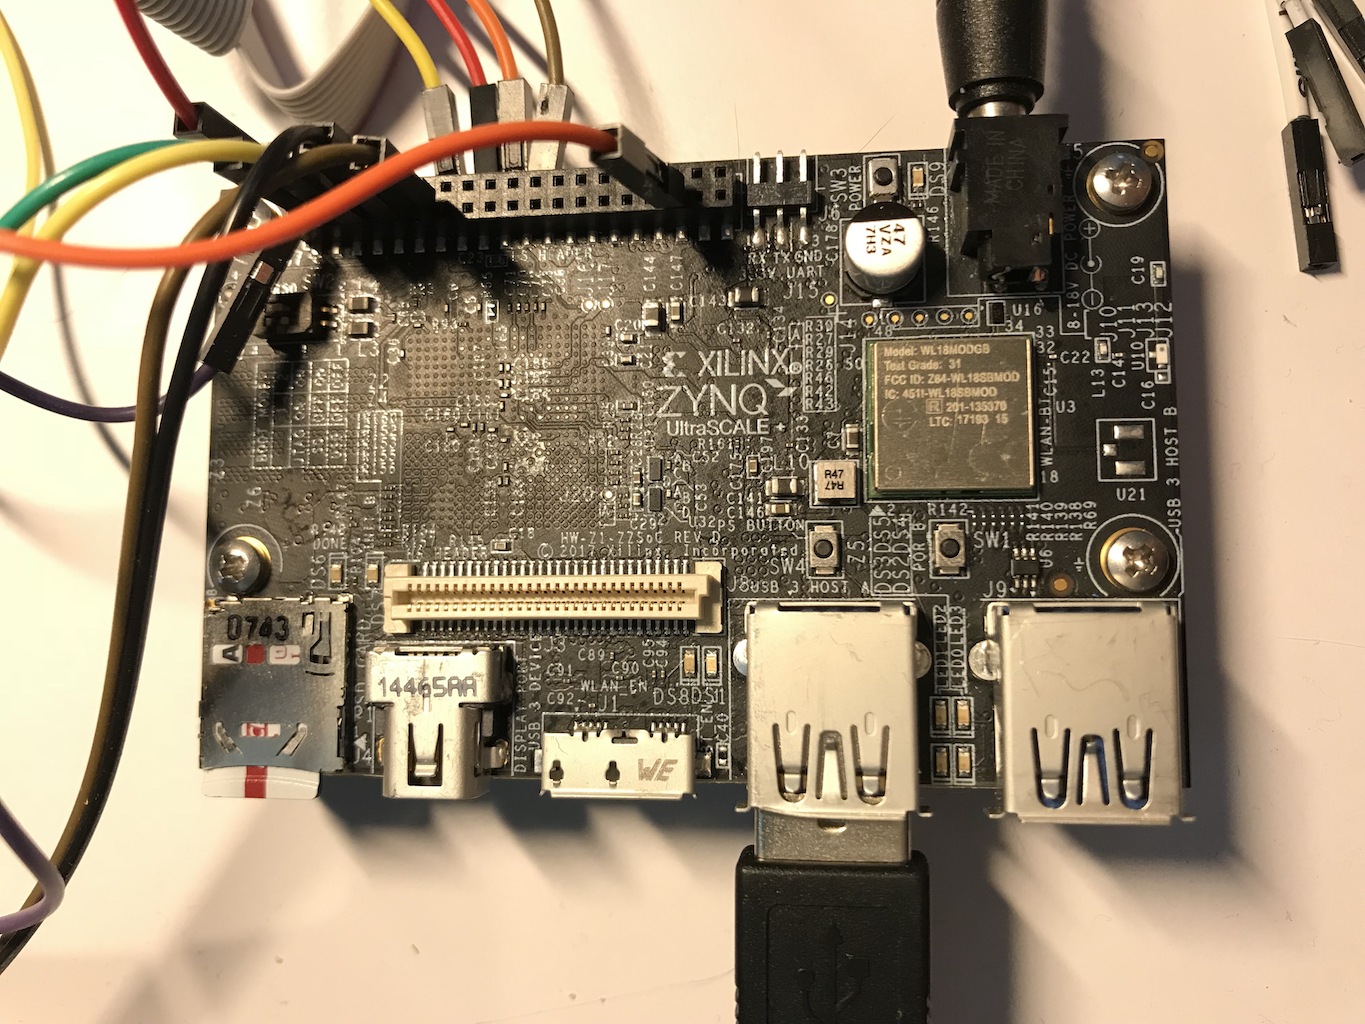
The Ultra96 is a development board designed after the 96boards Consumer Edition specification with a Xilinx Ultrascale+ MPSoC SoC which includes Programmable Logic (FPGA).
Technical Data
- Xilinx Zynq UltraScale+ MPSoC ZU3EG A484
- 4x Cortex-A53
- 2x Cortex-R5
- ARM® Mali™-400 MP2 Graphics Processing Unit
- Micron LPDDR4 memory provides 2 GB of RAM in a 512M x 32 configuration
- 802.11b/g/n Wi-Fi and Bluetooth 4.2 (provides both Bluetooth Classic and Low Energy (BLE))
- 1x USB 3.0 Type Micro-B upstream port
- 2x USB 3.0, 1x USB 2.0 Type A downstream ports
- Mini DisplayPort (MiniDP or mDP)
- 40-pin 96Boards Low-speed expansion header
- 60-pin 96Boards High speed expansion header
- 4 x user-controllable LEDs
Serial Configuration
There is currently no upstream U-Boot or Linux support for Display Port, so the only output device we have readily available is serial. To use the serial port, connect either a 96boards serial cable configured to UART1 to the board or plug a 1.8V capable TTL UART adapter into the UART1 pins of the LS header.
Writing a disk image to the SD card
- Download the image you want (Leap is stable, Tumbleweed is rolling) from here:
 Tumbleweed
JeOS image If the direct links above do not work for you, please check the general download directory for the images.
- As root extract the image onto your SD card (replace sdX with the device name of your SD card).
WARNING: all previous data on the SD card will be lost. Check first if the device you have selected is really your SD card!xzcat [image].raw.xz | dd bs=4M of=/dev/sdX iflag=fullblock oflag=direct; sync
- Insert the SD card with the openSUSE image into your board.
- Connect the board to your PC via serial port (optional, but helpful for debugging; USB-TTL serial cable needed).
- Connect the board to your monitor (via DVI/HDMI, optional).
- Power on the board.
- Walk through the first boot steps.
- Ethernet is configured to request an IP via DHCP, check your DHCP server for the board IP if used.
- Have a lot of fun...
Default login is root:linux, works on serial console, via ssh, GUI.
Known Issues
Most of these issues are related to missing upstream support. Xilinx is currently working on bridging the gaps.
- No Display Port support yet
- No USB3 support (USB2 on USB3 ports works)
- No fan control
