User:Gnyers/openSUSE-on-Android-devices
openSUSE on the Samsung Galaxy S2 and other Android devices
Summary
This HOWTO describes the steps to get the ARM port of openSUSE working on the Samsung Galaxy S2. With possible minor changes, the procedure should also work for any modern and "root"-able Android device. Once set up, openSUSE will run in a "chroot"-ed environment, which is akin to a very simple form of virtualization. Android and openSUSE will remain distinct environments, but they may run on the phone side by side. In other words, while executing openSUSE processes, the Android part may be used normally, e.g. to make calls or to play multimedia files. Besides the "rooting" requirement, no other change to the hardware or the Android OS is necessary. Undoing any changes described in this article is as simple as rebooting the phone.
Risks: While openSUSE and Android are separated, that is, each has its own storage device and file system, they share the same kernel, devices and process space. In other words, "chroot"-ing does not create any real isolation nor is considered a strong security measure.
What's the point of having another OS running on an Android device?
First and foremost: because it's possible! :-)
Re-purposing
Using openSUSE, a general purpose Linux distribution, it's possible to re-purpose an older, unused or perhaps even (partially) damaged Android device. After all, a cracked screen, dented casing or a broken camera is no objection when running the device in e.g. a remote data acquisition scenario. Android phones in particular have lots of sensors, which could be interesting for model builders or in robotics applications.
Research, tinkering and experimentation
The Android OS has an abundantly rich ecosystem of 3rd parties providing all sorts of apps, which usually satisfy the average consumers. However, when considering other non-typical consumer usage scenario's, there are a few limitations:
- 3rd party apps have limited access to the system,
- their sources of origin are diffuse and hard to verify,
- learning to develop Android apps has a steep learning curve,
- the availability of scripting languages (e.g.: Perl, Python, Ruby) are not trivial on Android.
So for certain use cases it is preferable to have access to (parts of) a traditional Linux operating system, like openSUSE.
Todo's
- Dual boot: With some quite unintrusive changes, it should be also possible to create a dual boot setup. In this scenario the user may choose to start either Android or openSUSE at boot time.
References
Credit
Thanks for the excellent work of all those involved in the openSUSE-ARM Project.
Illustrations
Foto's
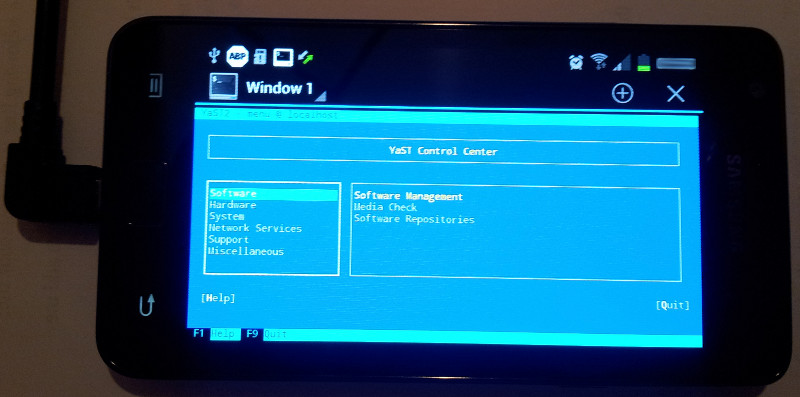
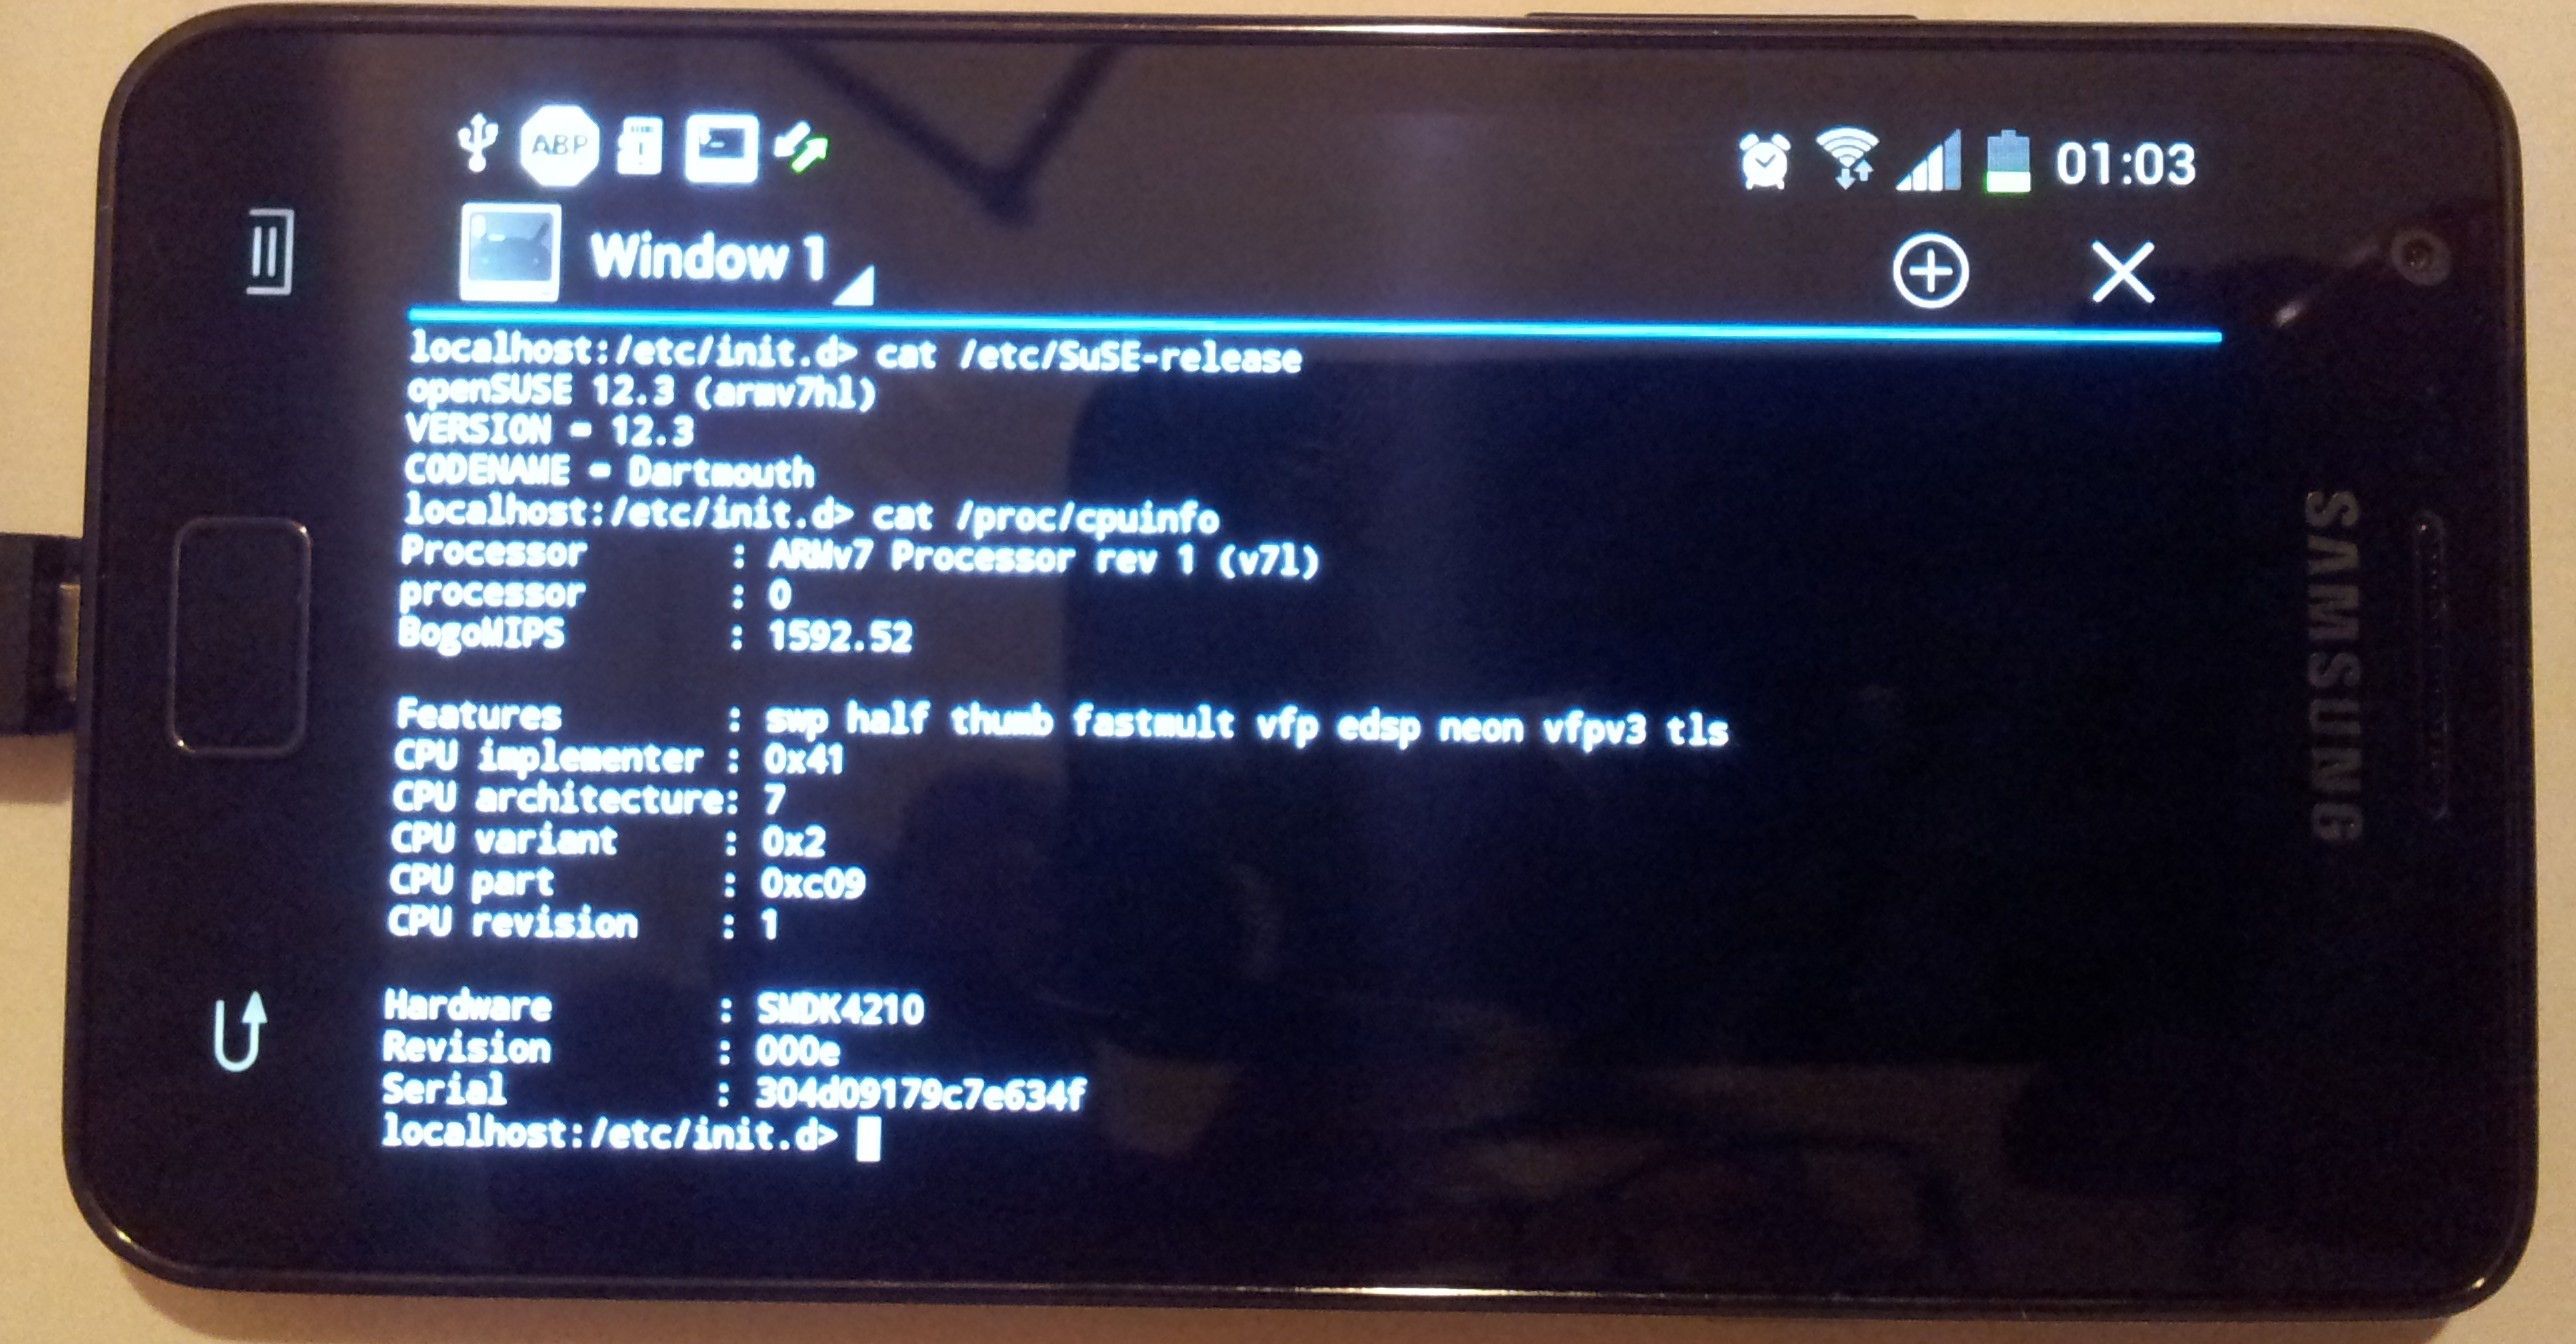
It's the real deal: openSUSE 12.3 running besides Android on the Galaxy S2

Screenshots
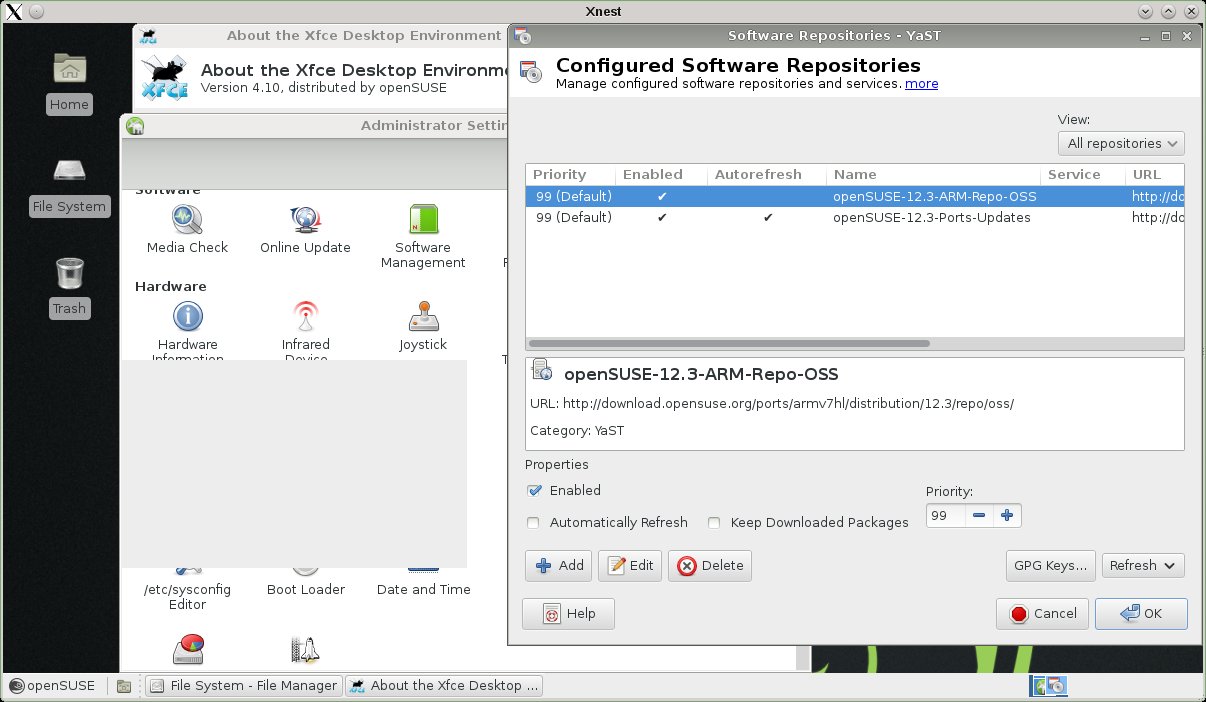
Xfce4 Desktop showing the YaST2 Repository Management screen

Screen dumps
Hardware - CPU
root@localhost /
# lscpu
Architecture:          armv7l
Byte Order:            Little Endian
CPU(s):                2
On-line CPU(s) list:   0
Off-line CPU(s) list:  1
Thread(s) per core:    1
Core(s) per socket:    1
Socket(s):             1
Hardware - RAM
root@localhost /
# free
             total       used       free     shared    buffers     cached
Mem:        800608     655860     144748          0      31040     179724
-/+ buffers/cache:     445096     355512
Swap:            0          0          0
Hardware - Storage
root@localhost /
# lsblk
NAME         MAJ:MIN RM   SIZE RO TYPE MOUNTPOINT
mmcblk0      179:0    0  14.7G  0 disk
|-mmcblk0p1  179:1    0    20M  0 part
|-mmcblk0p2  179:2    0   1.3M  0 part
|-mmcblk0p3  179:3    0   1.3M  0 part
|-mmcblk0p4  179:4    0     8M  0 part
|-mmcblk0p5  179:5    0     8M  0 part
|-mmcblk0p6  179:6    0     8M  0 part
|-mmcblk0p7  179:7    0   100M  0 part
|-mmcblk0p8  259:0    0    16M  0 part
|-mmcblk0p9  259:1    0   512M  0 part
|-mmcblk0p10 259:2    0     2G  0 part
|-mmcblk0p11 259:3    0  11.5G  0 part
`-mmcblk0p12 259:4    0   512M  0 part
mmcblk0boot1 179:16   0   512K  1 disk
mmcblk0boot0 179:8    0   512K  1 disk
mmcblk1      179:24   0   1.9G  0 disk
`-mmcblk1p1  179:25   0   1.9G  0 part
Kernel:
root@localhost /
# uname -a
Linux localhost 3.0.31-Siyah-s2-v5.0.1+ #6 SMP PREEMPT Sun Nov 11 12:25:24 PST 2012 armv7l armv7l armv7l GNU/Linux
openSUSE release:
root@localhost /
# cat /etc/SuSE-release
openSUSE 12.3 (armv7hl)
VERSION = 12.3
CODENAME = Dartmouth
root@localhost /
Repositories:
# zypper lr -d
# | Alias                       | Name                        | Enabled | Refresh | Priority | Type   | URI                                                                    | Service
--+-----------------------------+-----------------------------+---------+---------+----------+--------+------------------------------------------------------------------------+--------
1 | openSUSE-12.3-ARM-Repo-OSS  | openSUSE-12.3-ARM-Repo-OSS  | Yes     | No      |   99     | yast2  | http://download.opensuse.org/ports/armv7hl/distribution/12.3/repo/oss/ |
2 | openSUSE-12.3-Ports-Updates | openSUSE-12.3-Ports-Updates | Yes     | Yes     |   99     | rpm-md | http://download.opensuse.org/ports/update/12.3/                        |
Let's update:
root@localhost /
# zypper up
Loading repository data...
Reading installed packages...

The following NEW packages are going to be installed:
  libldapcpp1 perl-Digest-SHA1 perl-Net-DBus perl-Parse-RecDescent perl-X11-Protocol perl-X500-DN
  perl-XML-Twig release-notes-openSUSE xdg-utils yast2-add-on yast2-firewall yast2-ldap
  yast2-ldap-client yast2-network yast2-online-update yast2-pam yast2-security yast2-users

The following packages are going to be upgraded:
  bind-libs bind-utils krb5 libstorage4 libudev1 libxml2-2 perl perl-base sysconfig systemd
  systemd-sysvinit timezone udev yast2 yast2-installation yast2-storage

16 packages to upgrade, 18 new.
Overall download size: 14.5 MiB. After the operation, additional 9.1 MiB will be used.
Continue? [y/n/?] (y):
Requirements
System requirements
The requirements in decreasing order of difficulty:
- The device needs to be rooted, ie.: working sudo so a process may assume the root identity
- a terminal app, which will allow you to run below script.
e.g.: Android Terminal Emulator (Apache License, Version 2.0) - Any one of these BusyBox Apps
- Optional: a nice super user app to manage access to the sudo mechanism,
e.g. this
Other requirements
openSUSE root filesystem:
- openSUSE 12.3:
- openSUSE-12.3-ARM-JeOS-rootfs.armv7l* (Just enough OS)
- openSUSE-12.3-ARM-XFCE-rootfs.armv7l* Xfce4 edition (Xfce4 Graphical Environment)
- openSUSE 13.1:
Installation
Preparation of the filesystem
- Option 1: Uncompress and copy the image to the micro SD card, which is formatted as vFat and being used as external storage.
- Option 2: Dump the filesystem to an external micro SD card. Please note: this will destroy any data on the SD card!
The remainder of this article assumes Option 1.
Start chroot-ed openSUSE
- Make sure that the System requirements are met
- Insert the SD card containing the openSUSE root filesystem in the phone
- open the Android terminal app
- Switch to 'root'
su -
- Start openSUSE in the chroot-ed environment using below script;
sh /mnt/sdcard/opensuse-chroot.sh start
opensuse-chroot.sh
Default script settings:
- the openSUSE root filesystem is on the first partition of the external SD card
- mount point of the openSUSE root filesystem is /mnt/sdcard/openSUSE-ARM-root
To start the chroot environent:
- copy to the opensuse-chroot.sh script to /mnt/sdcard/
- either in a Terminal op the phone or from an SSH session:
sh /mnt/sdcard/opensuse-chroot.sh start
To stop, either:
- reboot the phone, or
- execute:
sh /mnt/sdcard/opensuse-chroot.sh stop
The script:
#/sbin/sh

ROOTDEV=${ROOTDEV:-/mnt/sdcard/external_sd/openSUSE-ARM-root}
ROOT=${ROOT:-/mnt/sdcard/openSUSE-ARM-root}
ROOTMNTOPTS='-t ext3 -o loop'

ACTION=${1:-start}

case $ACTION in
start)
       ## needs to run once to setup the chroot environment
       echo -n "Checking for root filesystem mount: $ROOTDEV $ROOT...  "
       if grep -q "loop.*$ROOTDEV " /proc/mounts
       then
               echo -n "Mounting: $ROOTMNTOPTS $ROOTDEV $ROOT"
               mount $ROOTMNTOPTS $ROOTDEV $ROOT \
                       && echo OK \
                       || echo FAIL
       else
               echo OK
       fi

       for d in proc sys dev/ dev/pts
       do
               echo -n "Checking for mount $d on $ROOT/$d...   "
               if grep -q "$d.*$ROOT/$d " /proc/mounts
               then
                       echo OK
               else
                       echo "NOT Found"
                       echo -n "       Mounting /$d $ROOT/$d...        "
                       mount --bind /$d $ROOT/$d \
                               && echo OK \
                               || echo FAIL
               fi
       done


       ## needs to run every time a new terminal session is created
       cp /etc/resolv.conf $ROOT/etc/
       echo "Setting env variables: PS1 PATH HOME"
       export PS1='\u@\h \w\n\$ '
       export PATH=$PATH:/bin:/sbin:/usr/bin:/usr/sbin
       export HOME=/root
       echo "Chroot-ing to $ROOT/"
       chroot $ROOT/ /bin/bash -l
       ;;
stop)
       for d in dev/pts dev sys proc
       do
               echo -n "Unmounting: $ROOT/$d...        "
               umount $ROOT/$d \
                               && echo OK \
                               || echo FAIL
       done
       ;;
*)
       echo "

Usage: $0 [ start | stop ]

"
       ;;
esac
Troubleshooting
No network
Symptom: No network access.
Possible reasons:
- Name resolution is not working correctly. Make sure that the $ROOT/etc/resolv.conf contains the correct settings. The dhcpcd-test wlan0 command should return the correct settings.
- In case of an installed firewall App on Android (e.g.: DroidWall) make sure the firewall does not restrict network access for the root user.
- etc...
