User:Cabelo/MultiCortex-EXO
MultiCortex EXO - Open Source Bootable AI Cluster!
Version in Brazilian Portuguese ![]()


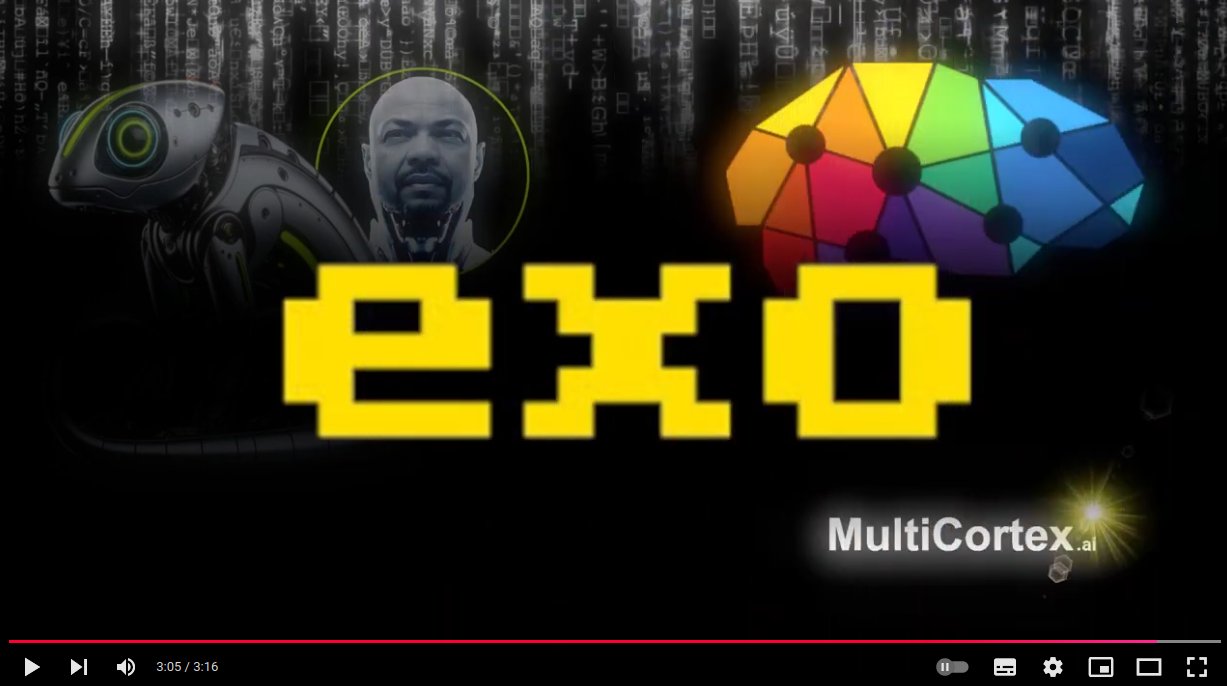
MultiCortex EXO (https://github.com/cabelo/multicortex-exo) is a portable system that can be booted from a USB flash drive, with the fantastic EXO project pre-installed (https://github.com/exo-explore/exo). It allows any computer to become a node for creating a decentralized AI framework. It allows pooling of computing power from multiple devices, leveraging CPUs, GPUs, NPUs, and other accelerators.
Unlike other distributed inference frameworks, exo does not use a master-worker architecture. Instead, exo devices connect peer-to-peer. As long as a device is connected somewhere on the network, it can be used to run models.
The project started with a team of AI researchers and engineers, and as a member of the openSUSE community, I developed this bootable Linux solution so that anyone can create an AI cluster without needing prior knowledge of GNU/Linux or advanced AI techniques.
Based on the openSUSE for Innovators initiative and JAX technology, MultiCortex EXO uses the power of open-source software to democratize access to AI.
Furthermore, the solution prioritizes privacy and control over user data, ensuring that their information is not shared or made available to large corporations.
Source: https://github.com/cabelo/multicortex-exo
Contact: Alessandro de Oliveira Faria (A.K.A CABELO) - cabelo@opensuse.org
Downloadable files
Below is the link and information for downloading the Linux MultiCortex EXO image, use an 8GB MBytes or higher pendrive to record the system.


How to use MultiCortex on my USB flash drive?
Below are instructions on how to burn the MultiCortex EXO image on the main Operating Systems available on the market.
Burning MultiCortex EXO to a USB flash drive on Windows and Mac platforms
To burn the MultiCortex ISO image, follow the instructions below:
- First, install the Etcher program by CLICKING HERE!
- After downloading, run the Etcher program to get the screen below:

- Click on the Flash from file button and select the file you just obtained in step 1;

- After selecting the ISO file, click on the Select target button to select the USB flash drive.


- After selecting the desired flash drive for recording, click the Flash button!

- Wait for the recording operation to finish and that's it!

Saving MultiCortex EXO to a USB Flash Drive on the Mac platform

Saving MultiCortex EXO to a USB Flash Drive on the Linux platform
To install MultiCortex EXO on the Linux platform, simply open the terminal and first download the image with the wget command as shown in the example below:
$ wget https://sinalbr.dl.sourceforge.net/project/jax-ai/iso/MultiCortex_EXO_1.0.5.x86_64-1.15.6.iso?viasf=1
After downloading, plug in the flash drive and run the following command to find out the device name:
$ dmesg | grep removable
[471732.312093] sd 2:0:0:0: [sdb] Attached SCSI removable disk
To check the capacity and/or more details of the device, run the dmesg command with the newly obtained device name, i.e. in the case of the above command sdb
dmesg |grep sdb
[471732.312093] sd 2:0:0:0: [sdb] Attached SCSI removable disk
[471742.325150] sd 2:0:0:0: [sdb] 7866368 512-byte logical blocks: (4.03 GB/3.75 GiB)
[471742.325895] sd 2:0:0:0: [sdb] Write Protect is off
[471742.325898] sd 2:0:0:0: [sdb] Mode Sense: 43 00 00 00
[471742.326365] sd 2:0:0:0: [sdb] No Caching mode page found
[471742.326368] sd 2:0:0:0: [sdb] Assuming drive cache: write through
Now just write to the pendrive with the dd command as user root:
# dd if=MultiCortex_EXO_1.0.5.x86_64-1.15.6.iso of=/dev/sdb conv=notrunc bs=4M;sync
127+1 input records
127+1 output records
535822336 bytes (536 MB, 511 MiB) copied, 105.708 s, 5.1 MB/s
Now, all you need to do is restart your computer with the USB flash drive, connect to the Internet and use the system.
To boot your computer with the MultiCortex EXO system, just turn off the computer, plug in the USB flash drive and turn it on again. Some computers require BIOS configuration to force boot from the USB flash drive or configure the boot sequence. The following video shows an example of how to boot the system directly from the USB flash drive.
Bios access table:
I download a table of shortcut keys to access the Boot menu to select the equipment's boot device, or the keys to access the BIOS configuration.
| Acer | Aspire One zg5, zg8, Aspire Timeline | F12 F2 | |
| Acer | Aspire v3, v5, v7 | F12 F2 | |
| Acer | Esc, F2, F12 Del, F2 | ||
| Asus | Desktops | F8 | F9 |
| Asus | VivoBook f200ca, f202e, q200e, s200e, s400ca, s500ca, u38n, v500ca, v550ca, v551, x200ca, x202e, x550ca, z202e | Esc | Delete |
| Asus | N550JV, N750JV, N550LF, Rog g750jh, Rog g750jw, Rog g750jx Zenbook Infinity ux301, Infinity ux301la, Prime ux31a, Prime ux32vd, R509C, Taichi 21, Touch u500vz, Transformer Book TX300 | Esc (Disable "Fast Boot" and "Secure Boot Control") | F2 |
| Asus | k25f, k35e, k34u, k35u, k43u, k46cb, k52f, k53e, k55a, k60ij, k70ab, k72f, k73e, k73s, k84l, k93sm, k93sv, k95vb, k501, k601, R503C, x32a, x35u, x54c, x61g, x64c, x64v, x75a, x83v, x83vb, x90, x93sv, x95gl, x101ch, x102ba, x200ca, x202e, x301a, x401a, x401u, x501a, x502c, x750ja | F8 | Delete |
| Asus | Eee PC 1015, 1025c | Esc | F2 |
| Compaq | Presario | Esc, F9 | F10 |
| Dell | F12 (Select "USB Flash Drive") | F2 | |
| eMachines | F12 | tab, Delete | |
| Fujitsu | F12 | F2 | |
| HP | Esc, F9 | Esc, F10, F1 | |
| HP | Pavilion Media Center a1477c | Esc | F10 |
| HP | Pavilion 23 All In One | Esc (Select boot media from the menu) | F10 |
| HP | Pavilion Elite e9000, e9120y, e9150t, e9220y, e9280t | Esc, F9 | F10 |
| HP | Pavilion g4, g6 and g7, Probook 4520s, 4525s, 4540s, 4545s, 5220m, 5310m, 5330m, 5660b, 5670b | Esc | F10 |
| HP | Pavilion HPE PC, h8-1287c, Pavilion PC, p6 2317c, Pavilion PC, p7 1297cb, TouchSmart 520 PC, ENVY x2, m4, m4-1015dx, m4-1115dx, sleekbook m6, m6-1105dx, m6-1205dx, m6-k015dx, m6-k025dx, touchsmart m7, Envy, dv6 and dv7 PC, dv9700, Spectre 14, Spectre 13, 2000 - 2a20nr, 2a53ca, 2b16nr, 2b89wm, 2c29wm, 2d29wm | Esc (Then f9 for "Boot Menu") | Esc |
| HP | 2000 | Esc (Then F9 for "Boot Menu". Select "Patriot Memory" on the Boot Option Menu) | Esc |
| HP | Pavilion a410n | Esc | F1 |
| Intel | F10 | ||
| Lenovo | Desktops | F12, F8, F10 | F1, F2 |
| Lenovo | Laptops | F12 | F1, F2 |
| Lenovo | ThinkPad edge, e431, e531, e545, helix, l440, l540, s431, t440s, t540p, twist, w510, w520, w530, w540, x140, x220, x230, x240, X1 carbon | F12 | F1 |
| Lenovo | IdeaPad s300, u110, u310 Touch, u410, u510, y500, y510, yoga 11, yoga 13, z500 | Novo Button (Next to power button), F12 | Novo Button |
| Lenovo | IdeaPad P500 | F12 or Fn + F11 | F2 |
| Lenovo | IdeaPad S10-3, g460, g470, g475, g480, g485 | F12 | F2 |
| Microsoft | Surface Pro 1-3 | Volume-Down Button | |
| Microsoft | Surface Pro 4 & Book | Volume-Up Button | |
| NEC | F5 | F2 | |
| Packard Bell | F8 | F1, Delete | |
| Samsung | F12, Esc | F2, F10 | |
| Samsung | NC10, np300e5c, np300e5e, np350v5c, np355v5c, np365e5c, np550p5c | Esc | F2 |
| Samsung | Series 5 Ultra, Series 7 Chronos, Series 9 Ultrabook | Esc (Must disable "Fast Boot" in BIOS) | F2 |
| Samsung | Ativ Book 2, 8, 9 | F2 (Must disable "Fast Boot" in BIOS) | F10 |
| Sharp | F2 | ||
| Sony | VAIO Duo, Pro, Flip, Tap, Fit | Assist Button (Use the Assist Button when the computer is off, not when it is booting) | Assist Button (Use the Assist Button when the computer is off, not when it is booting) |
| Sony | VAIO, PCG, VGN | F11 | F1, F2, F3 |
| Sony | VGN | Esc, F10 | F2 |
| Toshiba | Kira, Kirabook 13, Ultrabook, Qosmio g30, g35, g40, g50, Qosmio x70, x75, x500, x505, x870, x875, x880 | F12 | F2 |
| Toshiba | Protege, Satellite, Tecra | F12 | F1, Esc |
| Toshiba | Equium | F12 | F12 |
| ASUS | F8 | DEL | |
| Gigabyte | F12 | DEL | |
| MSI | F11 | DEL | |
| Intel | F10 | F2 | |
| Asrock | F11 | F2, DEL | |
| EVGA | F7 | DEL |