User:Cabelo/DiraQ
DiraQ: A Pocket Linux for Quantum Computing!
Version in Brazilian Portuguese ![]()

Created in April 2025, DiraQ Linux is a bootable and portable distribution based on openSUSE 15.6, designed to run directly from a USB drive — with no need to modify the computer’s hard disk. Developed through a partnership between Wilson Fonseca and Alessandro de Oliveira Faria (Cabelo), the project was born to democratize access to quantum computing, allowing any researcher, student, or enthusiast to experiment with quantum algorithms and simulations in a practical and secure way.
A logo that expresses science, freedom, and innovation. The visual concept reflects its essence:
openSUSE (chameleon) + Dirac (bra-ket / γ^μ) + Quantum (orbit / Bloch / Q).
This combination symbolizes the union between free operating systems, the theoretical foundation of modern physics, and the practical applications of quantum computing — resulting in a modern, high-performance, and scientifically inspired project.

A Linux Made for Quantum Research
DiraQ was built on the solid foundation of openSUSE, integrating cutting-edge libraries and frameworks for quantum computing, such as:
- Cirq – Google’s ecosystem for simulation and execution of quantum circuits;
- PennyLane – a hybrid framework for quantum machine learning;
- Strawberry Fields – a platform specialized in photonic quantum computing;
in addition to other advanced tools aimed at scientific research and experimentation.
With this Linux image, users can explore the quantum universe without needing to configure complex environments or compromise their main systems. Simply boot the computer from the USB stick and dive straight into a ready-to-use environment for quantum research, teaching, and development.
openSUSE DiraQ represents a milestone in the integration of open science, free software, and quantum computing. More than just a Linux distribution, it is a bridge between today’s technology and the future of computational physics — an invitation for new minds to explore, contribute, and be part of the ongoing quantum revolution.
DiraQ: The Operating System of the LEONTI
DiraQ was born promising — it is the official operating system of Project LEONTI led by Samuel Rufino, the first open-source photonic quantum computer in Brazil, launched on July 7, 2024. Among the mentioned partners and collaborators are MultiCortex, qubits-brasil (Q-Bra), Kuatiá, ICTQ Foton+, and LACQ.
LEONTI is a groundbreaking initiative focused on the collaborative construction of a quantum computer, uniting hardware, software, and research in an open and global ecosystem.
The DiraQ operating system acts as the fundamental interface layer between the LEONTI photonic quantum computer and the rest of the digital world. It is responsible for managing all communication, control, and translation of quantum operations into instructions that can be understood by classical computational systems.
Through DiraQ, developers and external systems gain access to a high-level API designed to simplify data exchange between LEONTI and other devices or applications. This interface supports both wireless connections (Wi-Fi) and physical interfaces (USB), ensuring flexibility and interoperability.
Thus, DiraQ not only manages LEONTI’s internal resources and the data input/output flow for executing quantum circuits but also acts as a universal mediator, enabling seamless integration with classical computational systems written in any programming language.
In summary, DiraQ turns LEONTI’s quantum potential into something accessible, allowing conventional applications to explore — simply and consistently — the power of photonic quantum processing.
Additionally, LEONTI is closely linked to the HSPlanQ project, a hybrid quantum computing platform that combines niobium-based chips and photonic technology with the openSUSE-DiraQ operating system, forming a complete ecosystem for quantum innovation.

Download Files
Below is the link and information for downloading the DiraQ Linux image. Use a USB stick of 4 GB or more to write the system.

Version History
- 0.9.0 - First functional version.
- 0.9.9 - Python 3.12 interpreter and CIRQ available.
- 1.0.0 - Added PennyLane and Strawberry Fields Framework
- 1.0.1 - Added Percival and Qiskit IBM Framework
- Download Live CD/USB stick;
How to Use DiraQ from My USB Stick?
Below are instructions on how to write the DiraQ image on the main operating systems available on the market.
Writing DiraQ to a USB Drive on Windows and macOS
To write the DiraQ ISO image, follow these steps:
- First, install the Etcher program CLICK HERE!
- After downloading, run Etcher to open the following window:

- Click the “Flash from file” button and select the image file downloaded in step 1;

- After selecting the ISO file, click “Select target” to choose your USB drive.


- Once the desired USB drive is selected, click “Flash!”

- Wait for the writing process to complete — done!

Writing DiraQ to a USB Drive on macOS

Writing DiraQ to a USB Drive on Linux
To install DiraQ on Linux, simply open the terminal and first download the image using wget, as shown below:
$ wget https://sinalbr.dl.sourceforge.net/project/jax-ai/iso/openSUSE_DiraQ_1.0.0.x86_64-1.15.6.iso
After downloading, plug in your USB stick and run the following command to identify the device name:
$ dmesg | grep removable [471732.312093] sd 2:0:0:0: [sdb] Attached SCSI removable disk
To check the capacity or more details about the device, run dmesg with the device name obtained (in this case, sdb):
dmesg |grep sdb [471732.312093] sd 2:0:0:0: [sdb] Attached SCSI removable disk [471742.325150] sd 2:0:0:0: [sdb] 7866368 512-byte logical blocks: (4.03 GB/3.75 GiB) [471742.325895] sd 2:0:0:0: [sdb] Write Protect is off [471742.325898] sd 2:0:0:0: [sdb] Mode Sense: 43 00 00 00 [471742.326365] sd 2:0:0:0: [sdb] No Caching mode page found [471742.326368] sd 2:0:0:0: [sdb] Assuming drive cache: write through
Now, write the image to the USB drive using the dd command as the root user:
# dd if=openSUSE_DiraQ_1.0.0.x86_64-1.15.6.iso of=/dev/sdb conv=notrunc bs=4M;sync 127+1 records in 127+1 records out 535822336 bytes (536 MB, 511 MiB) copied, 105.708 s, 5.1 MB/s
Done! Now just restart your computer with the USB stick plugged in, connect to the internet, and start using the system.
To boot with DiraQ, simply power off your machine, plug in the USB stick, and turn it on again. Some computers may require BIOS configuration to force USB boot or adjust the boot sequence.
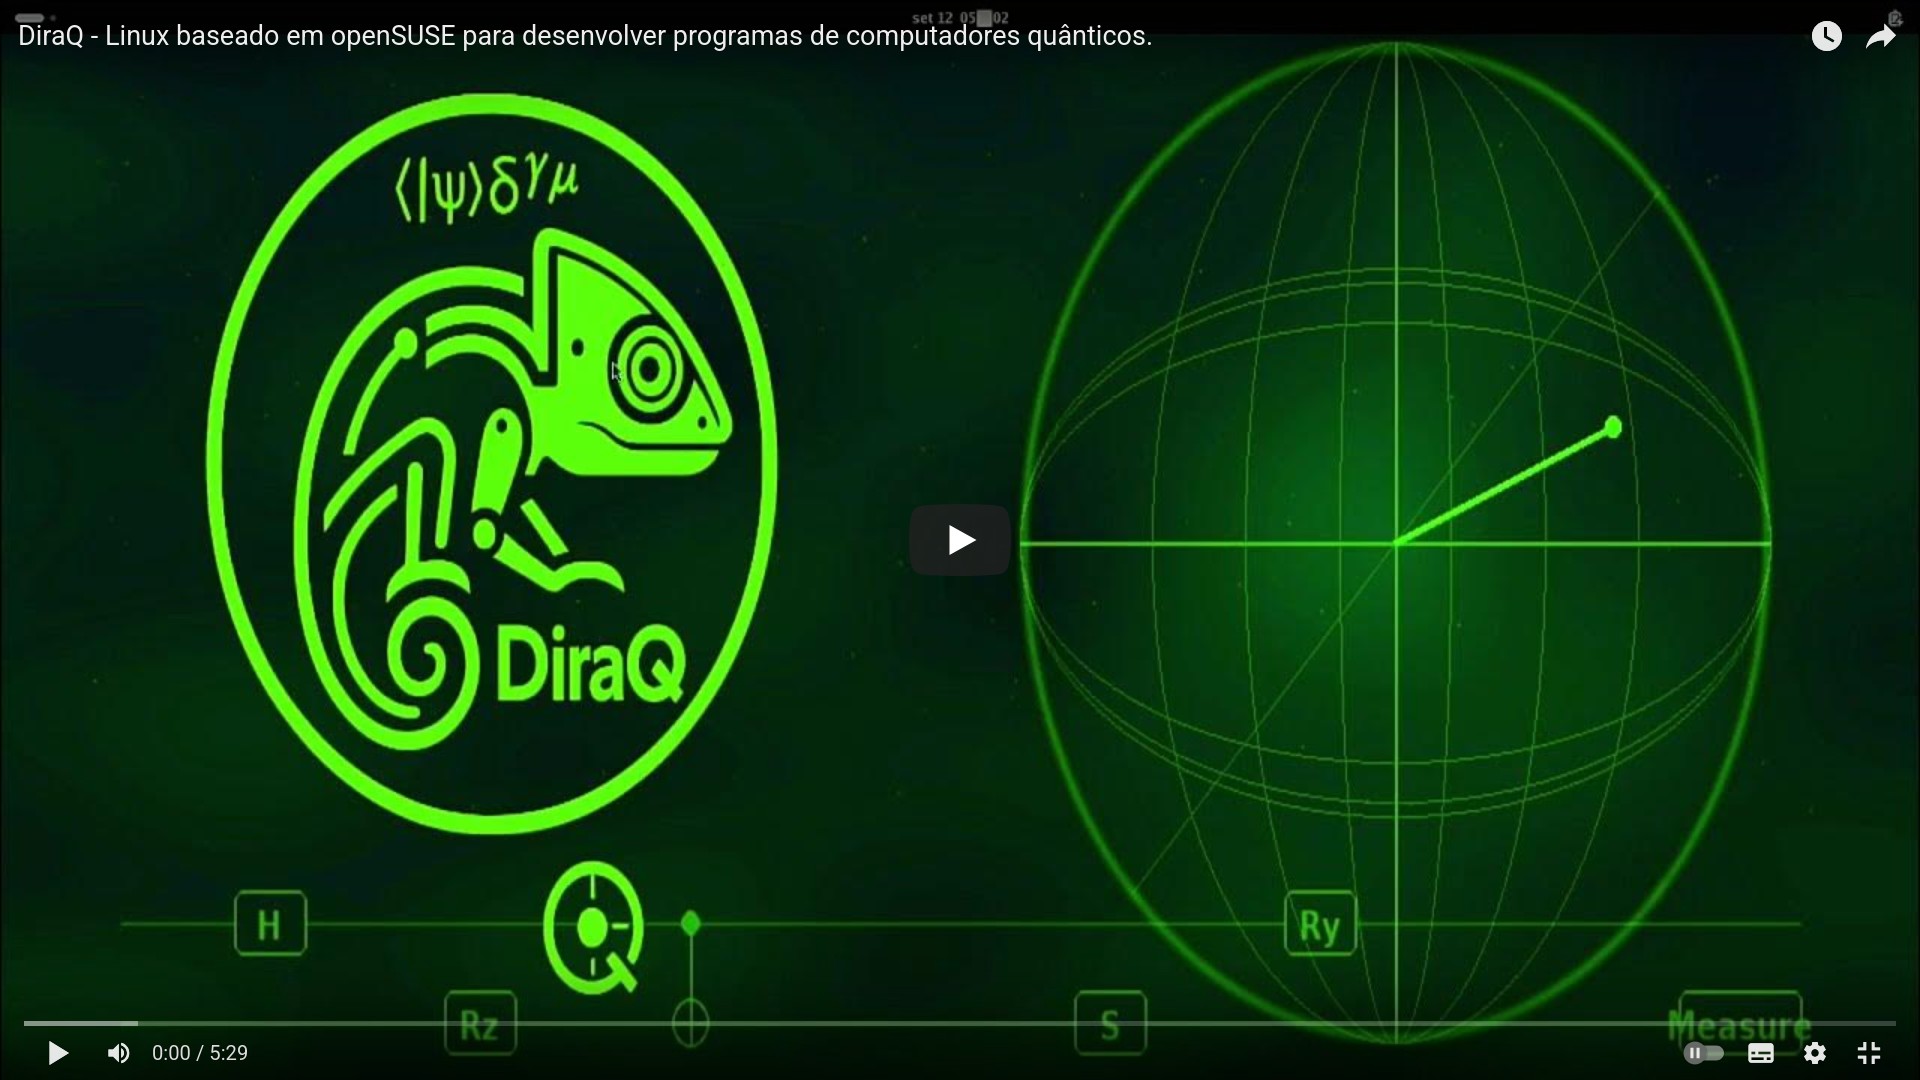
In the following video, you can see an example of how to run the system directly from the USB stick: