SDB:UEFI EDK2 Build Howto On openSUSE12 1
Introduction
EDK2 is "UEFI Firmware Development Kit" that supports building on many different platforms. You can simply think that it's an open source development toolkit of firmware implemented according to UEFI and PI specification. It is a project hosted on sourceforge and Intel is the major contributor to it. Of course you could visit it's sourceforge project for more detail:
http://sourceforge.net/projects/edk2/
This wiki page tried to provide information on how-to build EDK2 in openSUSE. The 12.1 is used for building EDK2 and both IA32 and X64 version could be successfully built. I'd say that it works quite satisfactory to me and very useful if you're interested in learning or developing UEFI. :)
Preparation
Install required packages
 > zypper in -t pattern devel_basis
 > zypper in subversion
Create folder that holds EDK2 building work
 > mkdir ~/edk2-build
 > cd ~/edk2-build
Retrieve EDK2 source code via SVN
> svn co https://edk2.svn.sourceforge.net/svnroot/edk2/trunk/edk2
Upstream sync SVN to Git, you can also try edk2 git:
> git clone git://tianocore.git.sourceforge.net/gitroot/tianocore/edk2
Setup build environment, this can be done easily via script edksetup.sh provided by EDK2. You need to build the essential BaseTools as well.
 > cd edk2
 > make -C BaseTools
 > . edksetup.sh
Remember that you need to run this step each time you login a new shell.
To verify the environment is setup correctly, use "type" command to check whether the right build command is located. It should output something like this: (that is the edk2's own build script was used, not the system wide "build" provided by build package)
 > type build
 build is hashed (/home/user/edk2-build/edk2/BaseTools/BinWrappers/Linux-i686/build)
Build MdeModulePkg
MdeModulePkgs contains collection of modules required for making a working UEFI firmware. These modules are needed in each stage for serving specific tasks and purpose(SEC, PEI, DXE, BDS, UEFI shell applications). In an expression of more specific, it contains platform driver that provide protocol defined by spec and could be consumed to get some specific task done. I can't tell too much here as it out of scope of this howto. Anyway think these modules as basic stuff as you'll need them in UEFI firmware. :)
First, edit Conf/target.txt. You'll visit this config file quite often as it's the outer most, global config settings relevant for building.
> vim Conf/target.txt
For building target for running on IA32 architecture, change settings to follow
 ACTIVE_PLATFORM = MdeModulePkg/MdeModulePkg.dsc
 TARGET = RELEASE
 TARGET_ARCH = IA32
 TOOL_CHAIN_TAG = GCC46
Or, for X64 architecture, change settings to follow
 ACTIVE_PLATFORM = MdeModulePkg/MdeModulePkg.dsc
 TARGET = RELEASE
 TARGET_ARCH = X64
 TOOL_CHAIN_TAG = GCC46
When done, hit "build" to start the building
> build
Alternatively, the "build" command accepts command line options that could service the same purpose of config file. But remember that not specified options inherits the config's so don't forget to check if you are not sure.
For IA32
> build -a IA32 -b RELEASE -p MdeModulePkg/MdeModulePkg.dsc -t GCC46
For X64
> build -a X64 -b RELEASE -p MdeModulePkg/MdeModulePkg.dsc -t GCC46
Build SecMain
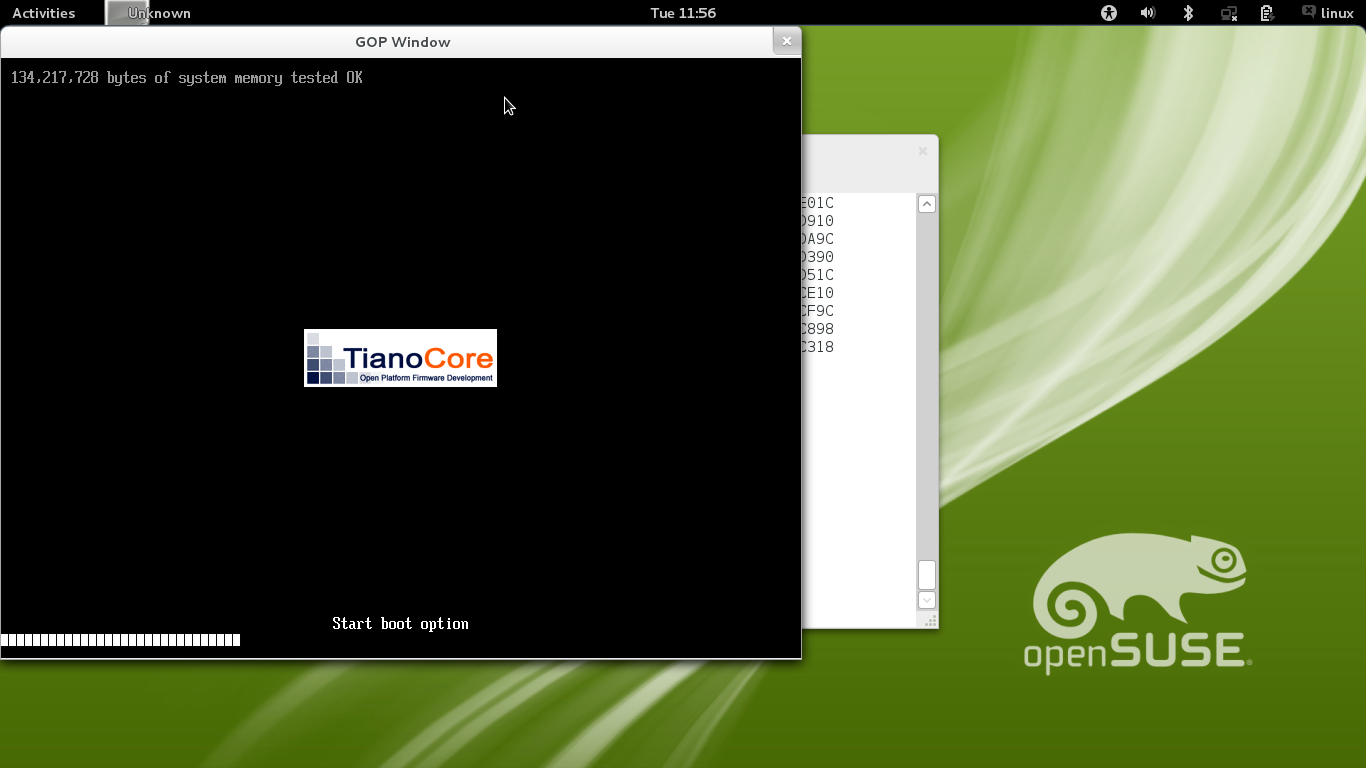
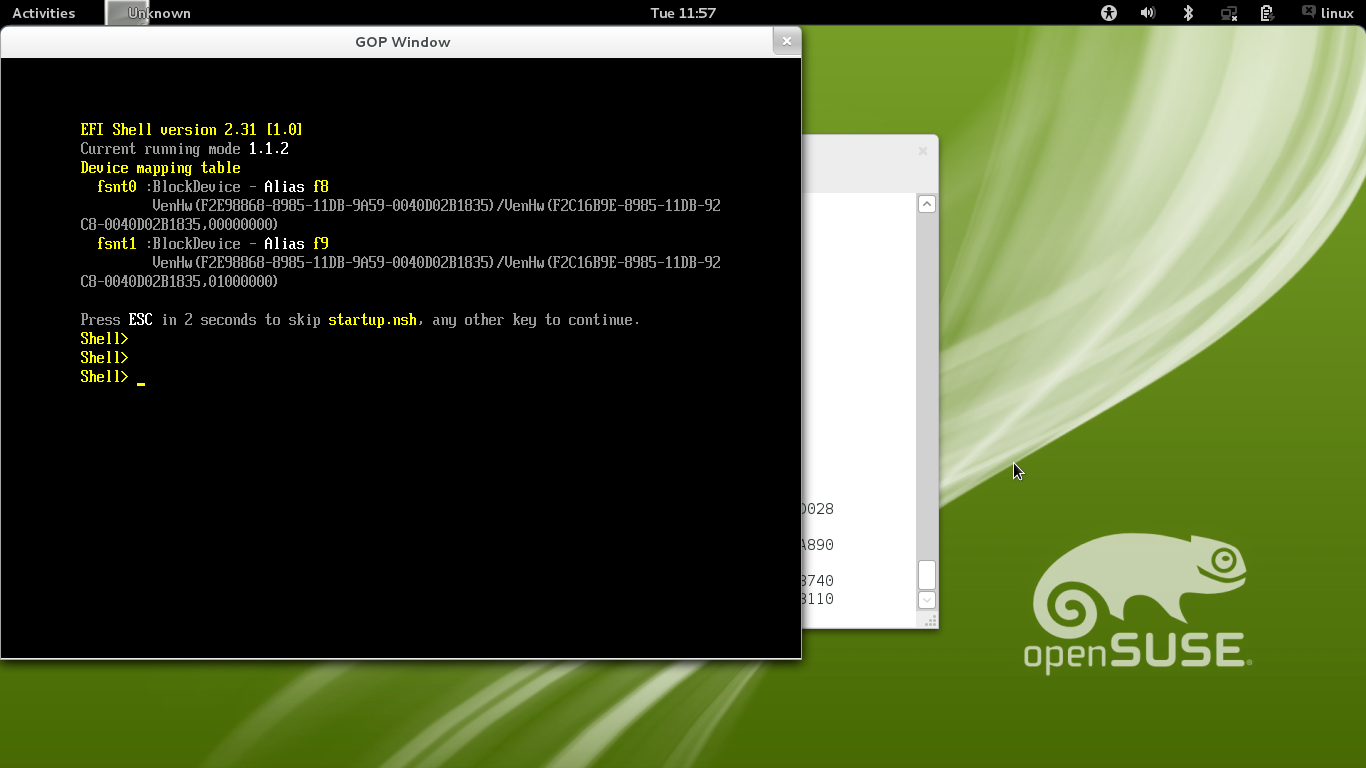
SecMain is a UEFI shell emulator running on your host OS (don't need UEFI support). It also provides UNIX version. If you want to play with the shell a bit but don't have an available UEFI box, try this emulator. Also it is good for testing and developing some simple shell applications.
Build the base tool. Some helper utilities in it is necessary for building secmain.
> make -C BaseTools/Source/C
Build UnixPkg, as SecMain is included in it. You could achieve it through edit config's ACTIVE_PLATFORM field.
> vim Conf/target.txt
For building target for running on IA32 architecture
 ACTIVE_PLATFORM = UnixPkg/UnixPkg.dsc
 TARGET = RELEASE
 TARGET_ARCH = IA32
 TOOL_CHAIN_TAG = GCC46
Or, for X64 architecture,
 ACTIVE_PLATFORM = UnixPkg/UnixPkgX64.dsc
 TARGET = RELEASE
 TARGET_ARCH = X64
 TOOL_CHAIN_TAG = GCC46
When done, hit build to start building
> build
Alternatively, you could do one stop shopping by assigning them as build's options.
For IA32
> build -a IA32 -b RELEASE -p UnixPkg/UnixPkg.dsc -t GCC46
For X64
> build -a X64 -b RELEASE -p UnixPkg/UnixPkgX64.dsc -t GCC46
Run
To run and test the SecMain, use the steps
For IA32
 > cd ./Build/Unix/RELEASE_GCC46/IA32
 > ./SecMain
For X64
 > cd ./Build/Unix/RELEASE_GCC46/X64
 > ./SecMain
Screenshots
Build OVMF - Method 1
OVMF stands for "Open Virtual Machine Firmware". It's goal is to provide EDK2 based virtual machine firmware to virtual machines likes QEMU and KVM. If setup properly it would be a big assistance to you for developing. You are not restricted to shell and are free to do anythings like on a real host, like testing OS installation and developing your own UEFI stuff against some most recent features provided by UEFI (via boot-time or run-time service)
Edit Conf/target.txt
> vim Conf/target.txt
For IA32, set ACTIVE_PLATFORM to OvmfPkg/OvmfPkgIa32.dsc
 ACTIVE_PLATFORM = OvmfPkg/OvmfPkgIa32.dsc
 TARGET = RELEASE
 TARGET_ARCH = IA32
 TOOL_CHAIN_TAG = GCC46
For X64, set ACTIVE_PLATFORM to OvmfPkg/OvmfPkgX64.dsc
 ACTIVE_PLATFORM = OvmfPkg/OvmfPkgX64.dsc
 TARGET = RELEASE
 TARGET_ARCH = IA32
 TOOL_CHAIN_TAG = GCC46
Start building
> build
The same task could be accomplished via command line options to build
IA32
> build -a IA32 -b RELEASE -p OvmfPkg/OvmfPkgIa32.dsc -t GCC46
X64
> build -a X64 -b RELEASE -p OvmfPkg/OvmfPkgX64.dsc -t GCC46
Test OVMF with QEMU
Install QEMU
> zypper in qemu
Create directory for running QEMU and OMVF
> mkdir ~/test-ovmf
Copy OMVF firmware volume, OVMF.Fv, to working directory and rename it to bios.bin
> cp ./Build/OvmfIa32/RELEASE_GCC46/FV/OVMF.fd ~/test-ovmf/bios.bin
Next copy video bios, OvmfVideo.rom, to working directory and rename it to vgabios-cirrus.bin
> cp ./Build/OvmfIa32/RELEASE_GCC46/FV/OvmfVideo.rom ~/test-ovmf/vgabios-cirrus.bin
Create disk simulating folder for QEMU
> mkdir ~/test-ovmf/hda-contents
Now change to working directory
> cd ~/test-ovmf
Run QEMU with firmware files in the working directory
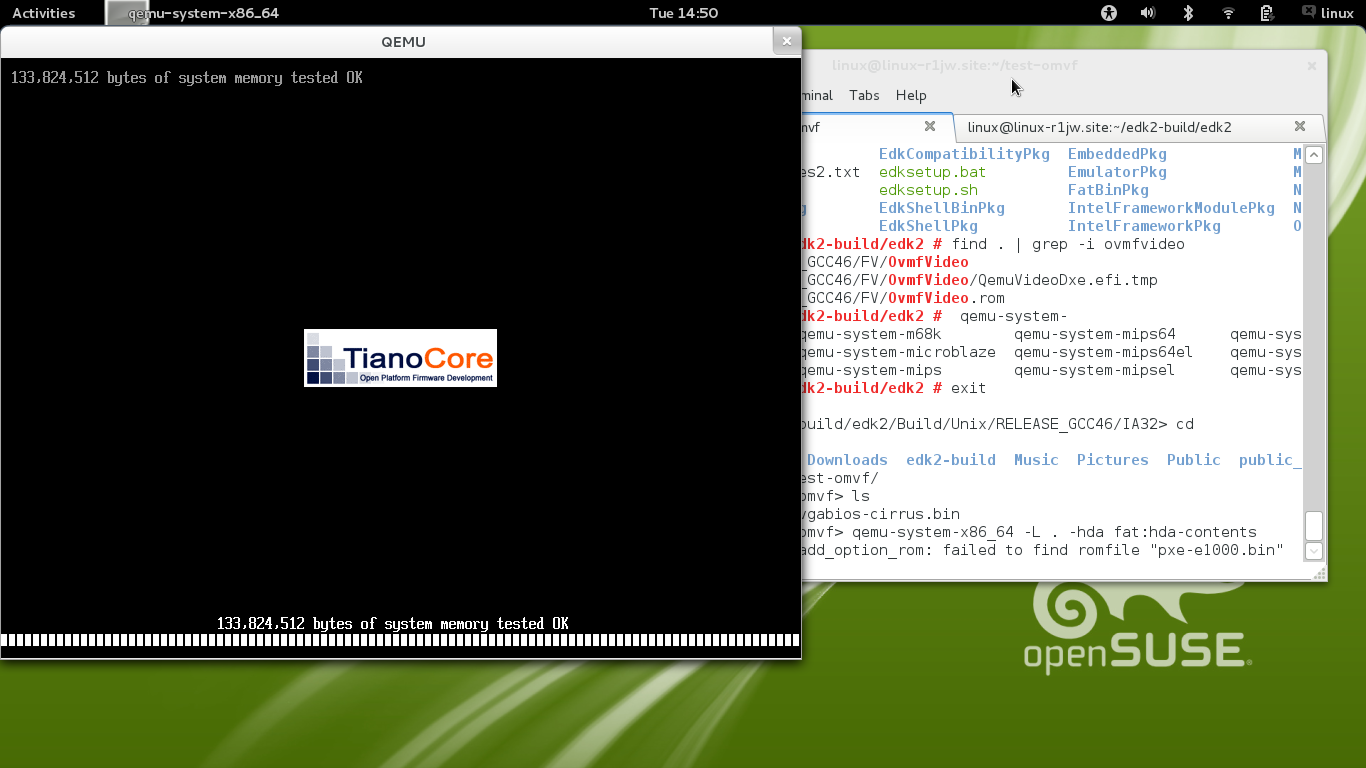
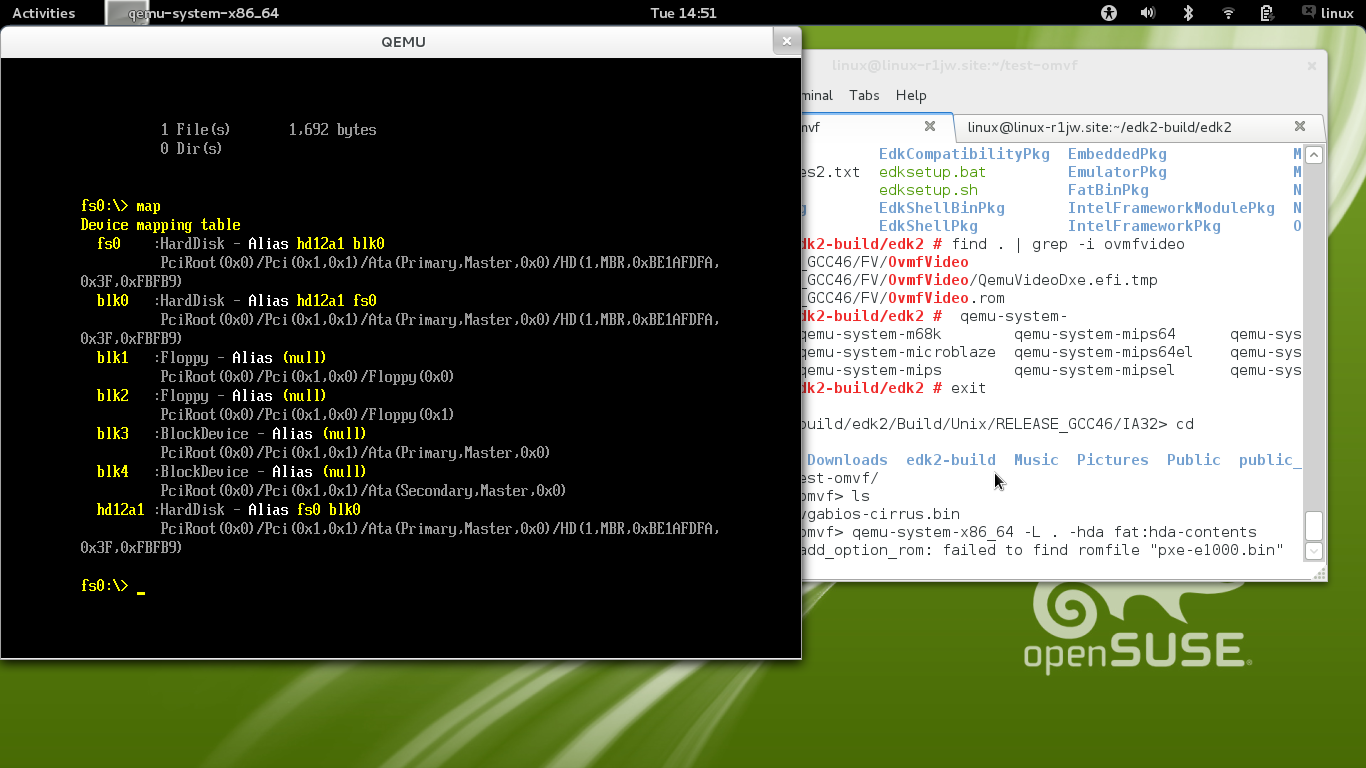
> qemu-system-i386 -L . -hda fat:hda-contents
PS. For X64, the steps is similar but remember use qemu-system-x86_64 in last step.
> qemu-system-x86_64 -L . -hda fat:hda-contents
Both IA32 and X64 are tested and working under openSUSE12.1. :)
Build OVMF - Method 2
Thanks to Jordan Justen, he points me a better approach for building and running OVMF. It's much more out-of-box and don't bother to touch the config file. :)
For building, on IA32
> OvmfPkg/build.sh -a IA32
on X86_64
> OvmfPkg/build.sh -a X64
For running, on IA32
> OvmfPkg/build.sh -a IA32 qemu
on X86_64
> OvmfPkg/build.sh -a X64 qemu
Verified on openSUSE 12.1, work as expected. :)
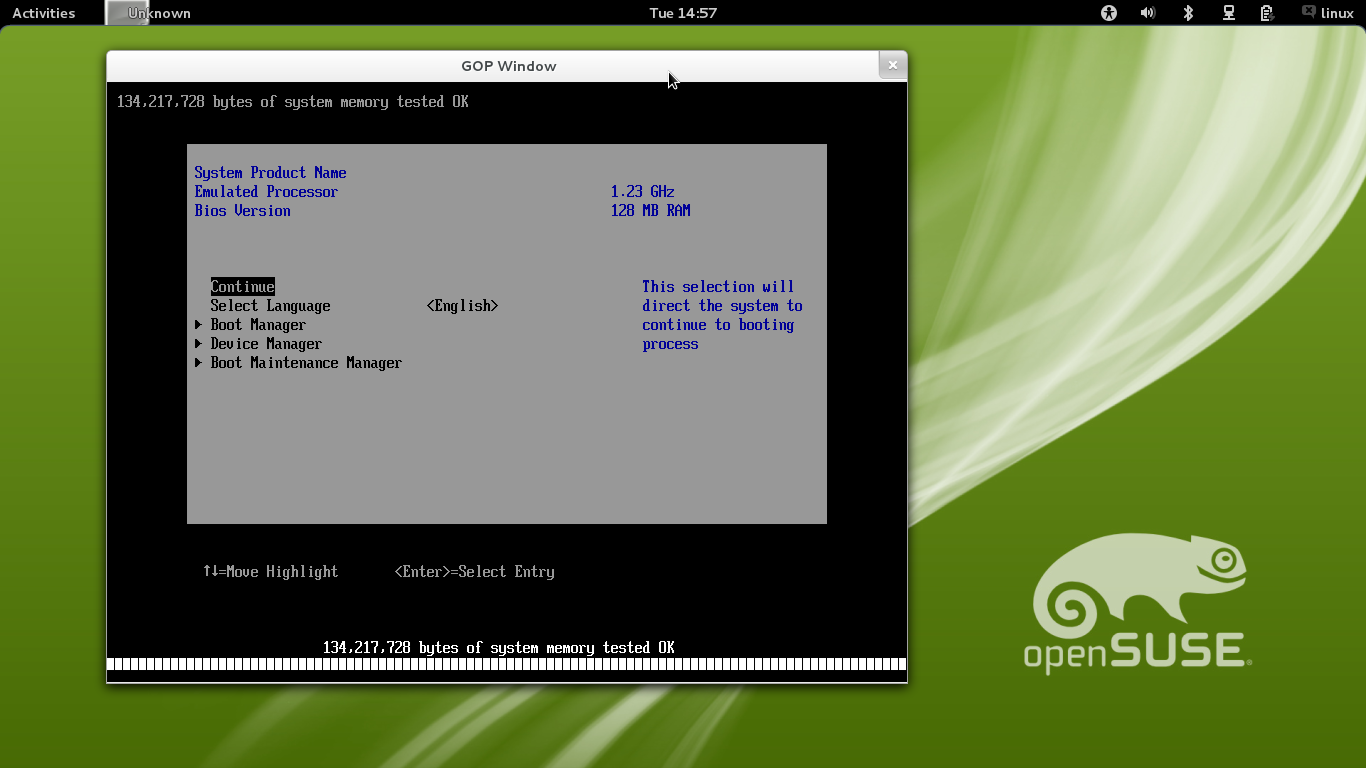
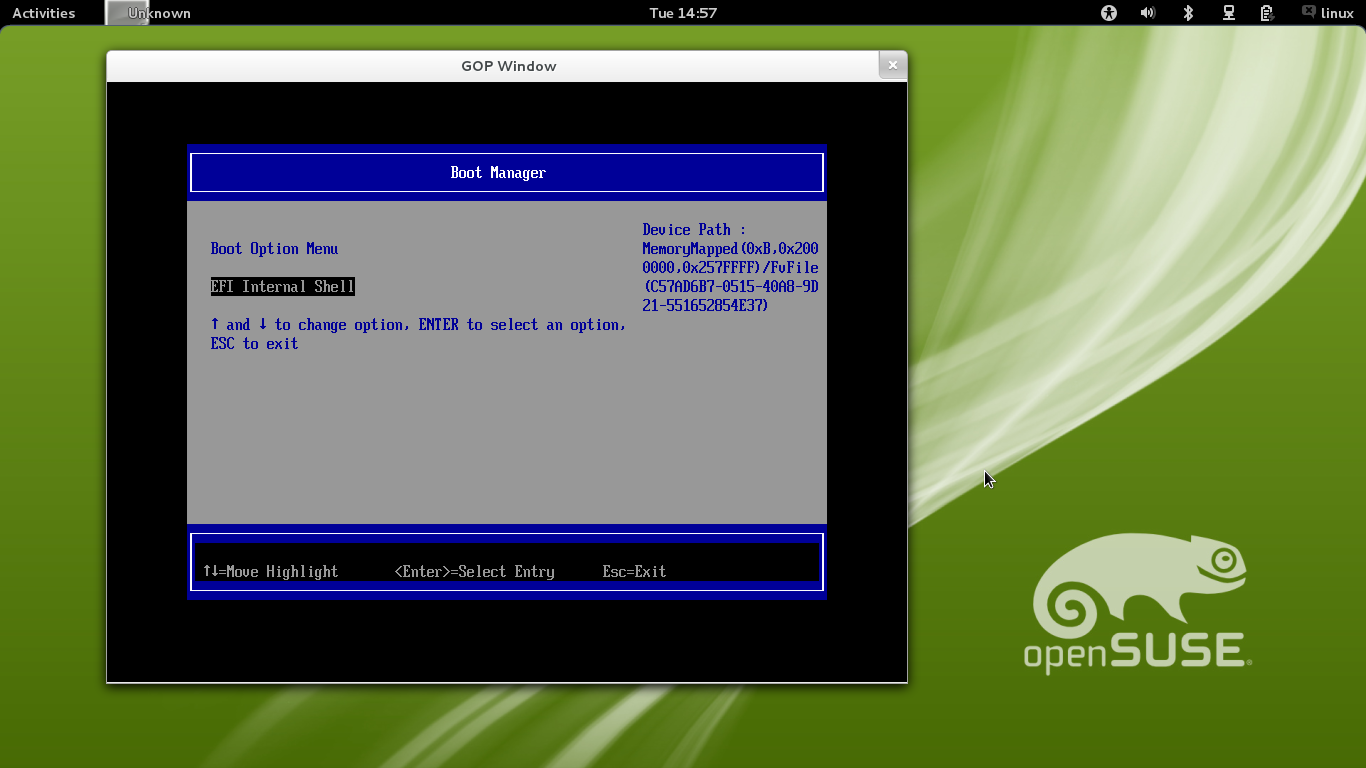
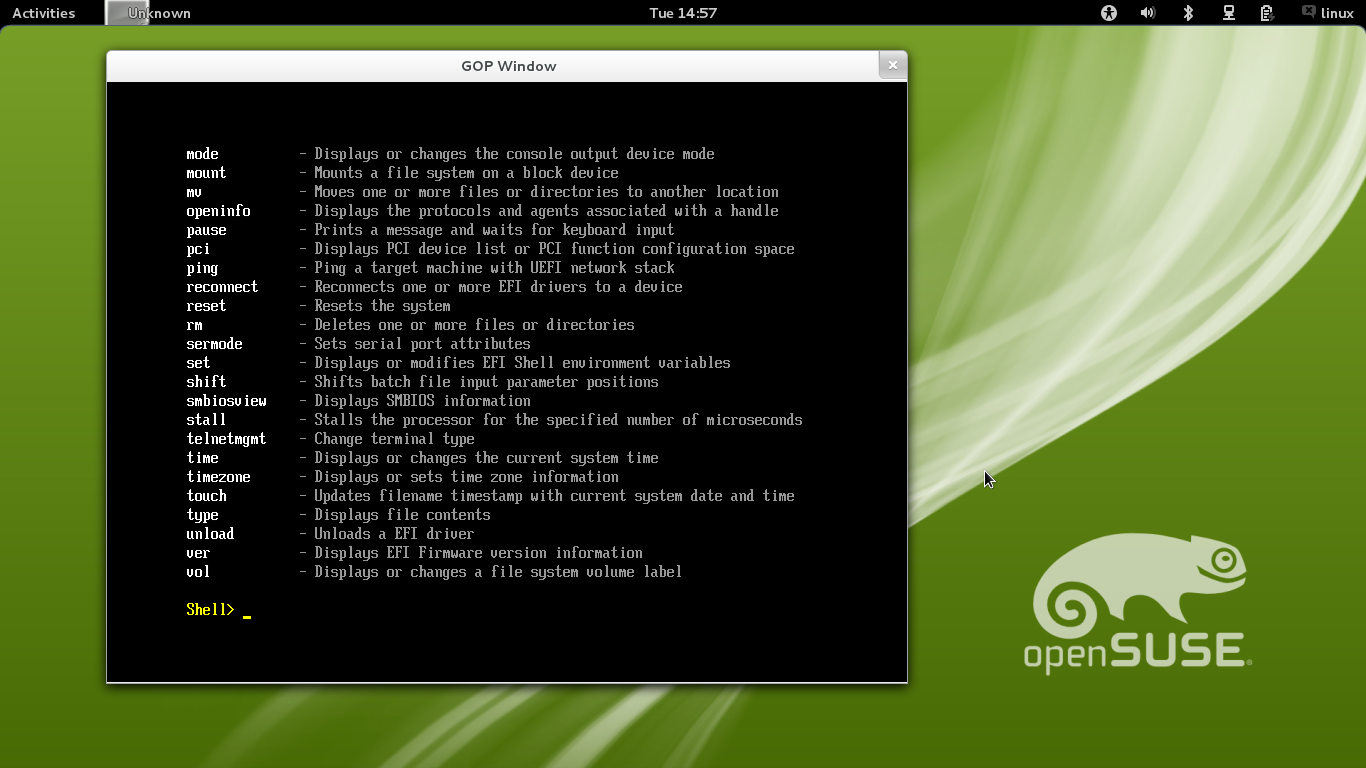
Screenshots
Build EmulatorPkg
EmulatorPkg also provides emulated environment on hosts (x86_64 and IA32) on which no UEFI environment is available. You can think it as a better replacement for SecMain, seems like SecMain would be superseded by it?
Anyway, building and running it are also verified well on openSUSE 12.1. However the steps are simplified (Yes, thanks to the good job made by uEFI developers :)).
To build on both IA32 and X86_64, use
> EmulatorPkg/build.sh
To run the emulator. use
> EmulatorPkg/build.sh run
Also it accepts IA32 building and running under X86_64
> EmulatorPkg/build.sh -a IA32
> EmulatorPkg/build.sh -a IA32 run
