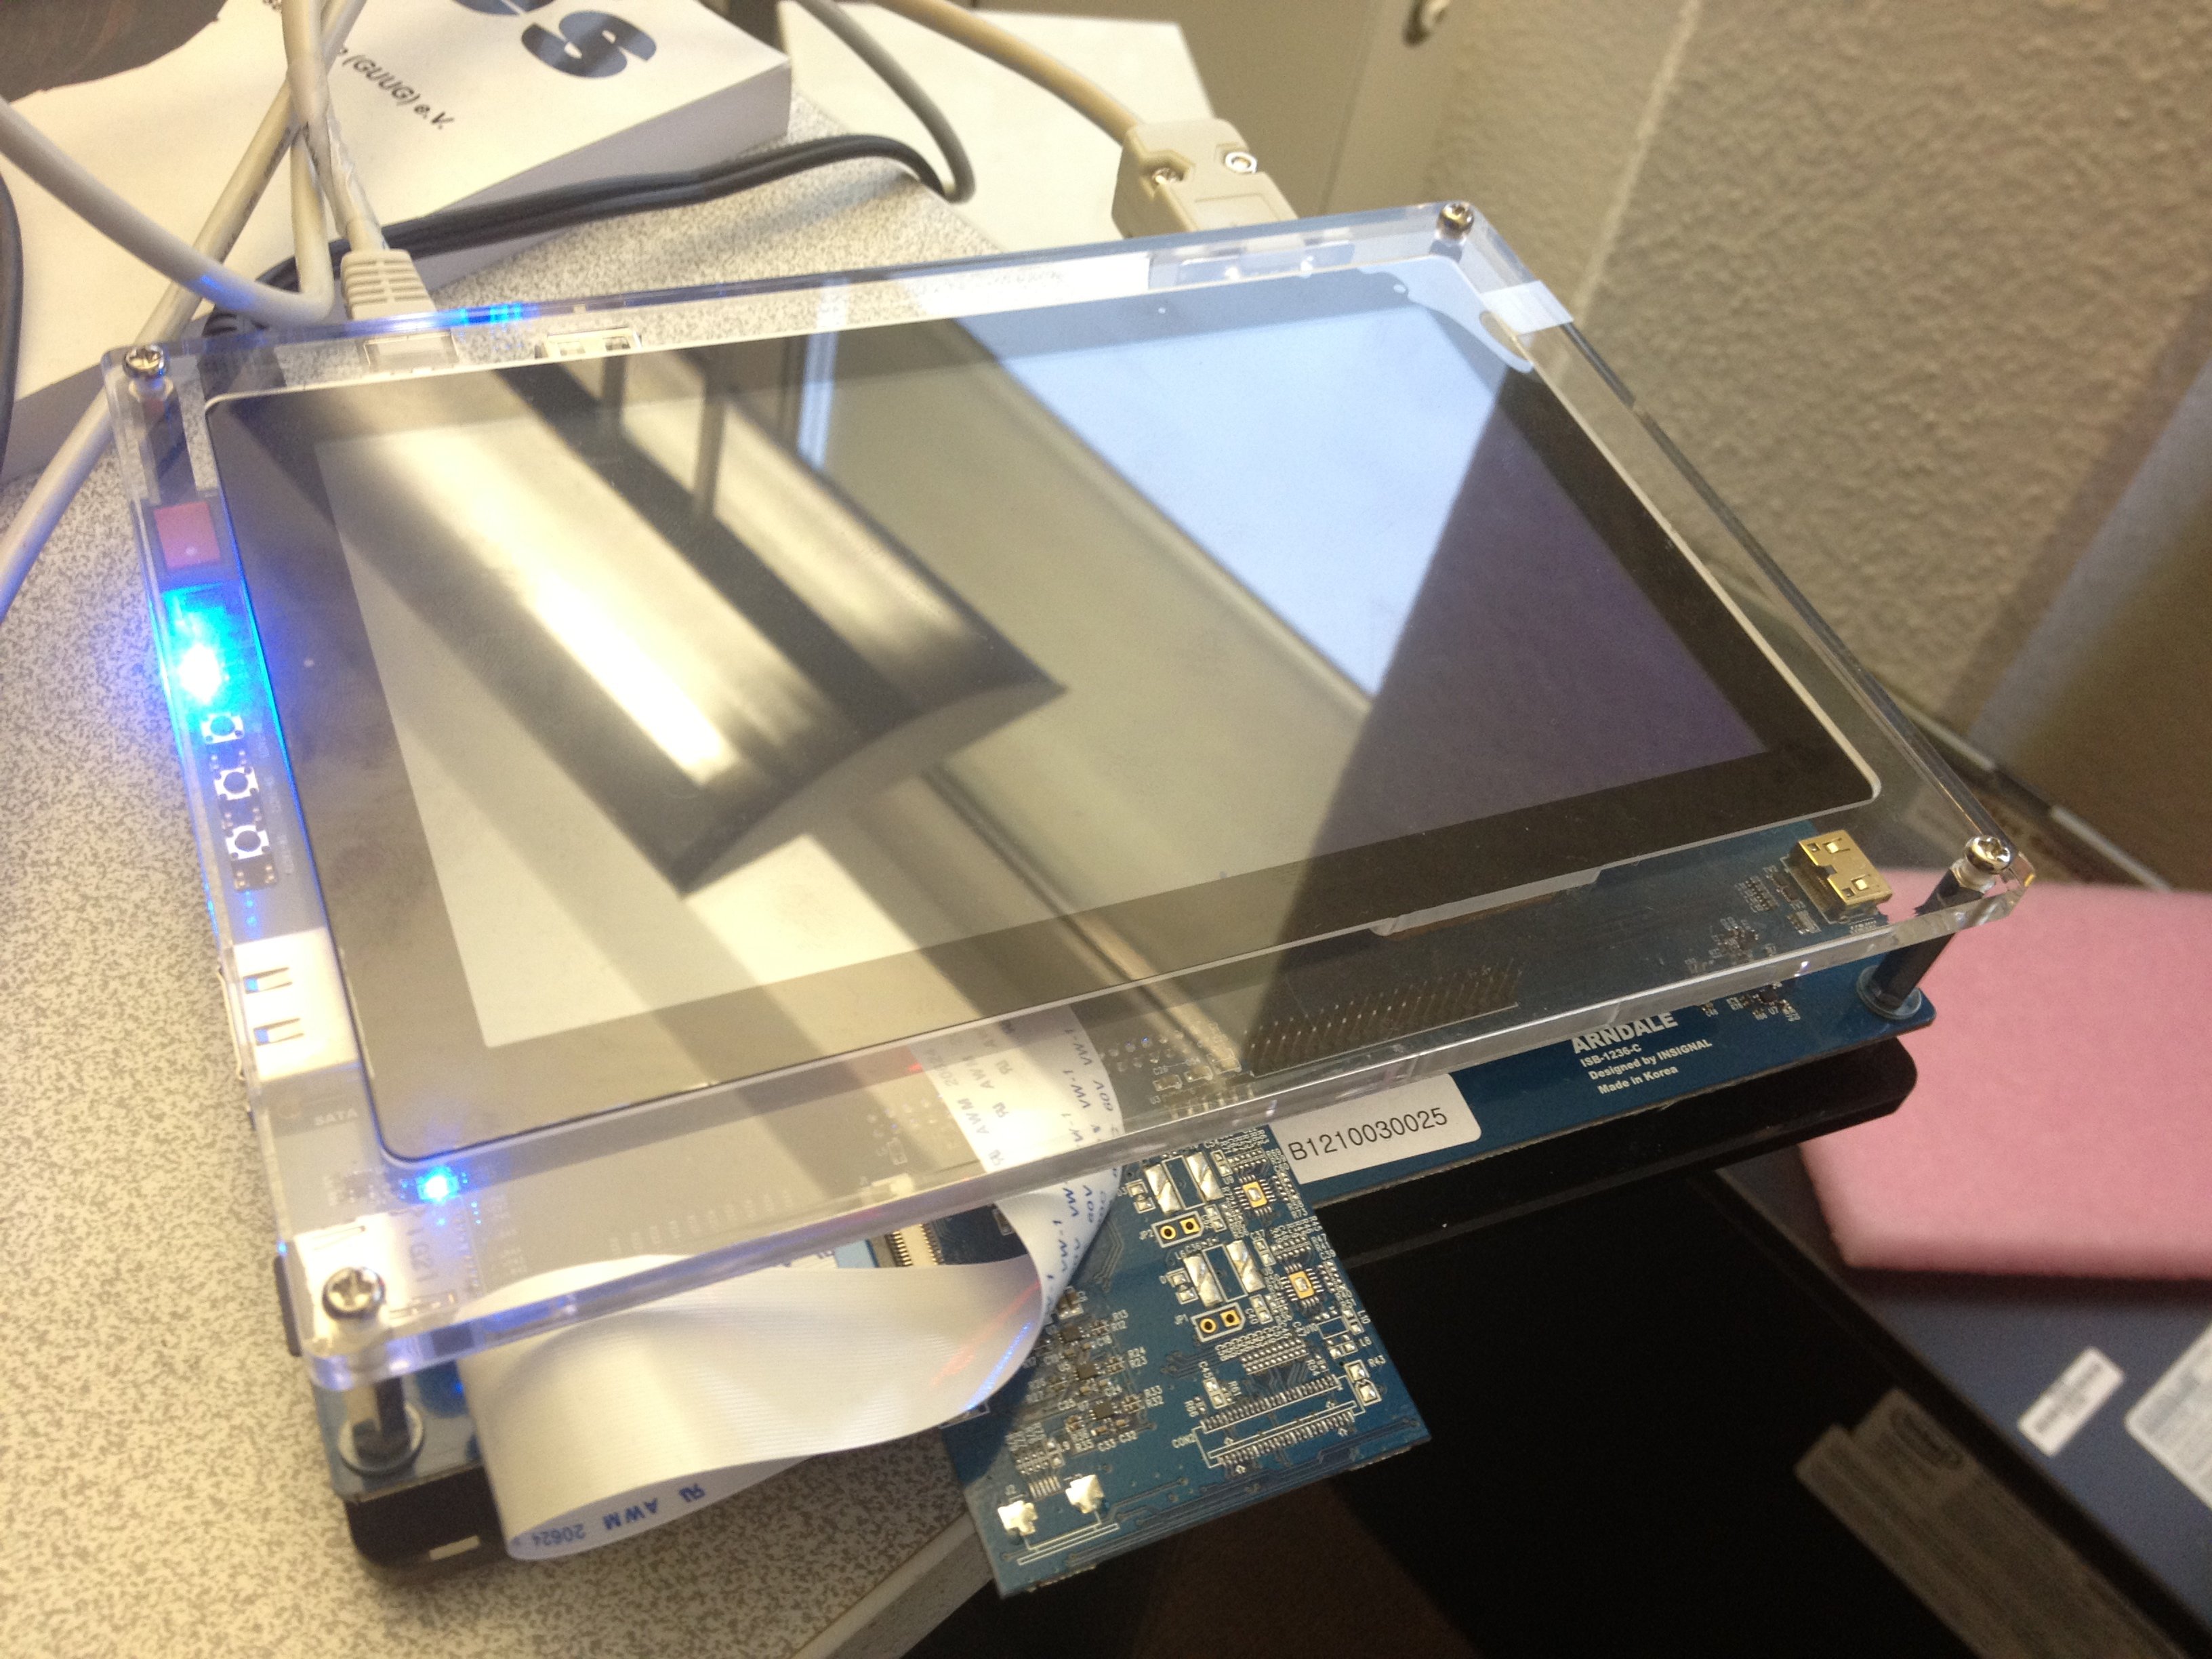
HCL:Arndale
The Arndale Board is a developer board for evaluation of the Exynos 5 SoC.
Technical Data
- Cortex-A15@1.7 GHz dual core subsystem with 64/128 bit SIMD NEON
- 32KB(instruction)/32KB(DATA)L1 Cache and 1MB l2 Cache
- 32-bit 800 MHz DDR3(L)/DDR3 2GB
- Accelerator : Invensence MPU-6050
- Gyro : Invensence MPU-6050
- e-Compass : AKM -AK8963C
- ITU 601 camera Interface
- HDMI 1.4 interfaces with on-chip PHY
- One channel eDP output Single WQXGA
- MIPI DSI Standard Specification V1.01r11
- MIPI CSI Standard Specification V1.0 Two ports
- USB3.0 Host or Device 1-channel that supports SS(5Gbps) with on-chip PHY
- USB2.0 Host or Device 1-channel that supports LS/FS/HS with on-chip PHY
- USB HSIC 2-channel that supports 480Mbps with on-chip PHY
- SATA 1.0/2.0/3.0 interface
- One channel eMMC 4.5
- One channel SDIO 3.0
- Two channel SD 2.0
- Four channel high-speed UART
- (up to 3Mbps data rate for Bluetooth 2.0 EDR and IrDA 1.0SIR)
- Three channel high-speed SPI
- Three channel 24-bit I2S audio interface
- Four channel I2C interface support , up 400kbps
- Four channel HS-I2C up to 3.1Mps
Before installing an openSUSE image
Configure the board to boot from SD using this description In short, move the DIP switch(CFG1/SW1) to set it on SD/MMC boot. CFG1[1:6]: 000101 = eMMC boot ; 001000 = SD/MMC boot
Writing a disk image to the SD card
- Download the image you want (Leap is stable, Tumbleweed is rolling) from here:
 Tumbleweed
JeOS image E20 image XFCE image LXQT image GNOME image KDE image X11 image If the direct links above do not work for you, please check the general download directory for the images.
 Leap-15.3
JeOS image E20 image XFCE image LXQT image GNOME image KDE image X11 image If the direct links above do not work for you, please check the general download directory for the images.
- As root extract the image onto your SD card (replace sdX with the device name of your SD card).
WARNING: all previous data on the SD card will be lost. Check first if the device you have selected is really your SD card!xzcat [image].raw.xz | dd bs=4M of=/dev/sdX iflag=fullblock oflag=direct; sync
- Insert the SD card with the openSUSE image into your board.
- Connect the board to your PC via serial port (optional, but helpful for debugging; USB-TTL serial cable needed).
- Connect the board to your monitor (via DVI/HDMI, optional).
- Power on the board.
- Walk through the first boot steps.
- Ethernet is configured to request an IP via DHCP, check your DHCP server for the board IP if used.
- Have a lot of fun...
Default login is root:linux, works on serial console, via ssh, GUI.
Known Issues
- To power on the board, after switching the red switch for power supply, press the switch labeled SW-TACT1 for 2-3 seconds.
- USB OTG port is not working by lack of s3c-udc module in openSUSE kernels
- By default, u-boot uses environment from eMMC. So, you may need to reset it with:
env default -f -a
saveenv
KVM
The board and the openSUSE u-boot and kernel are KVM capable and enabled. All you need to do to get KVM working is to install use qemu. See openSUSE:AArch64#QEMU
