SDB:Live USB stick
Download the latest openSUSE ISO file
Download the installation image of your choice from get.opensuse.org.
Verify the integrity of the downloaded image
After the download has completed, verify the integrity of the downloaded ISO following these instructions.
Backup your USB drive
Make sure there is no important data on the USB drive prior flashing the image. Create a backup of the data if needed.
Using an Image Writer
These are general instructions to write an ISO to a USB device.
Install Impression or Imagewriter for openSUSE
Impression is only available in the Tumbleweed repository. For Leap install the package Imagewriter.
Use this command to install Impression on Tumbleweed.
# sudo zypper install impression
Write ISO to USB
These instructions are for Impression. The process for Imagewriter will be similar.
|
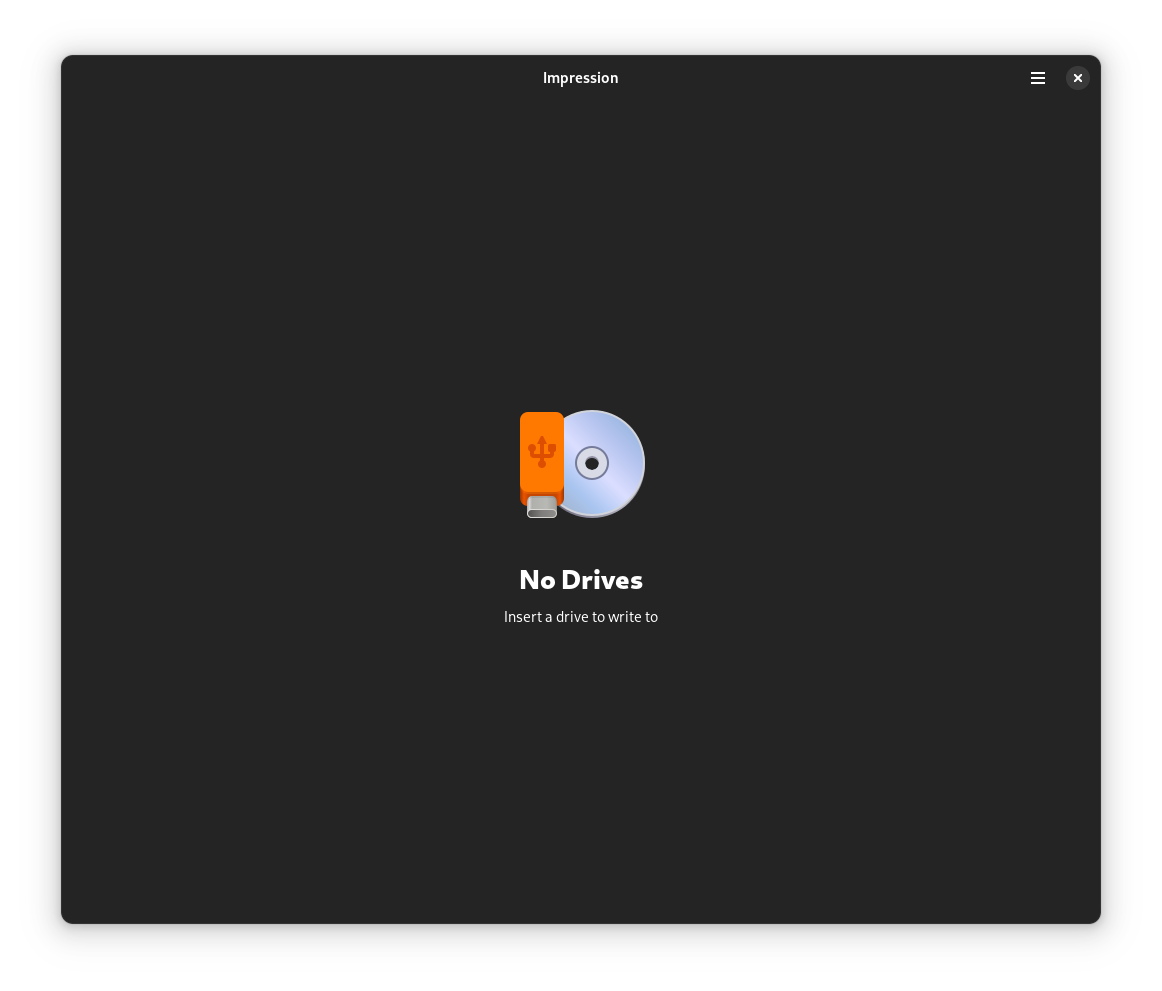
Step 1: Start Impression from the application launcher. The application requires root permissions, so enter the root password when prompted.
|
|
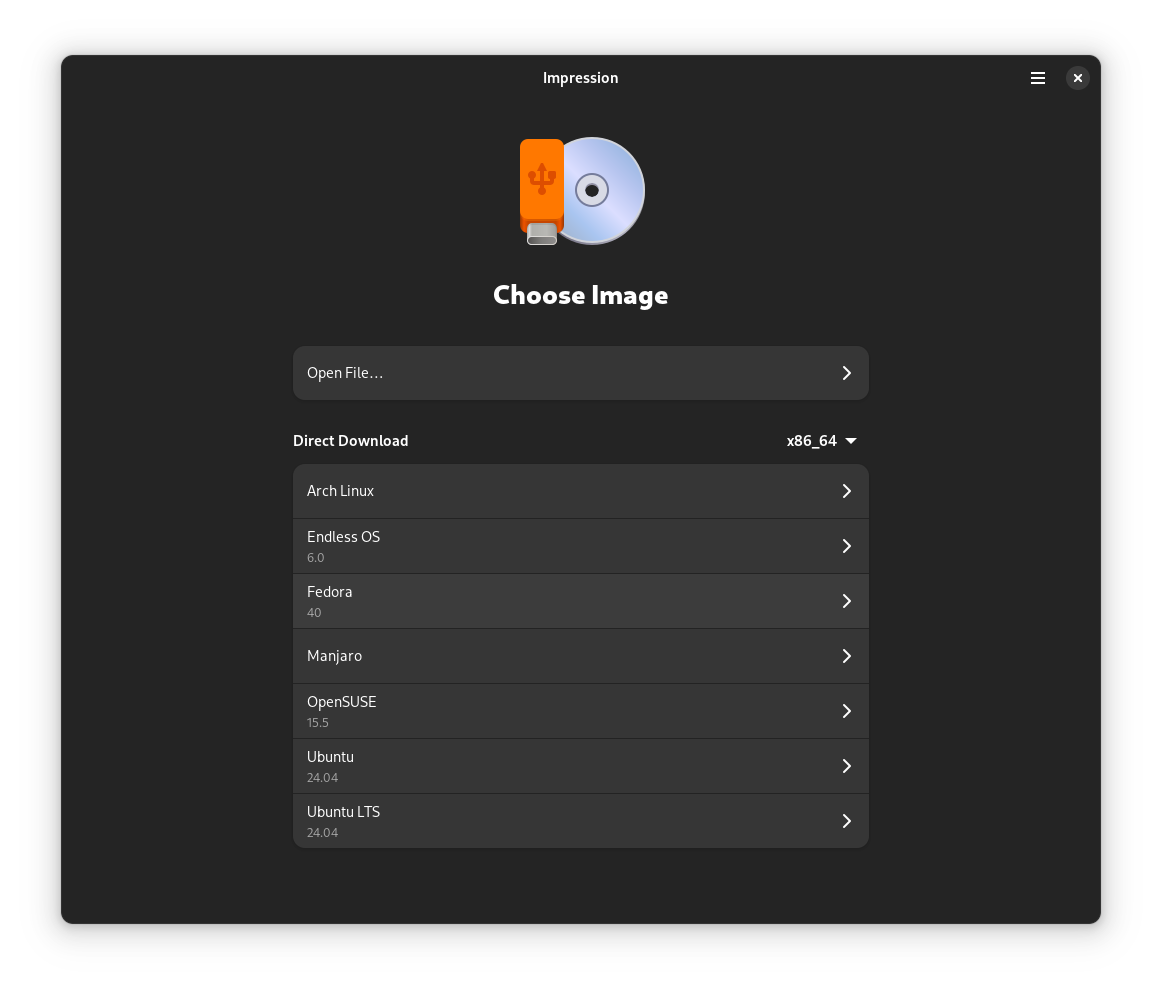
Step 2: Choose "Open File" and navigate to the location of the downloaded ISO file.
|
|
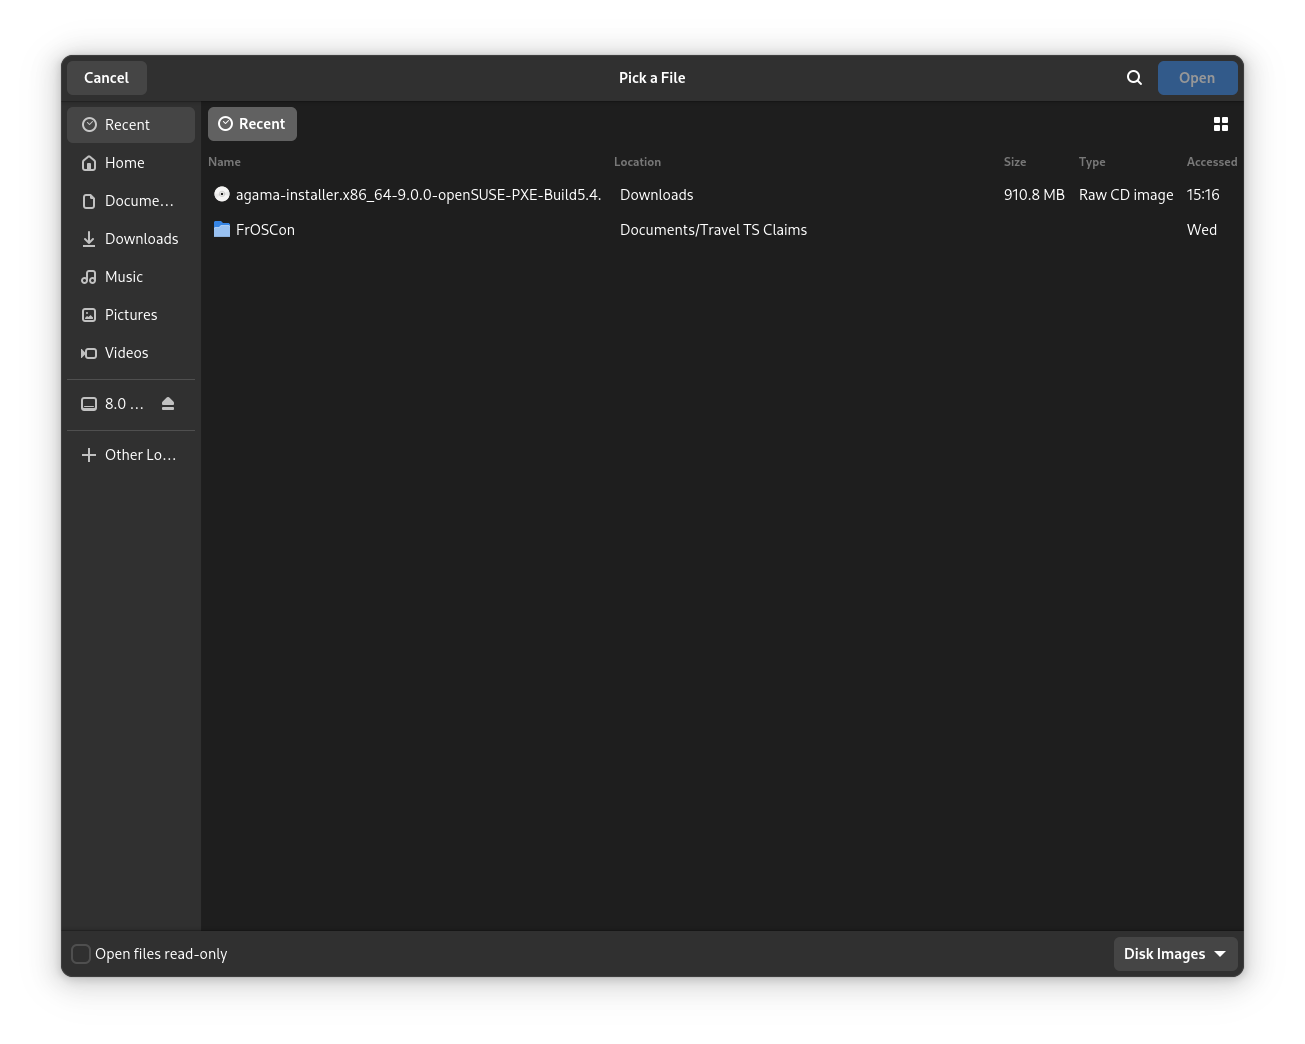
Step 3: Select the downloaded ISO file.
|
|
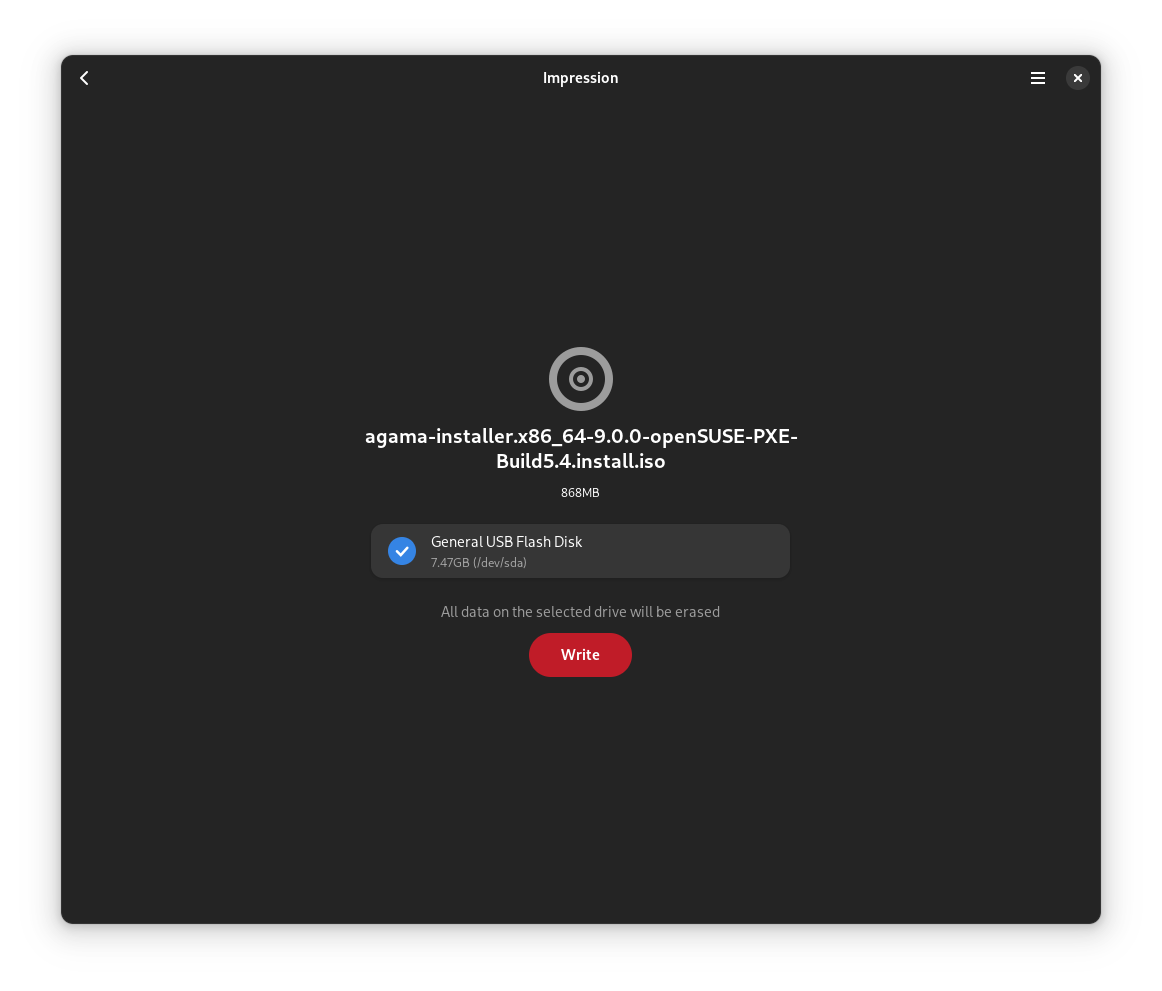
Step 4: Write the image with Impression by selecting write.
|
|
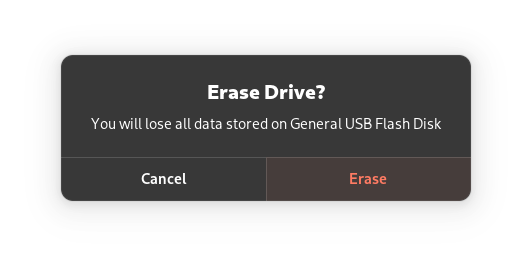
Step 5: Confirm overwriting the data on the USB device by clicking Erase. You will be prompted to provide a password; enter password and confirm.
|
|
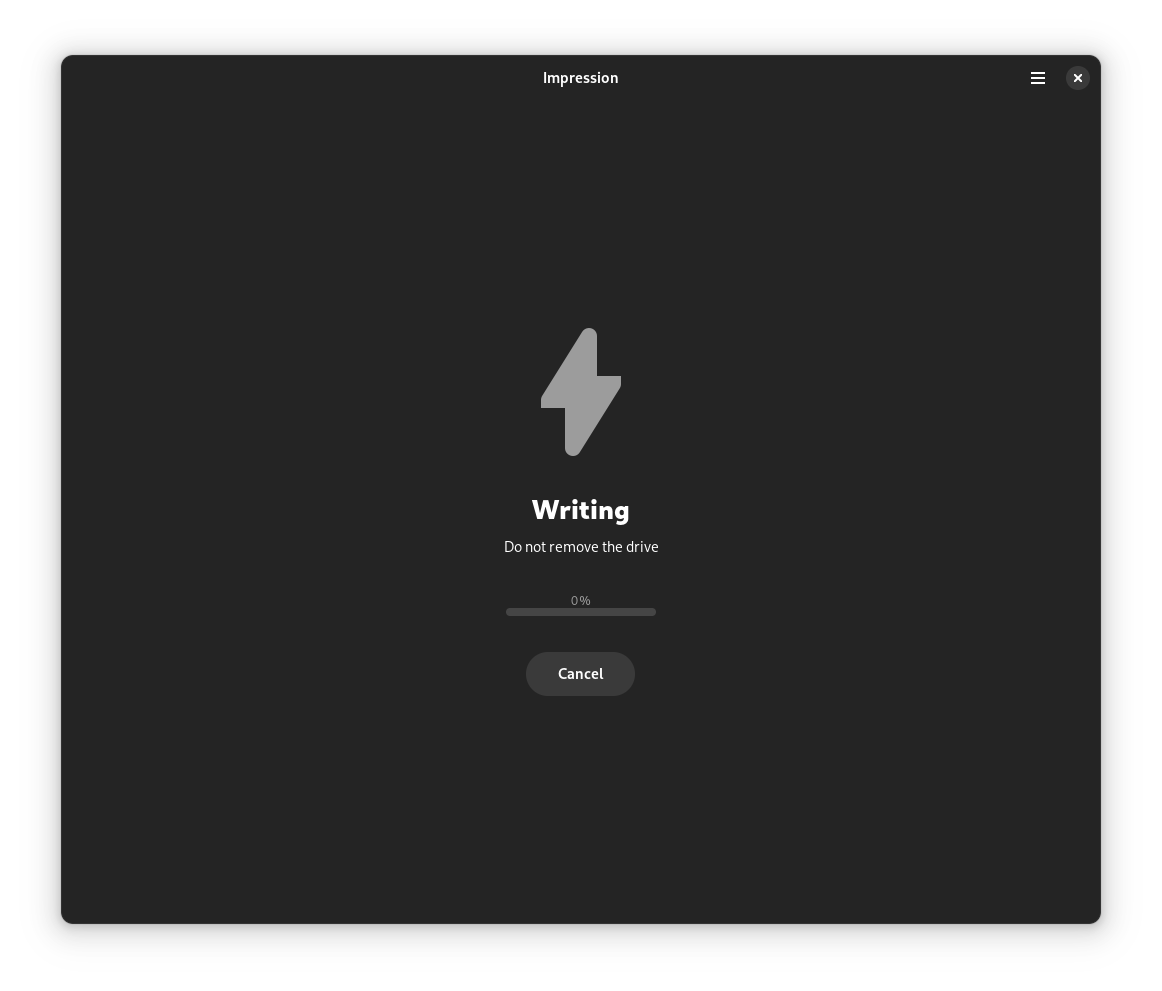
Step 6: Writing the data will take a few minutes. After that, your openSUSE bootable USB device is ready!
|
Using live-fat-stick, live-grub-stick, live-usb-gui (Command line or GUI way)
If you'd rather not reformat the USB device and keep the ability of putting files on it and accessible by other operating systems, you have the option of using the live-fat-stick or live-fat-stick scripts from command line or live-usb-gui point and click graphical interface. You can put ISO on a vfat partitioned USB stick or hard disk.
On openSUSE you can install the packages simply via YaST. If you are running any other distribution, get the scripts from github and make it executable (as root, with chmod +x /usr/bin/live-fat-stick) after copying it to /usr/bin/, make sure you have syslinux and gpart installed before running it.
Run the following as root (with su -, not using sudo) in terminal to get the USB device path:
Run the following to make USB stick with vfat(fat32) partition bootable with iso copied on it:
To make USB device bootable with EFI(Secure boot capabilities) wiping all data from it, run:
For more help, run:
Use live-grub-stick command in place of live-fat-stick as shown in above examples if you wish to create bootable usb sticks formatted in any file systems supported by grub2, for example you can use ext3/ntfs formatted stick to create bootable USB from standard openSUSE installation iso, this allows the use of remaining space for putting other iso images or data.
Multiple iso images from multiple distributions can be added to the USB device with vfat partition when not using "isohybrid" option, boot menu will offer a choice of distribution to boot from. Scripts does not format or remove data from the device.
Using commandline tools
The following steps use CLI tools. The example uses prompts: the $ is the user prompt and # means the root prompt.
Find Block Device
To find the block device of your USB stick, make sure you have NOT plugged the stick to your computer.
1. Run:
$ lsblk --fs >/tmp/withoutusb.txt
2. Plug in your USB stick to your computer.
3. Run:
 $ lsblk --fs >/tmp/withusb.txt
 $ diff --ignore-space-change /tmp/withoutusb.txt /tmp/withusb.txt
 > sdb         udf               openSUSE 15.2           527a66480003416e
 > └─sdb1      vfat              ...                     CF4D-E297
The output can vary depending on the content of the stick. In this case, your disk is sdb so you need to use the device /dev/sdb.
Write ISO to USB
Finally, once you've found your block device, write the image to it. Point dd to the full path such as /home/user/Downloads/openSUSE-*.iso.
Replace /dev/sd<X> with your block device of your USB stick from the previous step:
# umount /dev/sd<X>
# dd if=/path/to/downloaded.iso of=/dev/sd<X> bs=4M status=progress oflag=direct
If you get the message
# dd: invalid status flag: 'progress'
your dd version does not support the status=progress option and therefore you have to remove it (and you will miss the writing progress indicator).
Optional steps
How to Recover the USB Stick for "Normal" Use Again
After installing a system, you may want to reuse the USB stick as a regular storage device. To do this, you will need to reformat it. Often, users report that Windows fails to do this correctly.
Step 1: Repartition the USB Stick
You can repartition the USB stick using `fdisk`. Follow these steps:
# fdisk /dev/sdX
Where `/dev/sdX` is your USB device.
1. Create a new empty DOS partition table by typing:
o
2. Add a new partition by typing:
n
  - Select "primary" as the partition type.
  - Choose partition number `1`.
  - Use the default size to allocate the entire device.
3. Change the partition's system ID by typing:
t
- Use type `6`, which corresponds to FAT16.
4. Write the changes to disk and exit by typing:
w
Step 2: Format the USB Stick
After partitioning, format the USB stick with the following command:
# mkfs.msdos -n SOME_NAME /dev/sdX1
Replace SOME_NAME with your preferred label for the USB stick. This step is crucial because without the -n SOME_NAME option, the USB stick might mount with the ISO name.
Alternative: Using GParted
Alternatively, you can use GParted for partitioning and formatting if you prefer a graphical interface.
Troubleshooting: Repartitioning Issues
If you encounter issues, such as the USB stick being recognized as a CD or not being writable, follow these steps with caution:
If you inspect the USB stick with fdisk after writing an ISO, you might see something like this (note the GPT warning):
# fdisk -l /dev/sdX
WARNING: GPT (GUID Partition Table) detected on '/dev/sdX'! The util fdisk doesn't support GPT. Use GNU Parted.

Disk /dev/sdX: 7742 MB, 7742685184 bytes
64 heads, 32 sectors/track, 7384 cylinders, total 15122432 sectors
Units = sectors of 1 * 512 = 512 bytes
Sector size (logical/physical): 512 bytes / 512 bytes
I/O size (minimum/optimal): 512 bytes / 512 bytes
Disk identifier: 0x1bf0d4df

   Device Boot      Start         End      Blocks   Id  System
/dev/sdX1            4248       12439        4096   ef  EFI (FAT-12/16/32)
/dev/sdX2   *       12440     9162751     4575156   17  Hidden HPFS/NTFS
Step 3: Zero Out the USB Stick (If Needed)
Before reformatting, you may need to repartition the USB stick again. If it fails, use this extra step because some software might recognize the stick as a CD, making it non-writable:
Notice: These instructions assume the USB stick device is `/dev/sdX`. You must identify your device correctly (refer to the "Find Block Device" section). Mistakes can destroy other disks in your system.
1. Unmount the USB stick:
# umount /dev/sdX
2. Destroy the boot sector, partition table, and initial structures:
# dd if=/dev/zero of=/dev/sdX count=100
This process will make the USB stick ready for reformatting by any operating system.
Troubleshooting
How to make a USB drive bootable
This situation would happen very rarely, but in the event that your computer doesn't boot from the LiveUSB/DVD from the steps above, you might try the following procedure.

Open a console and do the following as root:
# umount /dev/sdX
# fdisk /dev/sdX
: p   «--- print partition table
: a   «--- activate partition (bootable)
: 1   «--- apply to partition 1
: w   «--- write changes and exit