SDB:Offline upgrade
Recommended articles
Related articles
Summary
This page tries to describe the traditional system upgrade method, or offline method. Basically it is done by booting from the installation DVD/USB stick and choosing "Upgrade" instead of "Install". It is safer and more versatile than the live upgrade (zypper dup), because the system is taken offline, the upgrade is done from a small live system running off the DVD. There is no need to stop and start services. There are no problems with changing in use, important, libraries. Of course, the system is down for some time, perhaps longer than for a live upgrade.
This procedure has been available for ages, at least since version 5.2. Thus it is also known as "traditional upgrade".
One disadvantage is that, as the DVD doesn't contain all the available packages, it is very possible that some packages in your installation can not be upgraded during the procedure, and have to be taken care of later. Another disadvantage is the backup files created could use up all your root partition space.
Why do a system upgrade
Why do a system upgrade instead of a fresh install? Proponents of the fresh install route say that there will be stale system libraries, broken configurations, etc, that you don't get with a fresh install. Most of the data files are stored on '/home', which if not formatted are kept with a fresh install. And it is usually faster and less problematic. Indeed a fresh install of openSUSE 42.3 over openSUSE 42.2 may be quicker to a working system as the update downloads are delayed until after first system boot and it will carry over your user configuration (although this has not been the case with other openSUSE upgrades).
True.
However, there are other data files that are not kept, like MariaDB databases, IMAP email storage, system configurations, like for Postfix, Samba, or Hylafax, server files like Apache web files, that make an upgrade more interesting and can actually save time on some scenarios. A server machine can take weeks to configure.
Supported scenarios
As for the live upgrade, it is to be considered a "best effort": it should work, but it can also fail. It is strongly recommended to make a full backup previous to the undertaking. If the upgrade fails, you can then restore and try again, changing whatever is needed to avoid the previous problem, install fresh, or attempt a live upgrade.
- Official Support: As far as I know, you can upgrade between two versions that are or were currently supported, like from 13.1 to 42.1. But this assertion needs an official statement I can not make.
It is possible that a jump across 3 or 4 versions can work, but there is no assurance. If you want to try, make a full backup, get a comfortable chair, and go ahead :-)
- 32 --> 64: It has been described how some have used this procedure to upgrade from 32 bits architecture to 64 bit successfully. Certainly an offline procedure has greater chances than the online procedure, but it must be emphasized that it is not supported. Don't try it unless you are experienced.
Prepare for the upgrade
The supported starting point is an openSUSE release with all current updates applied. Refer, for example, to the live upgrade page to see how to do that.
Read the Release_Notes page for the target version, and for the intermediate versions if you jump.
Read the openSUSE:Most_annoying_bugs page for the target version and intermediate versions.
You need to have downloaded the DVD of the target version, that you have verified its checksum, burned it, and also verified the burnt media. It has to be of the same architecture as the currently installed version. No, you can not use one of the live CDs. Online repos can be used as sources, but this doesn't fully work.
Ensure you have enough free space on all system partitions. The process will not check this, and lack of space will crash the process and destroy your system: you have neither the upgraded system, nor the old one.
A trick is to also install fresh on a small partition, in order to test the target distribution on the target hardware; thus problems can be checked and solved before the actual upgrade, and later some configurations can be compared. Besides, it makes for a nice rescue system. Or, if possible, you can test here the factory version, and later upgrade the main partition. Many possibilities!
Do a full backup. Any upgrade procedure can occasionally fail, and render your system unbootable and/or unrunable. Repairs are possible but not always; it is better to work with a good safety net. After the failure, you can learn the reason and attempt again (after recovery from the backup), or give up and try a fresh install, with the knowledge that no data was lost.
Do a dump of the databases, so that recreation of them is possible if the migration fails.
Stop mail. Make sure you have not pending outgoing or ingoing email in postfix.
You can even upgrade an old, currently unsupported openSUSE version, to a newer version, supported or not. It is highly recommended you upgrade to the next available release, one-by-one, until you end up at the release you want. For example, if you are on 12.3, but want to upgrade to 13.2, do this: from 12.3 upgrade to 13.1, then from 13.1 upgrade to 13.2. If you do decide to skip over a version, remember that the more versions you skip, the chances of failure goes up significantly. Also remember that you can not report bugs for unsupported openSUSE versions or if you decide to skip version when upgrading.
Prepare repository list. If you are going to use your extra repositories, it is easier to change them to point to the new URL. Open a terminal, su - to root, change to directory /etc/zypp/repos.d, make a backup copy of the repo files there into a subdirectory, and edit them, for example running "sed -i 's/15.3/15.4/g' /etc/zypp/repos.d/*.repo" (why not use ${releasever} you will see now). Finally, run "zypper clean" and "zypper ref" — the later will fail if some repo is not found at the new URL. When all the URLs are correct, you can continue. It is easier to do this now, than later during the upgrade with a limited line editor.
Running the Upgrade
See screenshots at the bottom of this page for details (screenshots were captured during upgrade from 13.2 to Leap 42.1).
- If you are upgrading to openSUSE 13.1 or earlier version:
- Boot from DVD, choose installation. The DVD will start, and you get to the welcome screen. Choose installation language and keyboard language. Next.
- On next screen (installation mode), select update an existing system.
- If you are upgrading to openSUSE 13.2 (including Leap) or later version:
- Boot from DVD, choose upgrade. The DVD will start, and you get to the license agreement. Choose installation language and keyboard language. Next. (Fig. 1)
- It takes some time evaluating existing root partitions, then we get to the select for update screen. You have to choose the partition you want to upgrade. (Fig. 2)
- If you have a 32 bit system and the DVD is for 64 bit, the partition will not be found. Selecting the show all partition box will show it, and if selected you will be warned about upgrading to a different architecture. It is problematic and not supported; makes life interesting ;-)
- We now get to the previously used repositories screen: all repositories are removed because these point to the "old" distribution. We can change URL and activate it if needed. (Fig. 3). Notice that 15.4 will not warn of repositories it can not find, so it is better to check for this before starting the upgrade in the preparation steps. Also, in this screen ${releasever} is replaced with 15.3 instead of 15.4.
- If we activated any repo, now we'll be told that network is not configured, and prompted to configure it. So get to the network setup screen where you can set it up. (Fig. 4)
- We get to the Installation settings screen, the central part of this upgrade process, the configuration center. It consists of following sections (Fig. 5):
- System
- Update Options
- Packages
- Backup
- Language
- Keyboard Layout
- Boot
Many things can be changed here. If you think that something is wrong, click the section and change some settings. When you are happy with changes, press Update
- If you are upgrading from openSUSE Leap 42.2 to Leap 42.3 you will need more than a 21 GB root partition (exact size unknown as the Leap 42.3 calculation of disk space needed is at least out by 600MBytes).
System
Nothing to do here. It detects hardware, you could change some things if needed.
Update Options
The possibilities are to update based on the patterns selected (it is possible to change them), or in the currently installed packages only. The second option results in a system very close to the original one, and the first option is closer to what a newly installed system would be. This is the default and probably a better choice.
Packages
Here it is important we solve the possible conflicts between the packages installed and the available upgrades. The system tries to solve all of them automatically whenever possible, but not always. Some of the conflicts are caused by having enabled several additional (i.e. third party) repos, others because packages have changed in what the provide from one version to another. So we take a careful look here. If you are annoying many conflicts or complicated dependencies, it seems better to uninstall those conflicting packages and tell it to try again. Once the conflicts are solved, we can select or deselect any package we want to have. But remember that anything we add will be slower to install in this process than later when the system is running, because you can use it while it downloads things, and now we will be reduced to look while we wait.
Backup
Better leave it as it is.
- Create backup of modified files. They are stored in /var/adm/backup/*, but few of them are only useful as backup.
- Create a complete backup of /etc/sysconfig/. This can be quite useful. they are saved in the same place as above.
Language
A different or an extra language can be selected, and the keyboard adapted.
Keyboard Layout
And the keyboard layout can be changed.
Boot
It is better to leave it untouched.
Upgrading
We get a last chance to upgrade or abort. If we go ahead, we see the same slide show as for a fresh install, or the detailed display: that is a bit different. We have to be patient, the process is quite slower than for a fresh install, specially so on not powerful machine: even several hours.
Sometimes there are failed packages. They appear to be from third party's repository, perhaps the URL was incorrect. Nothing that can be done at this step.
Finally the process ends and the machine reboots.
After the upgrade
There are some tasks that need to be done after the upgrade is apparently finished.
Packages not updated
Some packages that are in the installed system are not in the DVD, and have to be downloaded from the OSS repo or the nonOSS repo, or from other repos; thus when this offline upgrade has finished there may be left another round of online package upgrades.
For this corrective procedure to work first you have to ensure that the list of repositories is correct for the new system. After that, do any one of these possibilities:
Possibilities:
- Run a zypper dup. It would download everything needed. Not very efficient. And in some cases might be dangerous.
- Run a zypper up. Neater. it updates things that have newer versions online.
- Run an rpm query and manually update what is needed. For example, you can run:
rpm -q -a --queryformat "%{INSTALLTIME};%{INSTALLTIME:day}; \
    %{BUILDTIME:day}; %{NAME};%{VERSION}-%-7{RELEASE};%{arch}; \
    %{VENDOR};%{PACKAGER};%{DISTRIBUTION};%{DISTTAG}\n" \
    | sort | cut --fields="2-" --delimiter=\; \
    | tee rpmlist.csv | less -S
or
rpm -q -a --queryformat "%{INSTALLTIME}\t%{INSTALLTIME:day} \
    %{BUILDTIME:day} %-30{NAME}\t%15{VERSION}-%-7{RELEASE}\t%{arch} \
    %25{VENDOR}%25{PACKAGER} == %{DISTRIBUTION} %{DISTTAG}\n" \
    | sort | cut --fields="2-" | tee rpmlist | less -S
The first version generates a list with text fields separated with semicolons, that can be imported into a spreadsheet and examined. The second version generates a tabulated text list, for visual inspection.
In both cases it is a list sorted by installation date of all installed packages in the system, with several fields printed that allow recognizing if a package belongs to the old system or to the upgraded system (or to the wrong architecture, in the case of a 32 to 64 bit upgrade). Then it is a question of upgrading each one with zypper in packagename, or firing up the YaST package manager and selecting each one for upgrade, one by one.
Another interesting variant is:
rpm -q -a --queryformat "%{INSTALLTIME}\t%{INSTALLTIME:day} \
   %{BUILDTIME:day} %-30{NAME}\t%15{VERSION}-%-7{RELEASE}\t%{arch} \
   %25{VENDOR}%25{PACKAGER} == %{DISTRIBUTION} %{DISTTAG}\n" \
  | sort | cut --fields="2-" | tee rpmlist.txt \
  | egrep -v "openSUSE Leap 15\.2|openSUSE_Leap_15.2|-lp152" | less -S
which would produce a list of the packages that possibly do not belong to the listed distribution, in the case of the example, Leap 15.2. You have to decide, looking at the generated list, whether a package does not belong to your version of the distribution, and do the necessary steps to upgrade it. For example, it may be a package that is no longer included in the distro, or that comes from a repository that the URL was not updated, or that needs activating some other repository. Whatever. You need to decide what to do and do it. You may even wish to keep the old version (if a new version can't be obtained and it doesn't break other things).
Finally, reboot and verify that everything works correctly. If it doesn't, verify the next subsection.
Stale configuration files
After an upgrade there are many configuration files that are changed and many not changed. Many of those (both types) require revision. The script rcrpmconfigcheck generates a file with a list of configuration files you have to review. Example:
Searching for unresolved configuration files            done
Please check the following files (see /var/adm/rpmconfigcheck):
  /etc/apparmor.d/usr.lib.dovecot.imap.rpmnew
  /etc/checkinstallrc.rpmsave
This is a tedious task that needs to be done. There are two cases shown above:
- The old configuration file remains active, and the new one from the rpm is left as *rpmnew.
- The old configuration is saved as *rpmsave, and the new one is activated.
You can either edit the old configuration taking whatever you decide from the new, or edit the new and add your changes, taken from the old copy. It is your choice and duty as administrator ;-)
A very good tool for this is meld (Visual diff and merge tool). You can edit two (or three) files simultaneously, see the differences between them, and copy sections from one to the other.
As a guide in case of problems, you can use the small fresh install mentioned in the section above (A trick). For example, upgrading from 11.1 to 11.4 you will hit the problem that the video system used by X has changed dramatically: instead of configuration files it uses autodetection. It is possible that X doesn't work on first boot; being able to compare the configuration with that of a working fresh install, can help locate and correct the upgraded system till it works.
Finally...
And finally, do a zypper patch or run YOU (YaST Online Update) and all should be done :-)
Further information links
- http://doc.opensuse.org/documentation/html/openSUSE/opensuse-reference/cha.update.html
- http://en.opensuse.org/SDB:Installation
- http://en.opensuse.org/SDB:Installation_help
- http://old-en.opensuse.org/Installation
- http://old-en.opensuse.org/How_To_Upgrade_System_with_Separate_/var_Partition
- http://old-en.opensuse.org/Testing/Upgrade
- http://old-en.opensuse.org/Installation_without_CD
Figures
These are screenshots taken from an upgrade of 13.2 to Leap 42.1, happening as a guest inside VirtualBox.
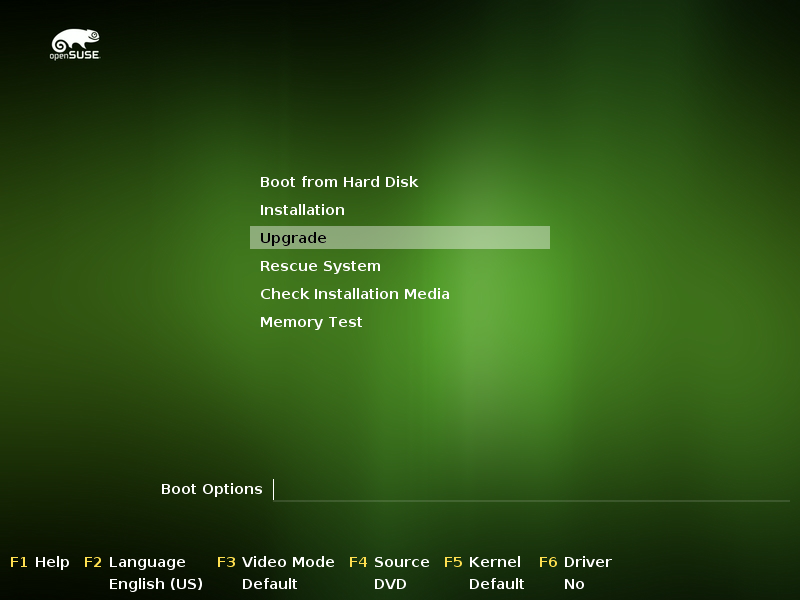
Fig. 0
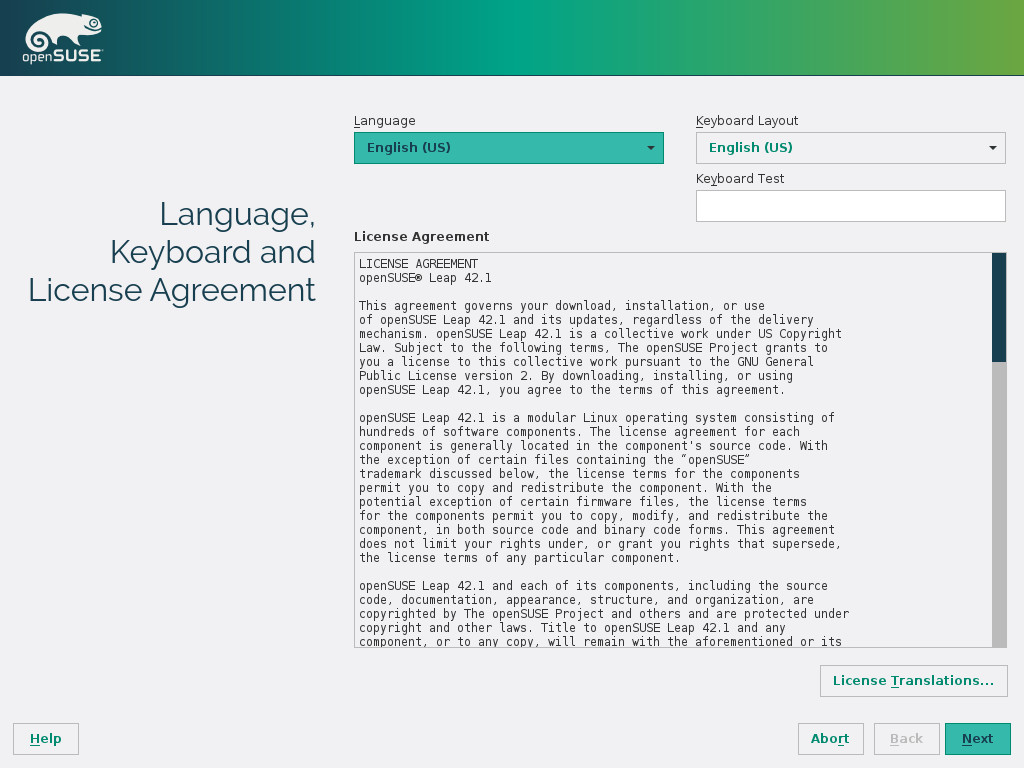
Fig. 1
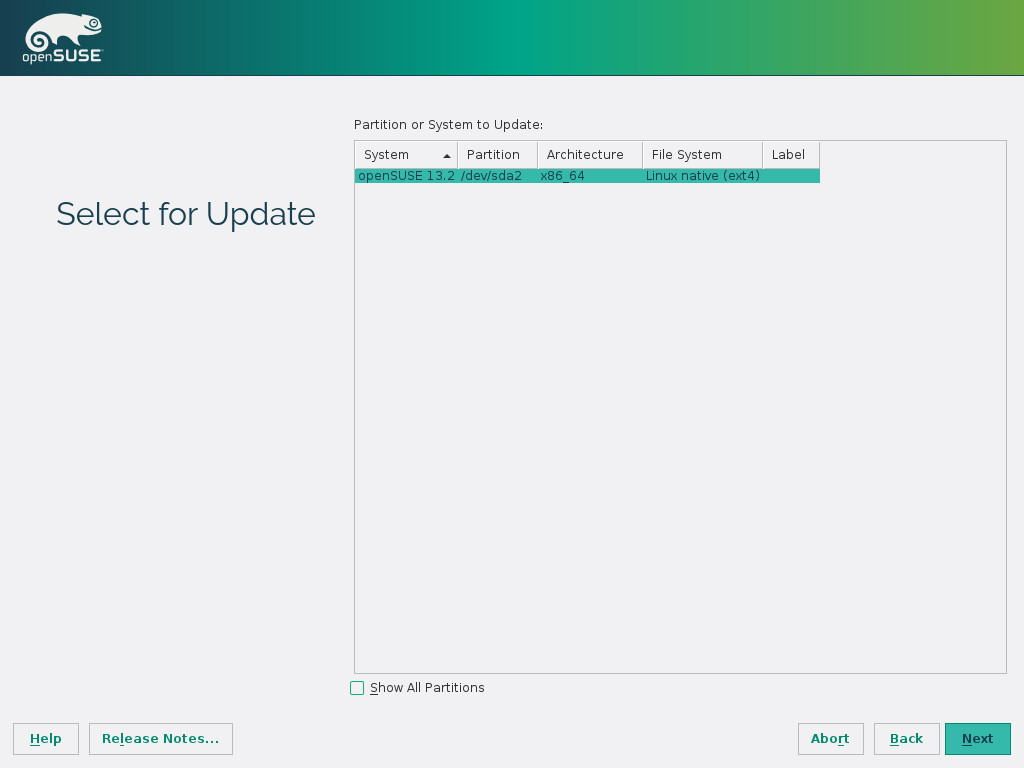
Fig. 2
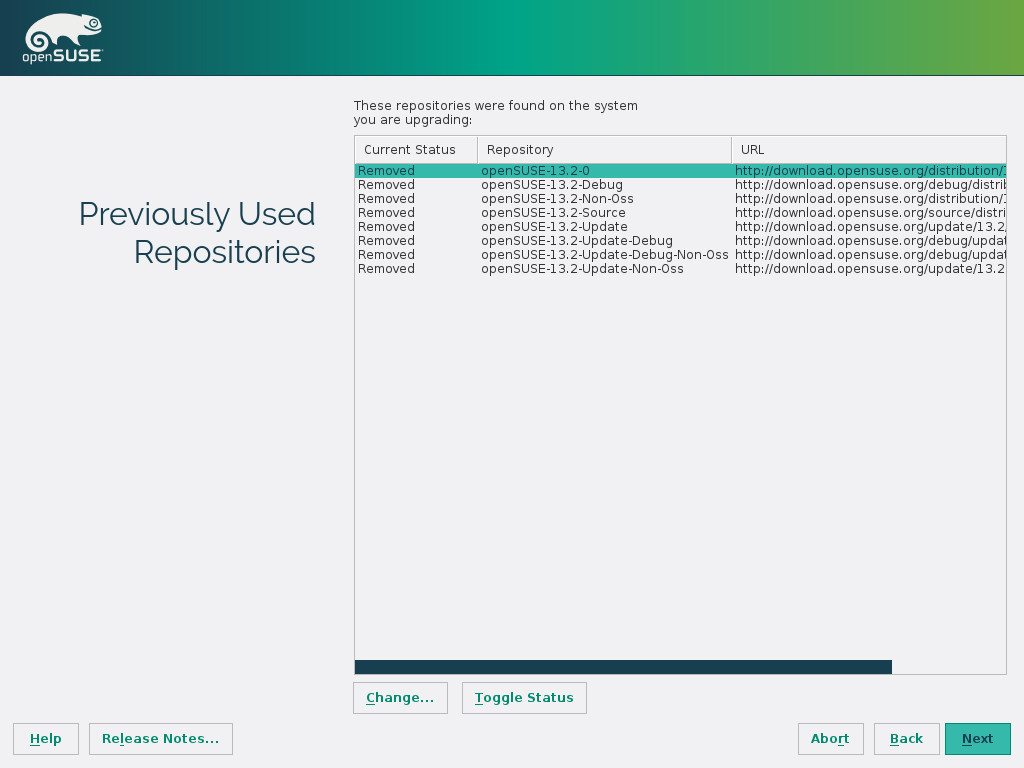
Fig. 3
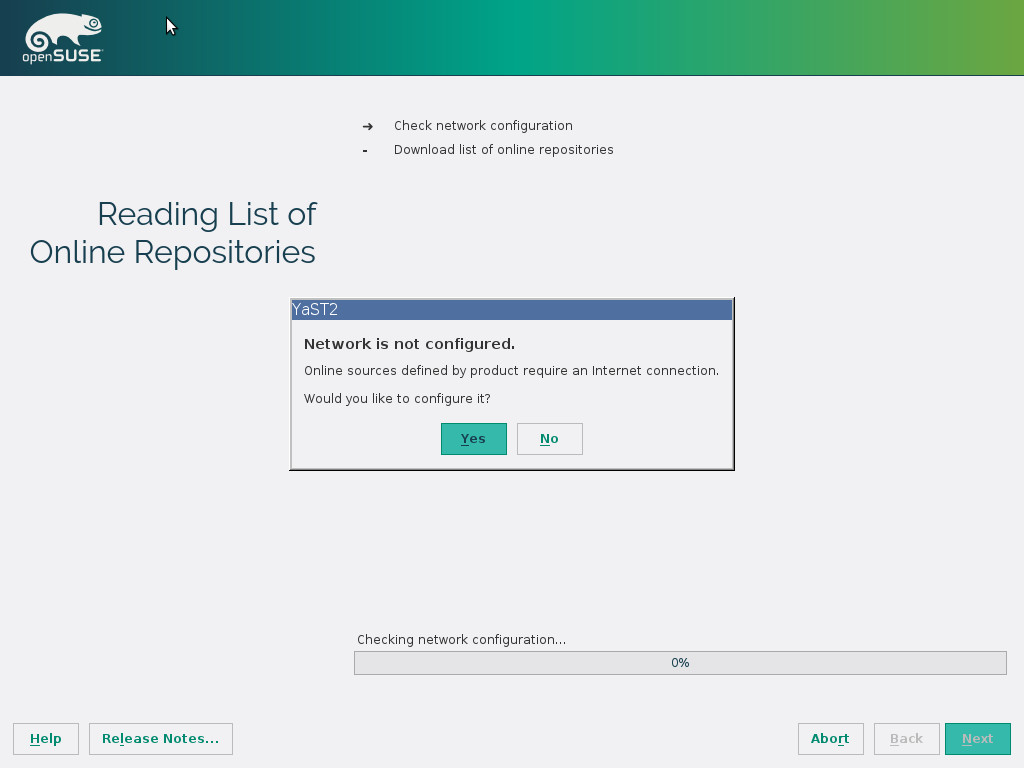
Fig. 4
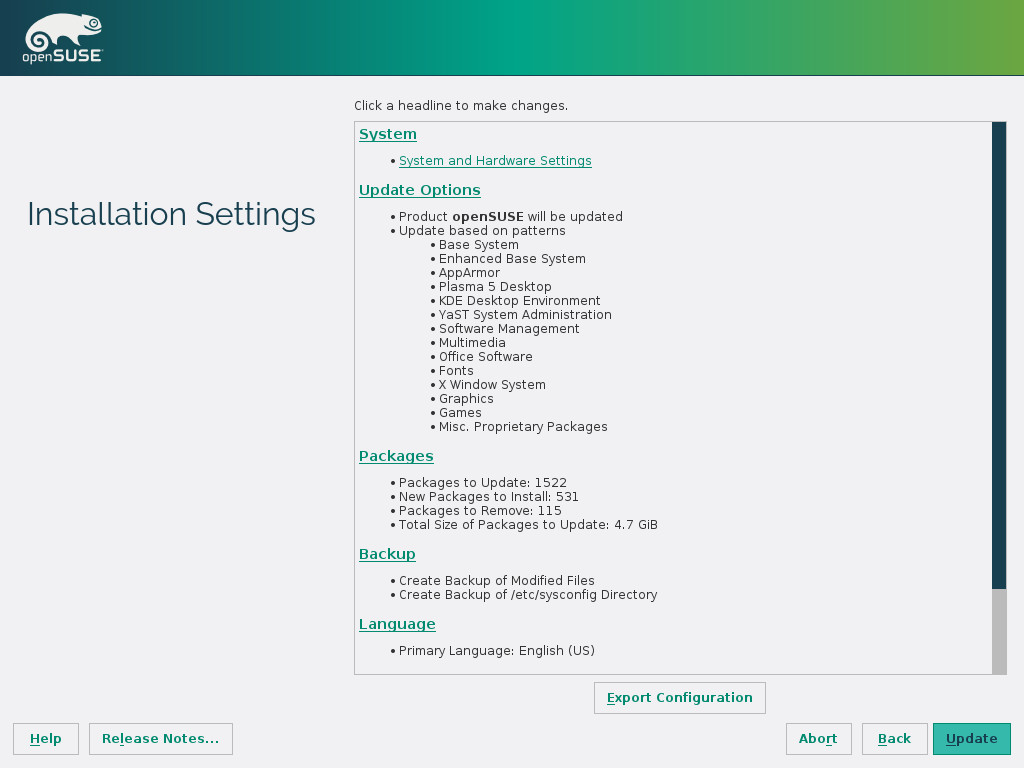
Fig. 5
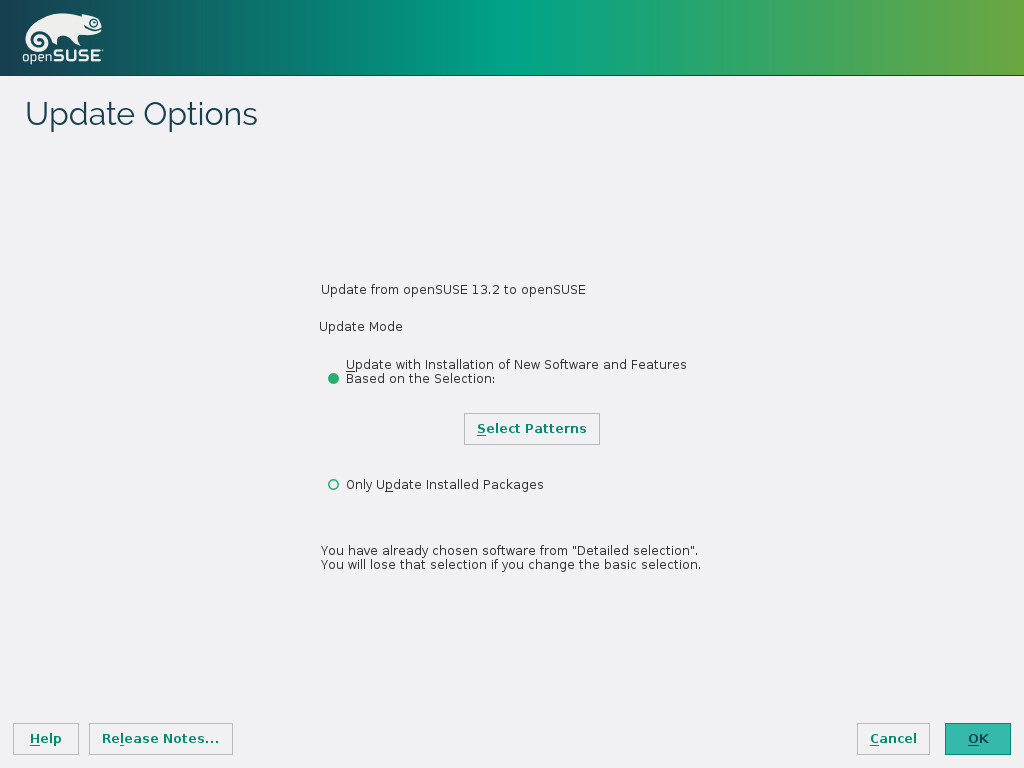
Fig. 6
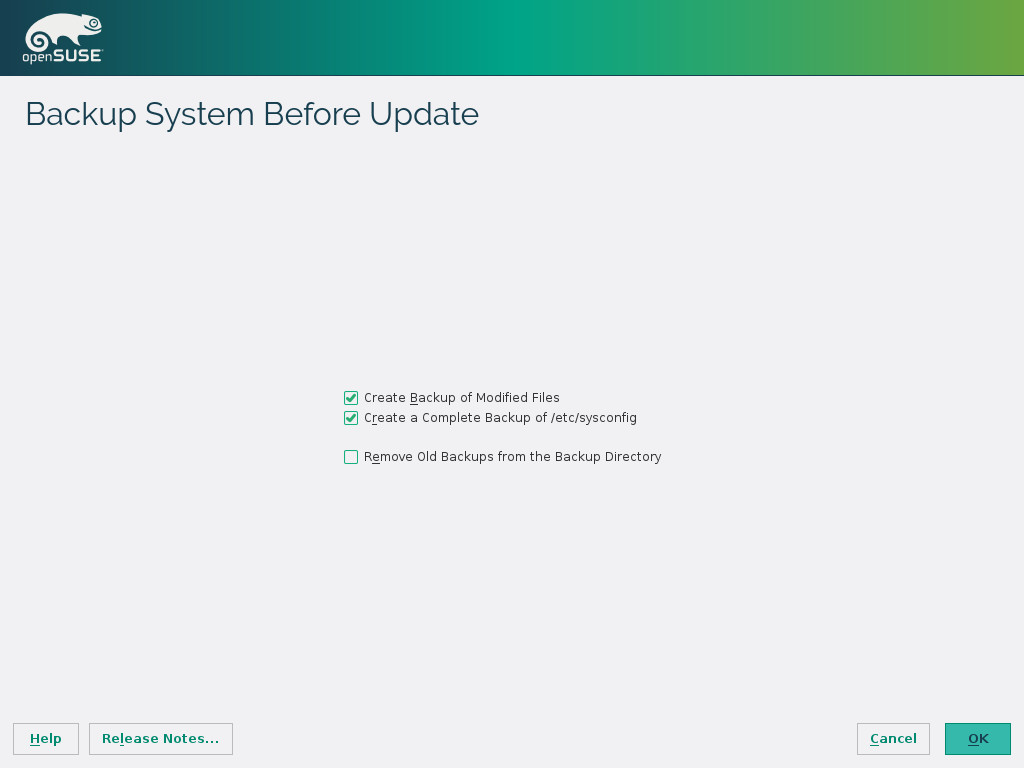
Fig. 7
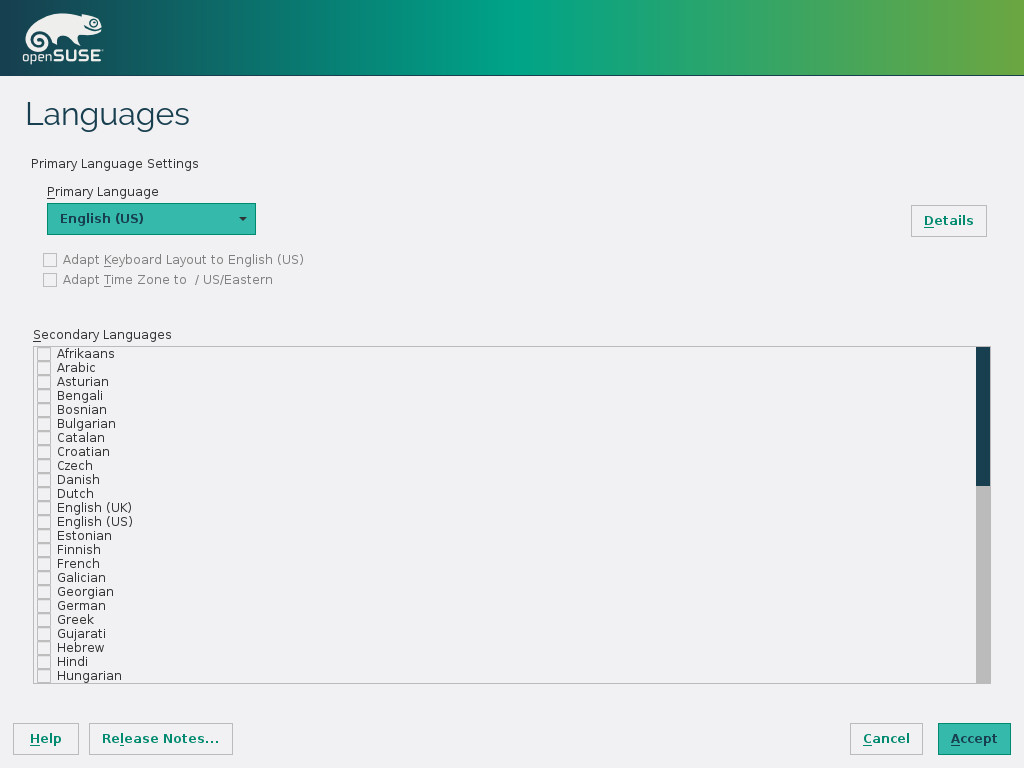
Fig. 8
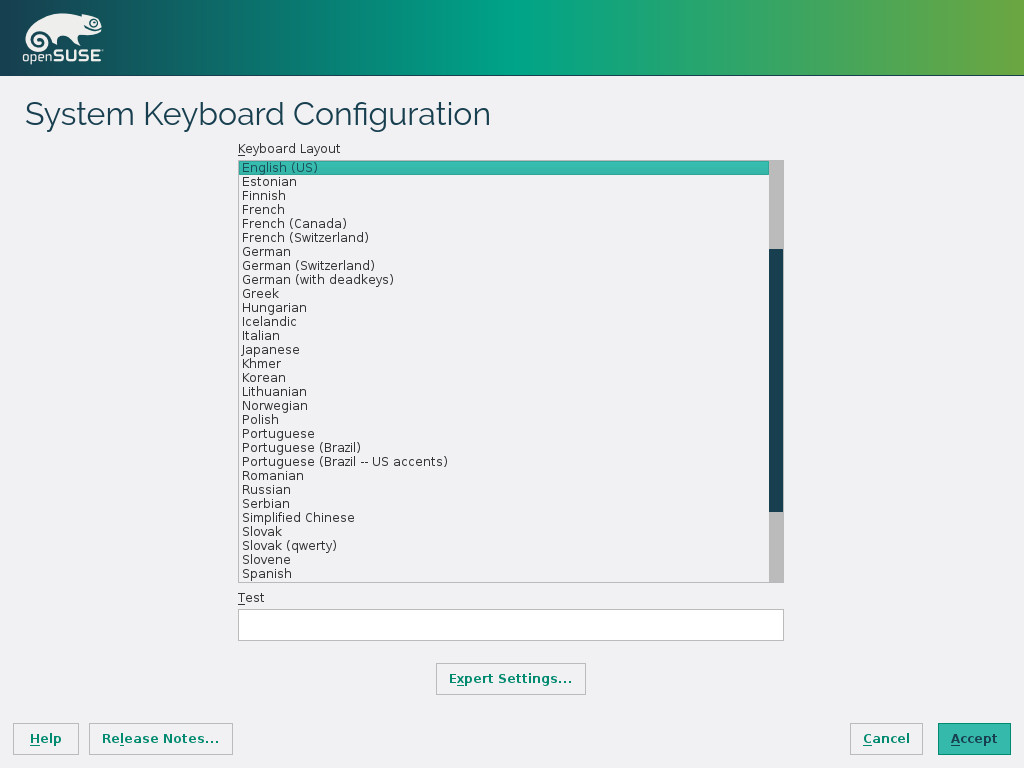
Fig. 9
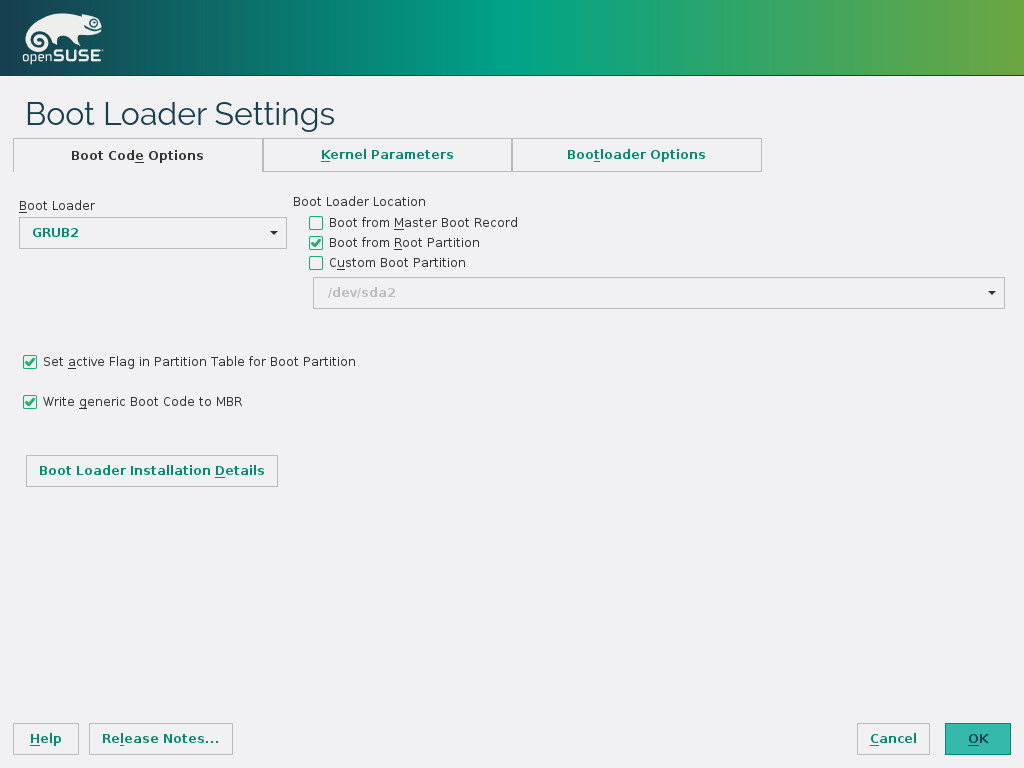
Fig. 10
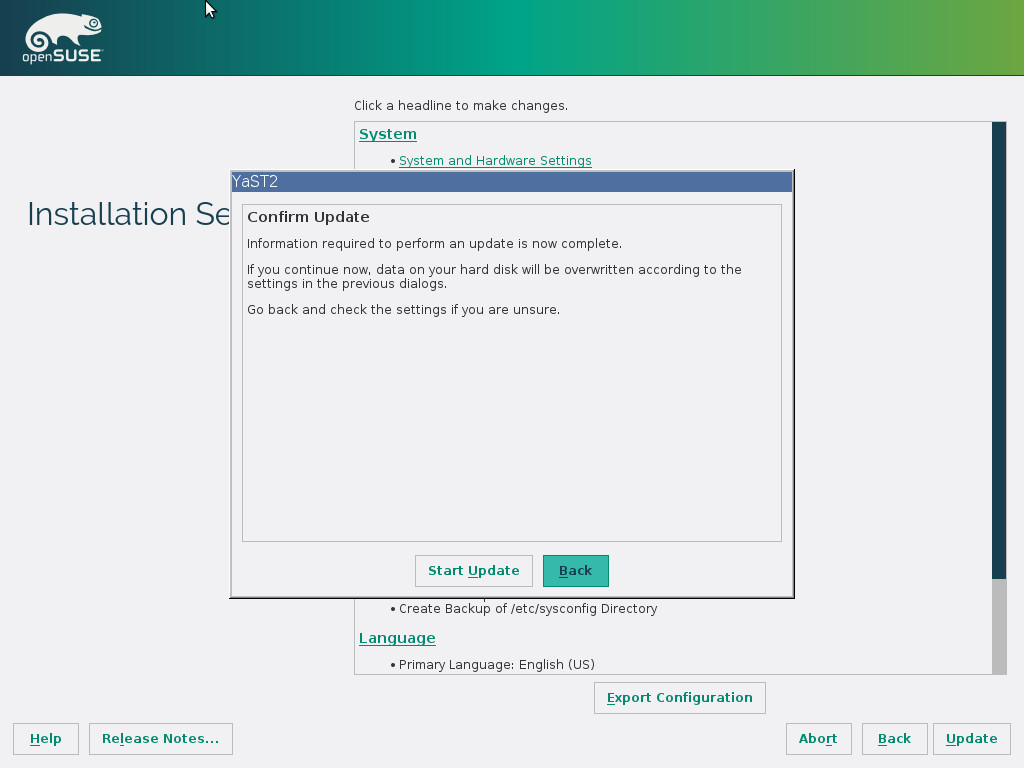
Fig. 11

Fig. 12
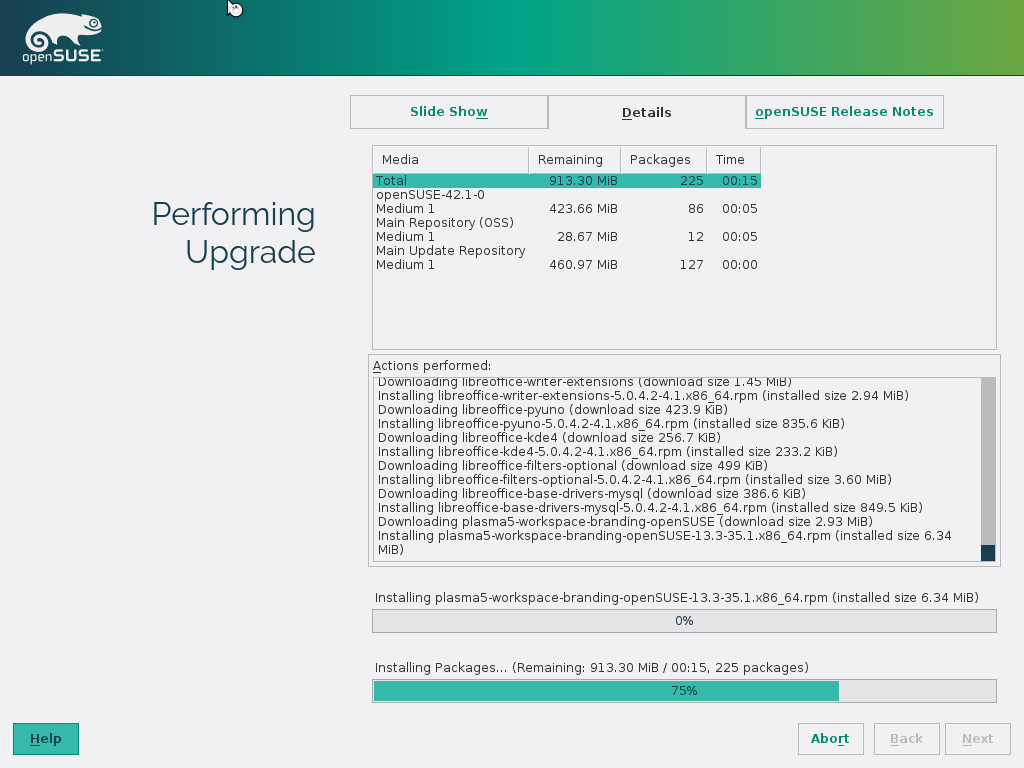
Fig. 13
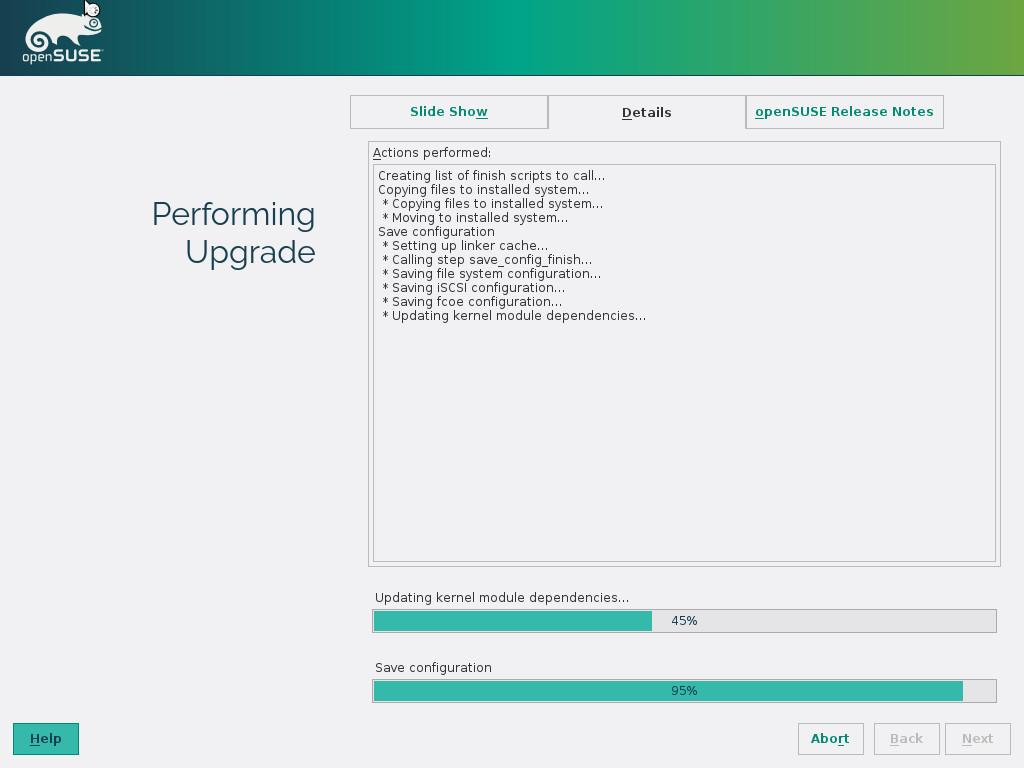
Fig. 14


