SDB:Easy-LTSP quick start
Please refer to this article's discussion page for more information.
For openSUSE 13.1 and newer see SDB:KIWI-LTSP_quick_start
Introduction
Here we will be looking at setting up LTSP server easy way using "Easy-LTSP" GUI.
Installation
Note: Skip this step if you have openSUSE Edu Li-f-e DVD installed as all the required packages are already installed
or via commandline(following commands to be run in terminal as root "su -"):
 zypper ar -r http://r.opensu.se/server:ltsp.repo
 zypper in kiwi-ltsp-prebuilt
It is expected that minimum GNOME environment is installed on the server.
Configuration
Check out Network configuration instructions before proceeding.
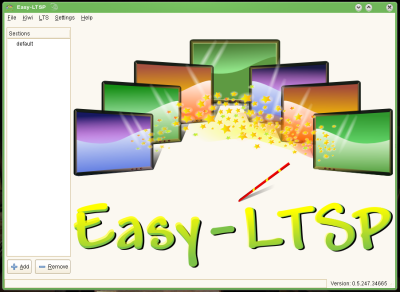
Launch Easy-LTSP GUI as root (open terminal, run "su -", provide root password, and then run "easy-ltsp" command).
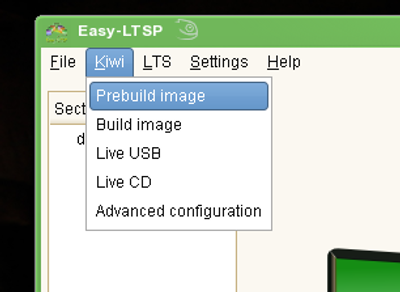
Select Prebuilt Image
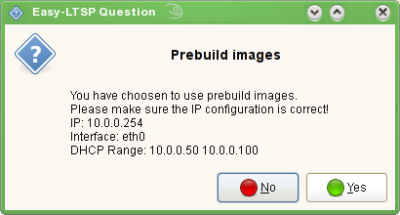
Click "Yes" if the network setup is correctly detected
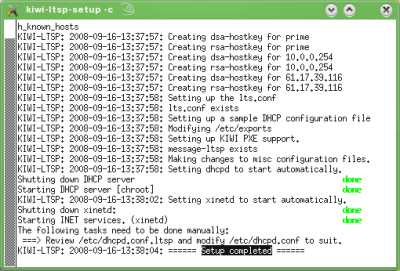
If you see "Setup Completed" without any errors, congratulations, your LTSP server is ready
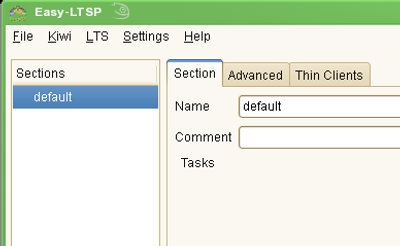
As everything in the client is auto detected you may not need to alter lts.conf at this moment, however if you require to change anything according to the hardware you have Easy-LTSP has great GUI to make quick changes. The configurations for the client behaviors are divided in "Sections". The "default" section applies to all clients.
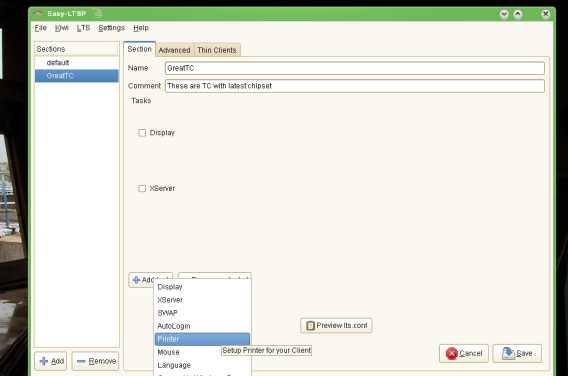
More sections can be added or removed easily
Add the section according to your hardware's requirements, the individual settings are called "tasks", such as configuring printer, swap, etc.
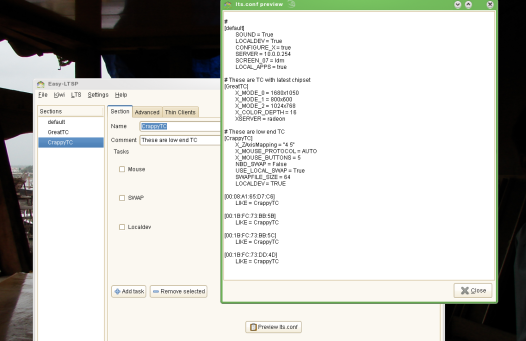
Preview the resultant lts.conf to verify all the changes
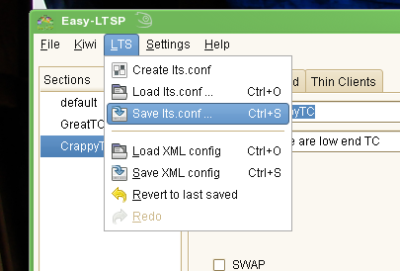
Saving the lts.conf will make the changes permanent and apply to the clients on next reboot

