Cacti
Definition
What is Cacti?
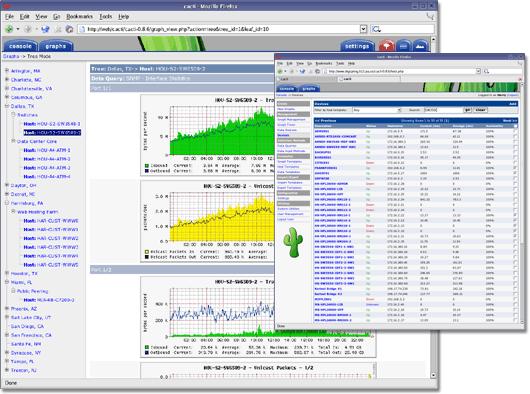
Cacti is a complete frontend to RRDtool, it stores all of the necessary information to create graphs and populate them with data in a MySQL database. The frontend is completely PHP driven. Along with being able to maintain Graphs, Data Sources, and Round Robin Archives in a database, cacti handles the data gathering. There is also SNMP support for those used to creating traffic graphs with MRTG.
Data Sources
To handle data gathering, you can feed cacti the paths to any external script/command along with any data that the user will need to "fill in", cacti will then gather this data in a cron-job and populate a MySQL database/the round robin archives.
Data Sources can also be created, which correspond to actual data on the graph. For instance, if a user would want to graph the ping times to a host, you could create a data source utilizing a script that pings a host and returns it's value in milliseconds. After defining options for RRDTool such as how to store the data you will be able to define any additional information that the data input source requires, such as a host to ping in this case. Once a data source is created, it is automatically maintained at 5 minute intervals.
Graphs
Once one or more data sources are defined, an RRDTool graph can be created using the data. Cacti allows you to create almost any imaginable RRDTool graph using all of the standard RRDTool graph types and consolidation functions. A color selection area and automatic text padding function also aid in the creation of graphs to make the process easier.
Not only can you create RRDTool based graphs in cacti, but there are many ways to display them. Along with a standard "list view" and a "preview mode", which resembles the RRDTool frontend 14all, there is a "tree view", which allows you to put graphs onto a hierarchical tree for organizational purposes.
User Management
Due to the many functions of cacti, a user based management tool is built in so you can add users and give them rights to certain areas of cacti. This would allow someone to create some users that can change graph parameters, while others can only view graphs. Each user also maintains their own settings when it comes to viewing graphs.
Templating
Lastly, cacti is able to scale to a large number of data sources and graphs through the use of templates. This allows the creation of a single graph or data source template which defines any graph or data source associated with it. Host templates enable you to define the capabilities of a host so cacti can poll it for information upon the addition of a new host
How-to
The following how-to has two starting points, being either #Simple Start or #Advanced Start.
Simple Start
- Install a MySQL server package. This can either be MySQL or MariaDB:
- Install the Cacti package:
- Start the database server and enable auto-start for this service:
systemctl enable mysql.service
- Start the snmp server and enable auto-start for this service:
systemctl enable snmpd.service
- Enable the cacti.conf configuration file for apache2. This is done by adding the string CACTI to APACHE_SERVER_FLAGS in /etc/sysconfig/apache2
- Start the web server and enable auto-start for this service:
systemctl enable apache2.service
You may now skip to #Database Configuration.
Advanced Start
Preparation
- Add the server:monitoring repository. This is needed in order to have access to the Cacti add-ons.
- Install MySQL:
- Install Cacti and Cacti add-ons:
Configuration
To get started, the basic services needed:
service apache2 start
service snmpd start
And to avoid headaches later, we'll add them at startup in RunMode 3 and 5:
chkconfig -a apache2
chkconfig -a snmpd
We will implement an additional layer of security by removing some vulnerabilities in MySQL:
Follows the order of questions:
- Change password for user root;
- Remove user anonymous;
- Disable remote access;
- Remove test database and flush privileges;
- Reload privilege tables.
If you change later the root password of MySQL, use the command:
Apache Configuration
The Cacti files are located in /srv/www/cacti.
We use a VirtualHost to facilitate our work:
cp vhost.template cacti.conf
vim cacti.conf
Edit the necessary fields. See example:
<VirtualHost *:80>
   ServerAdmin rauhmaru@opensuse.org
   ServerName cacti.local
   DocumentRoot /srv/www/cacti/
   ErrorLog /var/log/apache2/cacti-error_log
   CustomLog /var/log/apache2/cacti-access_log combined
   HostnameLookups Off
   UseCanonicalName Off
   ServerSignature On
   <IfModule mod_userdir.c>
 UserDir public_html
 Include /etc/apache2/mod_userdir.conf
   </IfModule>
   <Directory " /srv/www/cacti">
 Options Indexes FollowSymLinks
 AllowOverride None
 Order allow,deny
 Allow from all
   </Directory>
</VirtualHost>
Define the user wwwrun of group www as owner of the Cacti files :
If you want Cacti to bew the default server, edit the file /etc/sysconfig/apache2 and add CACTI as a server flag:
Database Configuration
Now we will create the basis of Cacti and a user:
mysql> create database cacti;
mysql> GRANT ALL ON cacti.* TO cactiuser@localhost IDENTIFIED BY 'cactipasswd';
Cacti Configuration
With Apache2 and MySQL configured, missing only the Cacti:
Configuration of /srv/www/cacti/include/config.php:
$database_type = "mysql";
$database_default = "cacti";
$database_hostname = "localhost";
$database_username = "cactiuser";
$database_password = "cactipasswd";
$database_port = "3306";
Executes the script cacti.sql of Cacti, found in /srv/www/cacti/
Now we will start the final configuration by the browser.
In browser
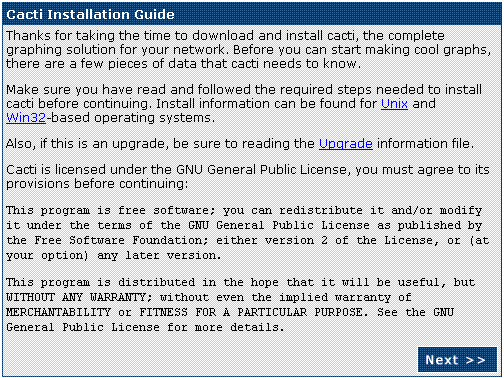
For the browser, go to address http://SERVER/cacti/install. You will see the license. Proceed
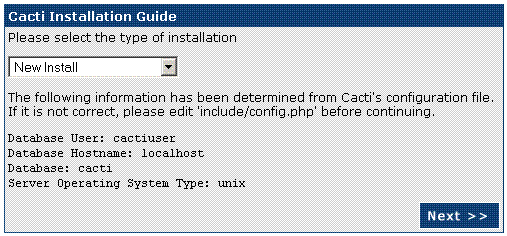
Defines a new installation:
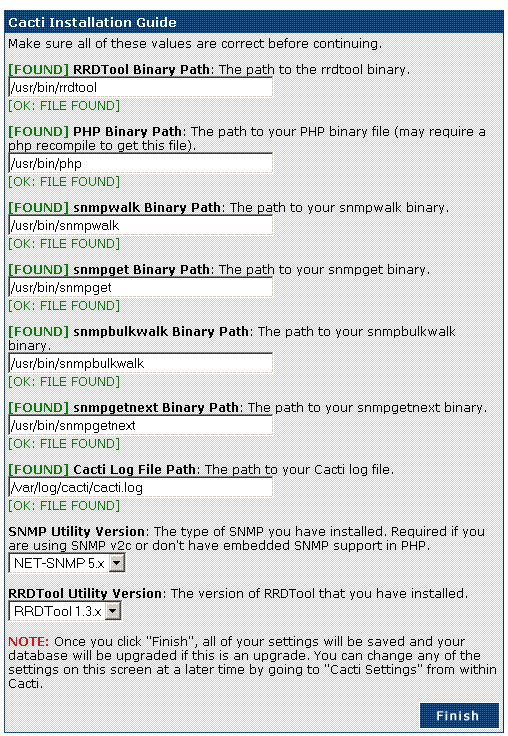
Make sure the checklist is ok.
Finished! Now you can monitor your network assets using SNMP quite easily!
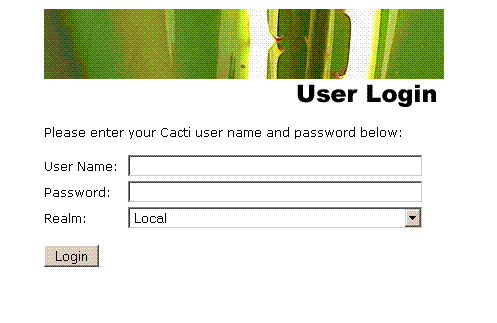
password: admin
After authentication, you must reset the password.
